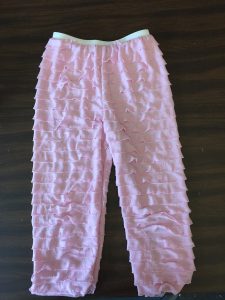
So that new Ruffle Fabric is the best thing since sliced bread! I have made a lot of different things using the Ruffle Fabric. It’s so pretty. There are so many applications for it. You can make garments galore with it, but you can also do quilts and shades. Lamp shades would be great too.
Here is a tutorial on how to do the Ruffle Pants:
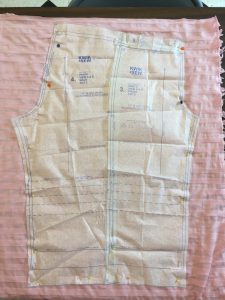
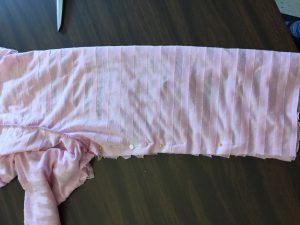
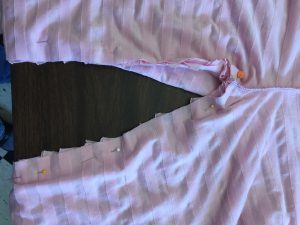
Fold the Ruffle Fabric right sides together. Make sure as best as you can that the ruffles are going in the same direction by shaking the fabric downward. Lay it on a table. Find a pair of pants pattern. If the pattern isn’t already like this, then join the outer leg seams into one pattern piece as shown and pin to the ruffle fabric. Ruffle fabric is directional so make sure the ruffles are going the right way.
It is obvious from this pattern which part is the back. It’s the crotch seam that is longer. Make sure to mark this with a notch or pin.
Cut out your pattern.
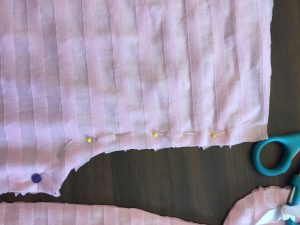
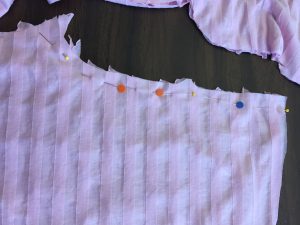
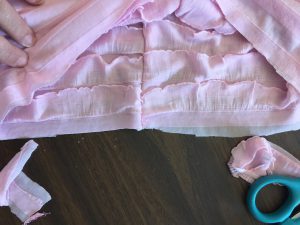
Trim the bottom and the top of the pants so that the ruffle edges are the same on both pieces.
Make sure once again that the ruffles are all going the same direction and then pin and sew the crotch seam.
Sew the front and the back crotch seam.
Then open it out and sew the inner leg seam again making sure that the ruffles are going the same direction, downward.
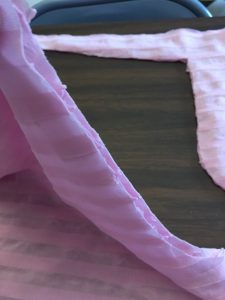
When you finish, open out the pants. If your ruffles at the top don’t all match up, then you will have to find the part of the fabric that lays under the ruffles and trim so that it is even.
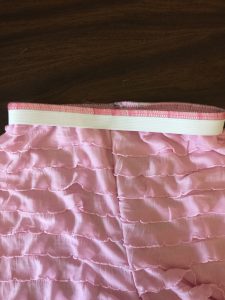
Measure the elastic to fit the waist of the person that you are making it for and subtract 1 inch. Lay the elastic on the right side of the fabric and stitch along the edge as shown above, pulling the elastic slightly but keeping the fabric under the elastic flat. When you get to the end, overlap neatly and hand sew the edges neatly together. You can either fold it under at this point or leave it out.
I left it out as it looks neater that way, but this is personal preference.
