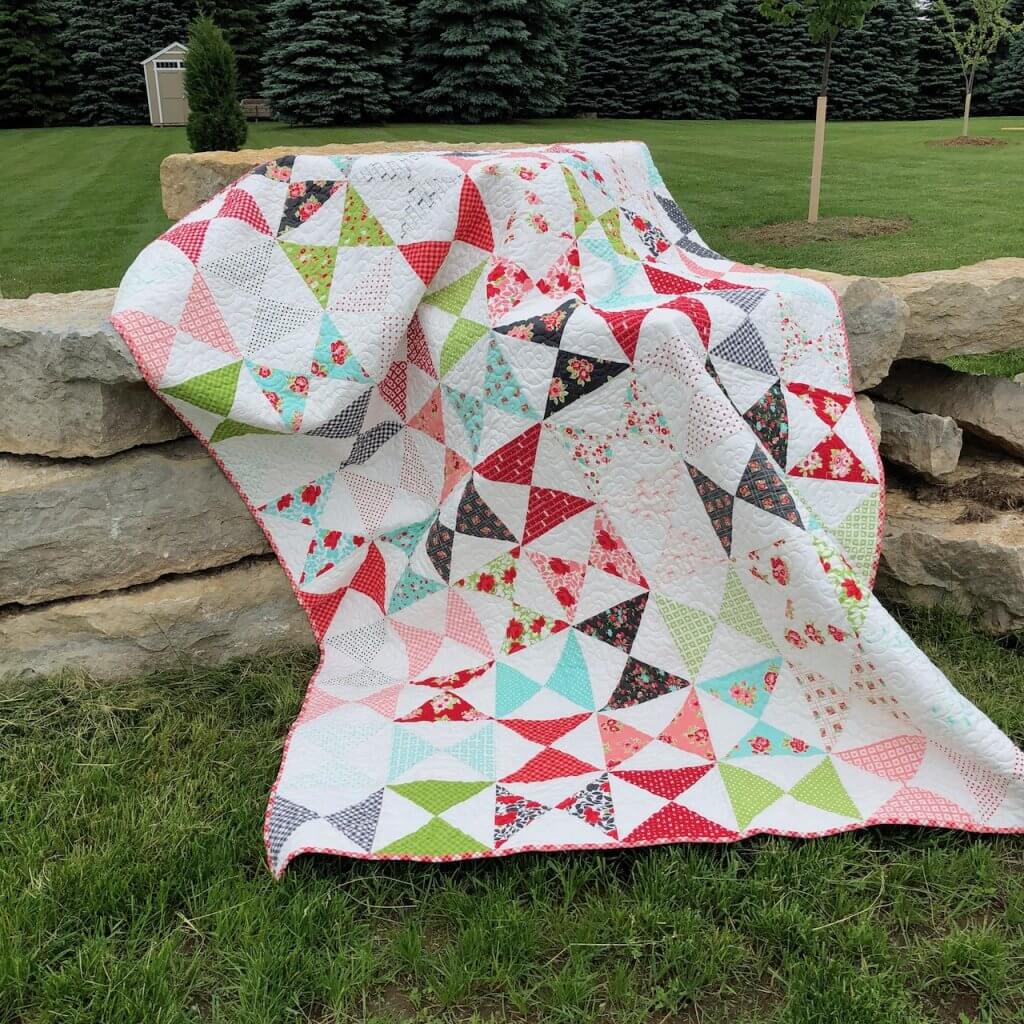
There are times when I love a particular layer cake and I don’t know what to do with it. Even when I love a particular fabric, and I can see that it would bring me joy for years, often I can’t picture it in any quilt. That’s when the always dependable hourglass design is useful. I have made several of these quilts because they’re beautiful, and work well with most fabrics.
There is a simple way to do these, that many quilters know. But just in case there’s someone out there that doesn’t know this, I would like to share it.
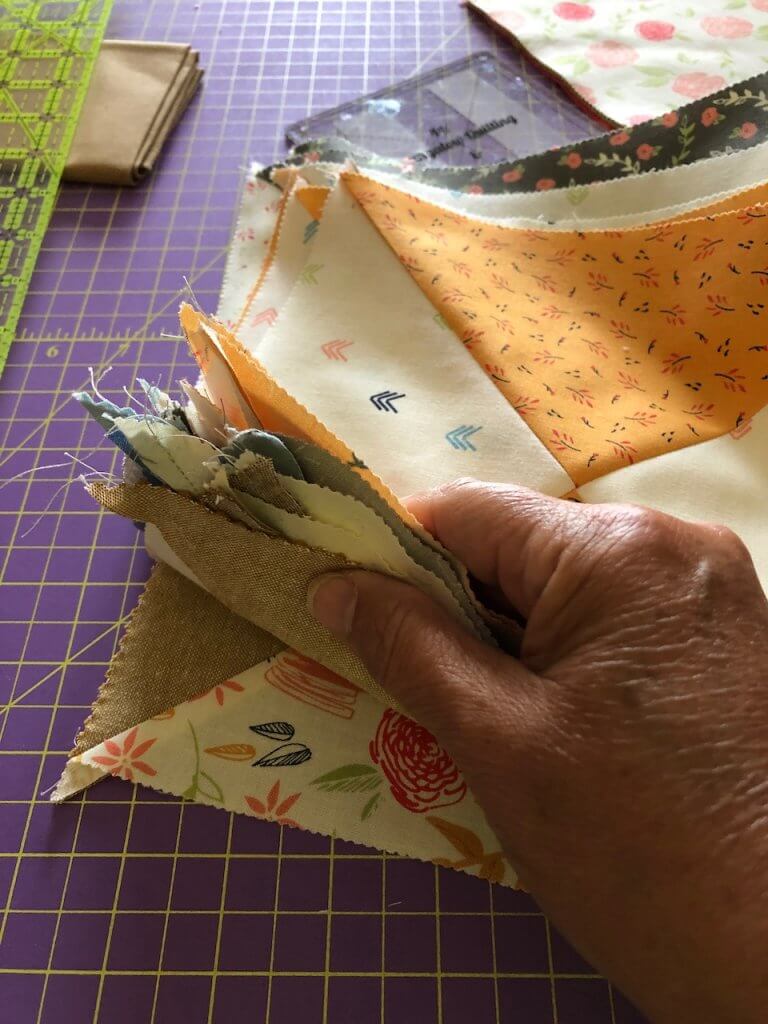
I used a layer cake that kind of spoke to me. The one pictured in the photo is in my shop, but the one that will be shown in the remainder of the post, I actually didn’t have it in the shop but I bought it in a shop in Prairie du Chien Wisconsin. I combined it with a textured Robert Kaufman layer cake.
So here goes.
Take 2 10 inch squares and lay them right sides together.
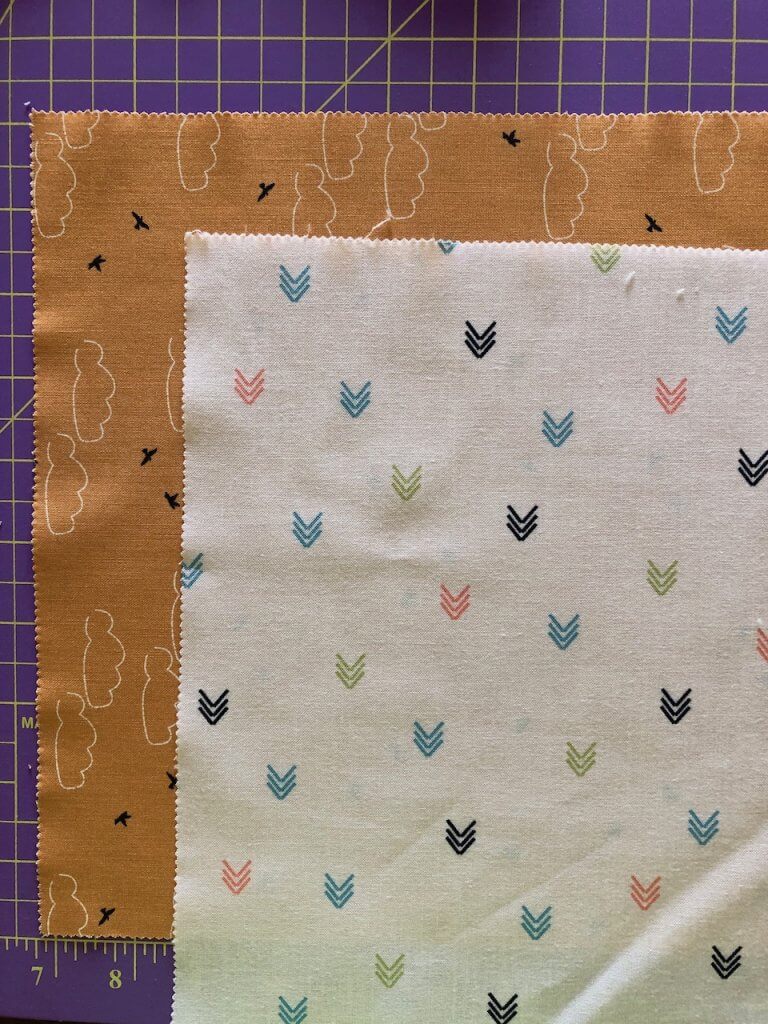
One square should be light and the other dark, or at least there should be some variation in the intensity and color.
When they are right sides together, lay your quilting ruler across the squares from one corner to the opposite corner on the diagonal and trace a line.
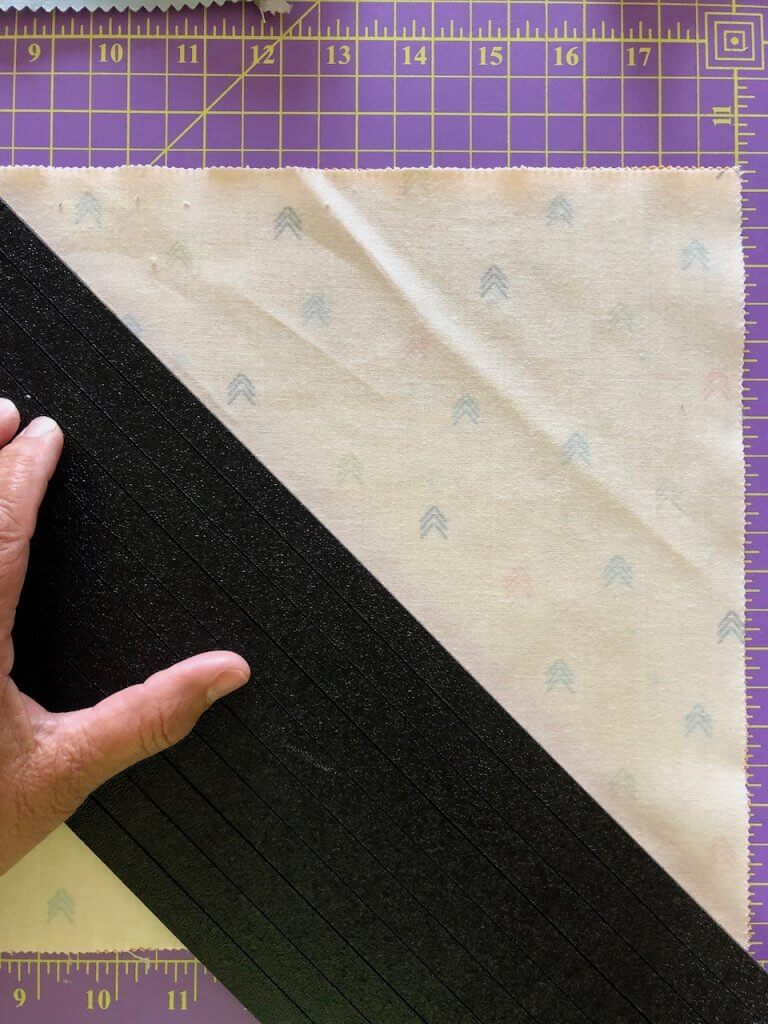
After one line is drawn, you will draw another line from the opposite corners. There will be a large X on your squares.
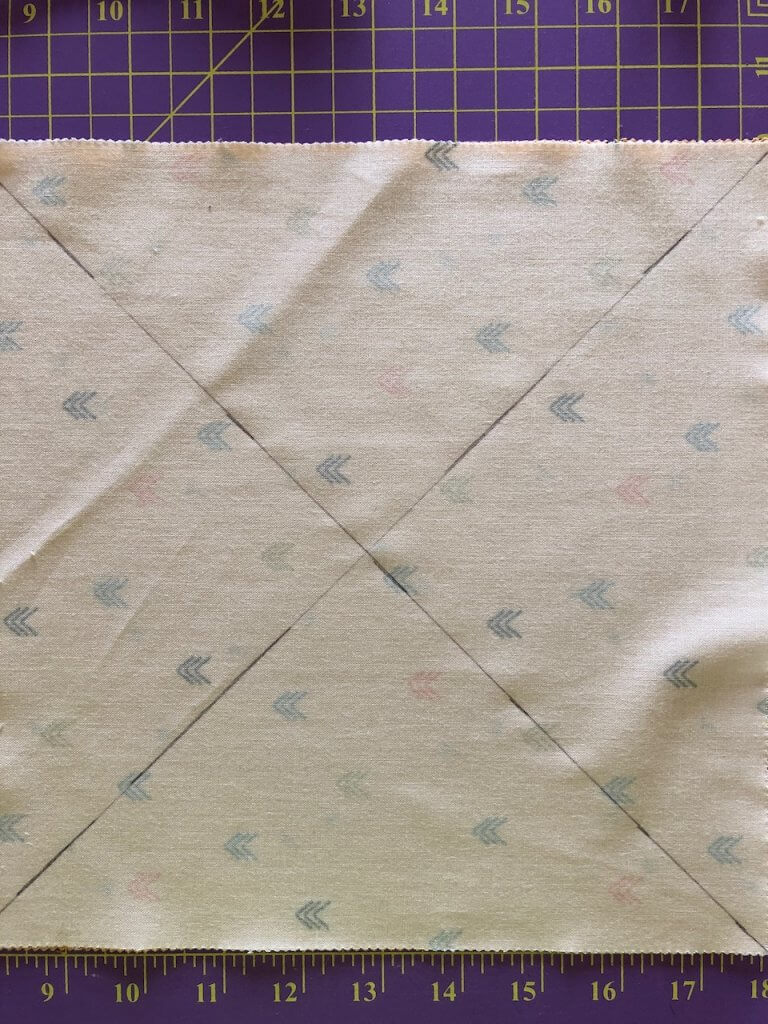
Now it’s time to go to the sewing machine. Make sure you put your quarter inch foot on your machine. Start in one corner, 1/4” from the line you drew and sew along side the line.
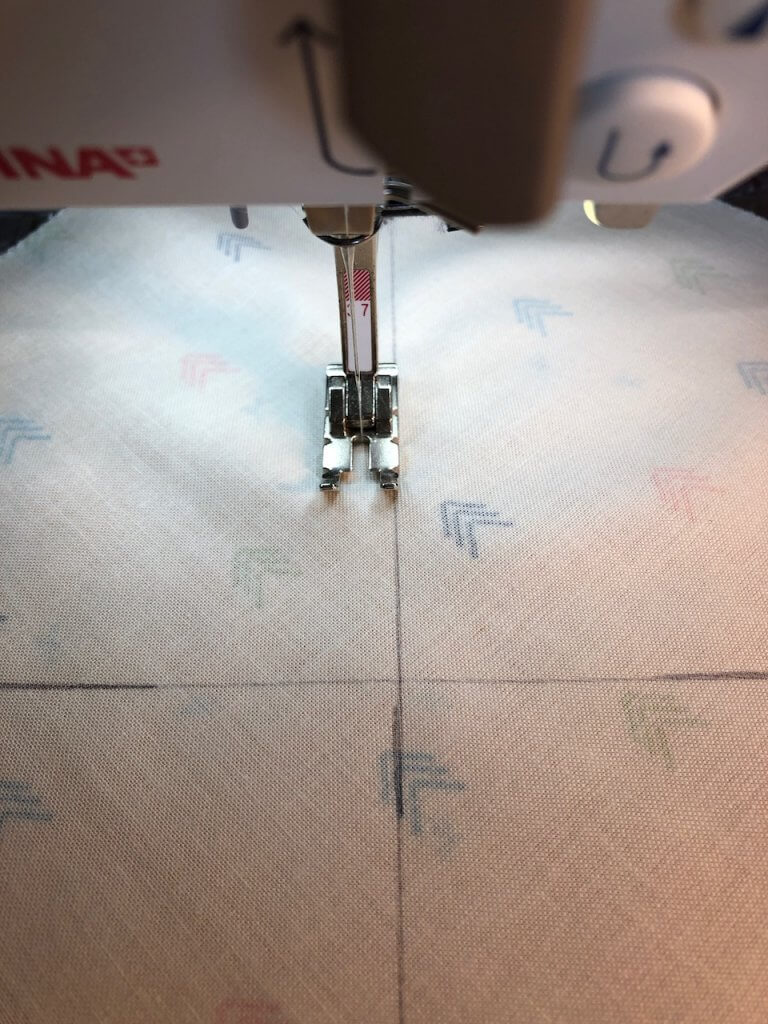
When you get to the line that crosses the line you are stitching along, you will put your needle down in that line and pivot your needle and sew across the intersection of the lines.
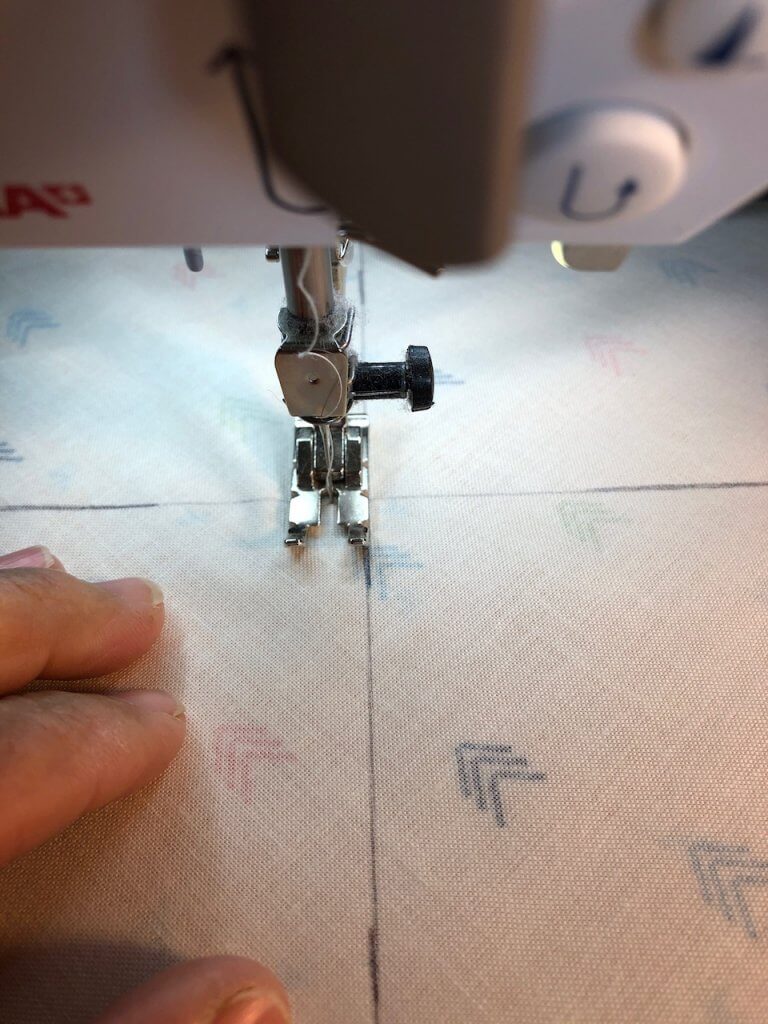
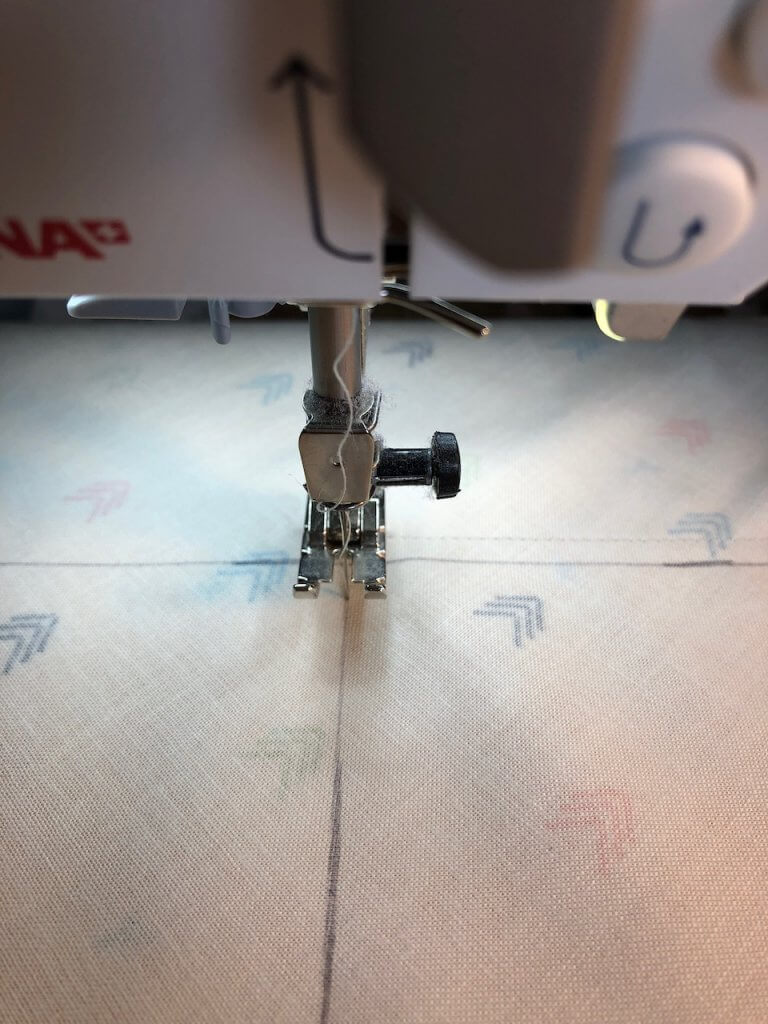
See where my initial stitches were? You pivoted in the line and then sewed across the intersecting lines. When you get 1/4 inch away from the intersection you are going to pivot again and sew 1/4” away from the line again.
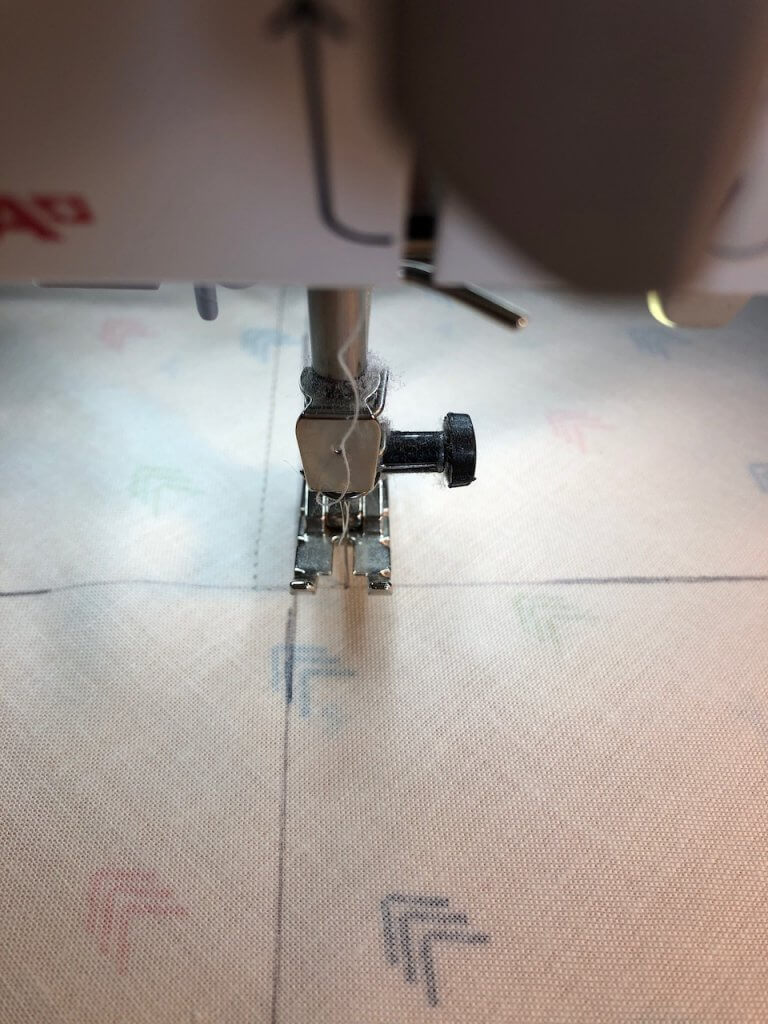
Now, stitch 1/4 inch away from the line again.
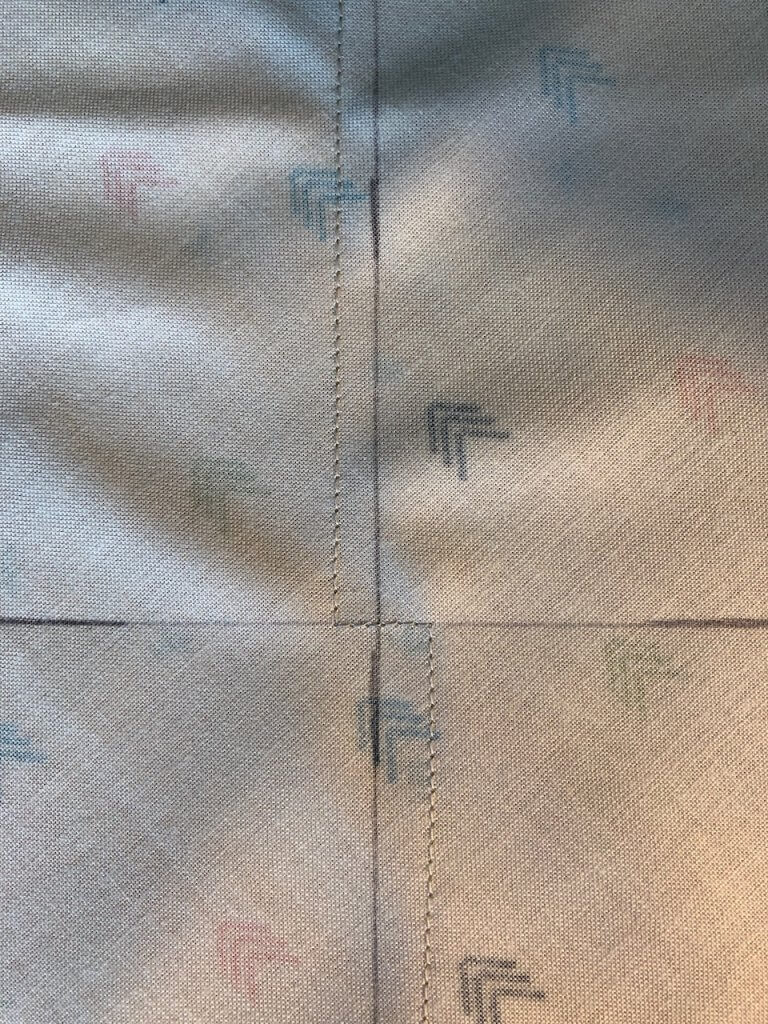
Go all the way to the end of the line.
Now, start on the other diagonal line, but start on the side of the 1/4 square that has no sewing on it yet.
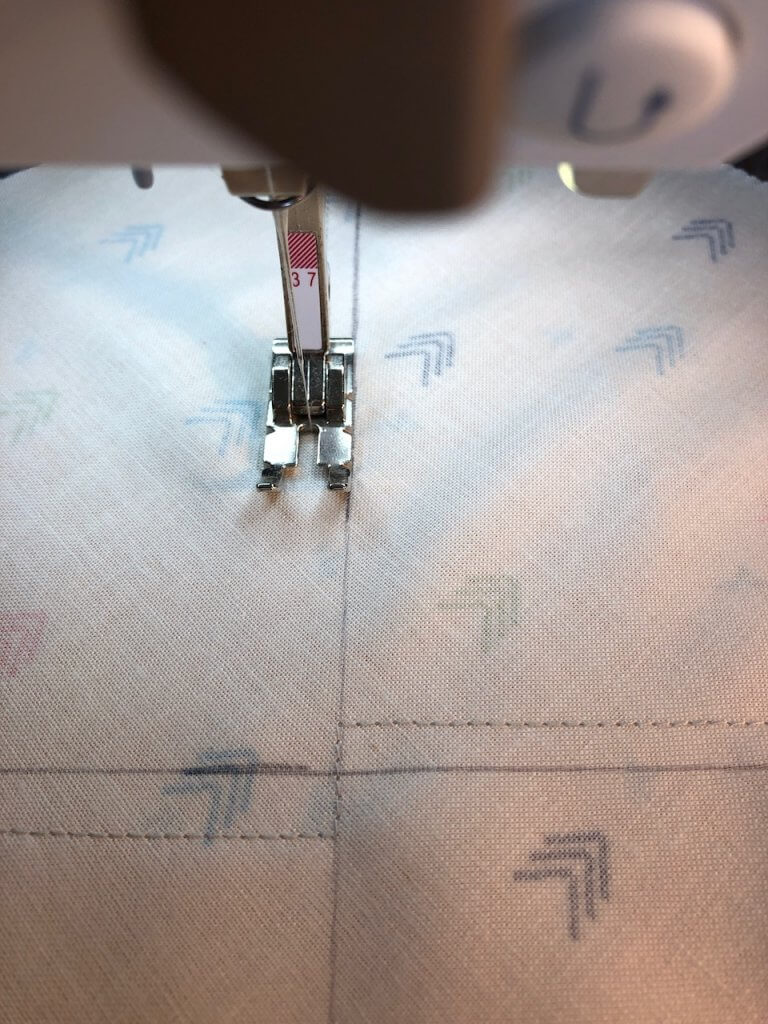
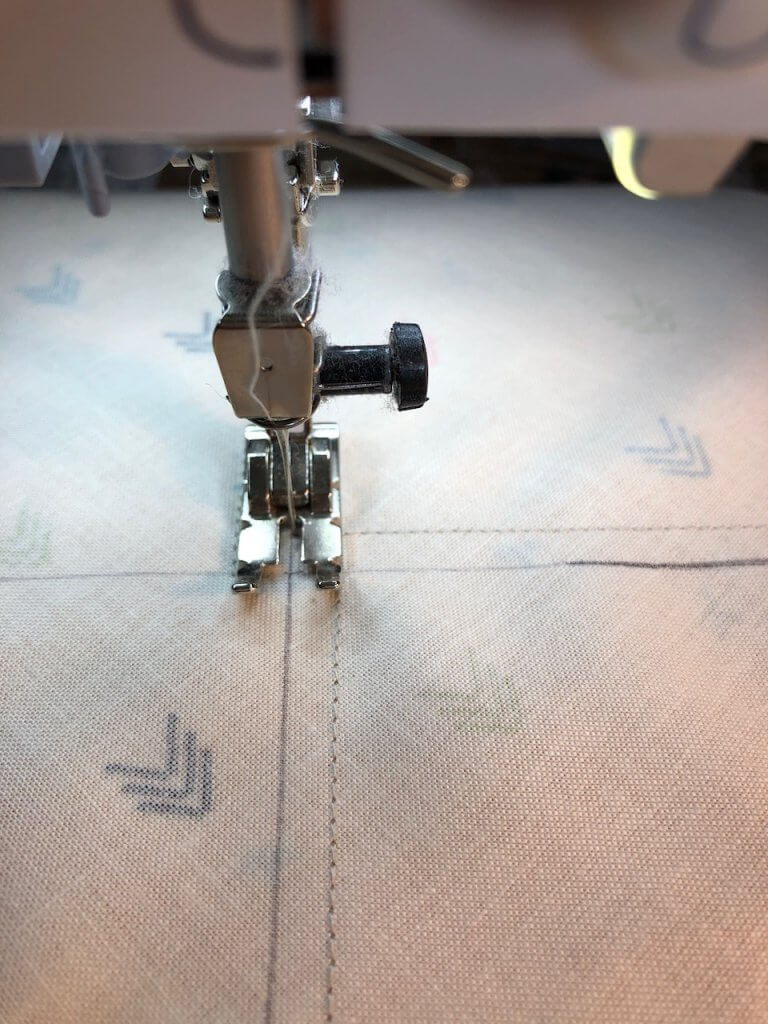
When you get to the intersection, pivot, sew across the line and then down the last side of the line that has no sewing on it yet.
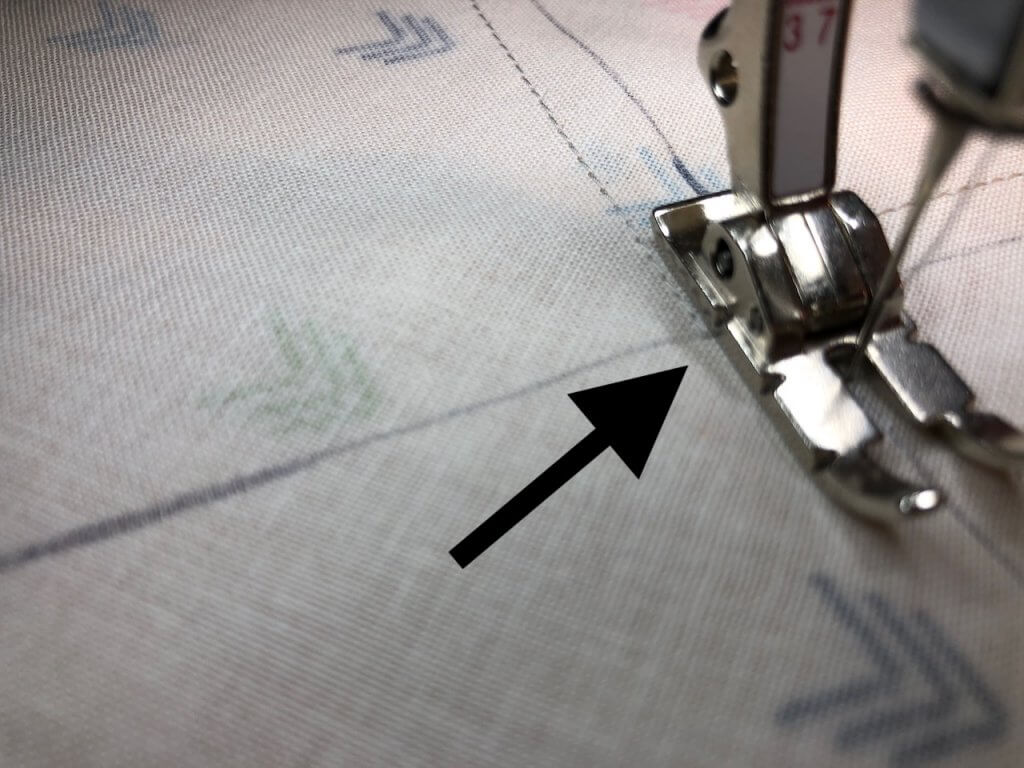
See the notch in my 1/4 inch foot? That is how I know that I am 1/4 inch away from the line and it’s time for me to pivot and sew down the line again.
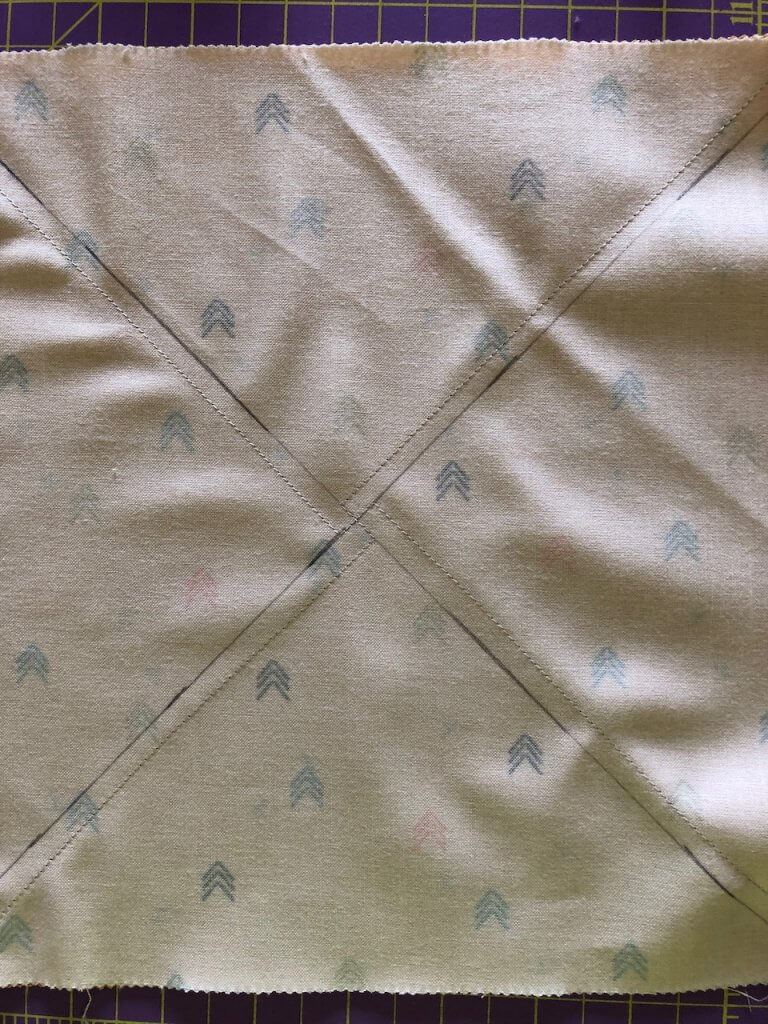
This is how it should look. Each 1/4 square of the block should have stitching to one side of the line.
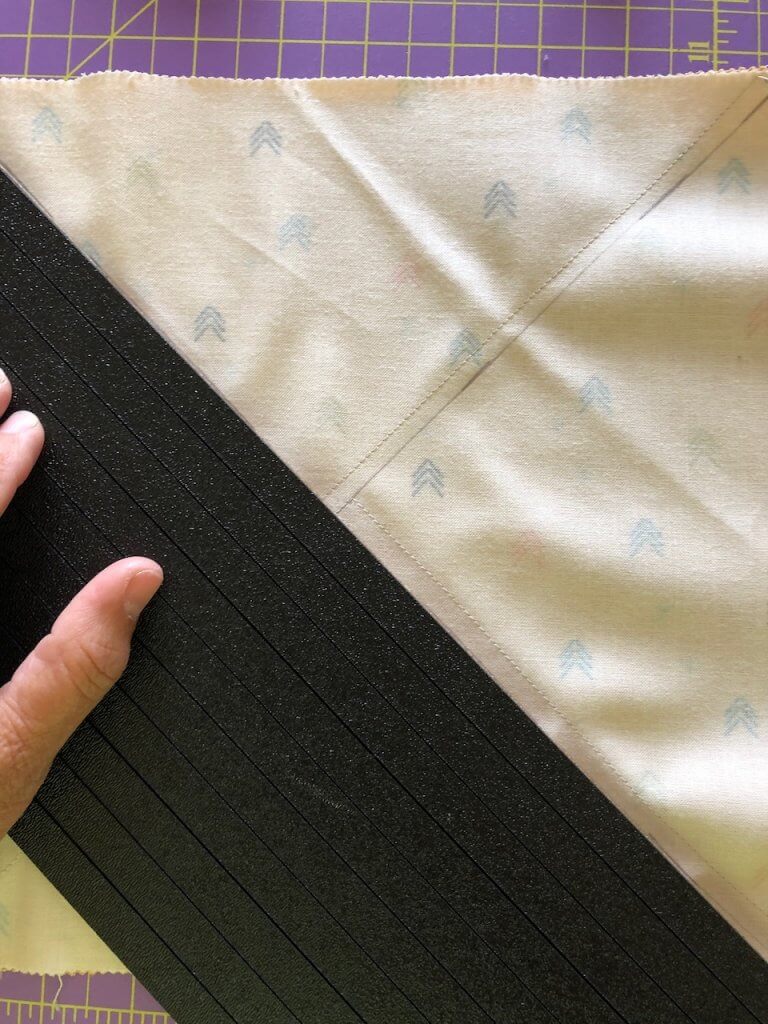
Now, cut with your rotary cutter or your scissors on the lines.
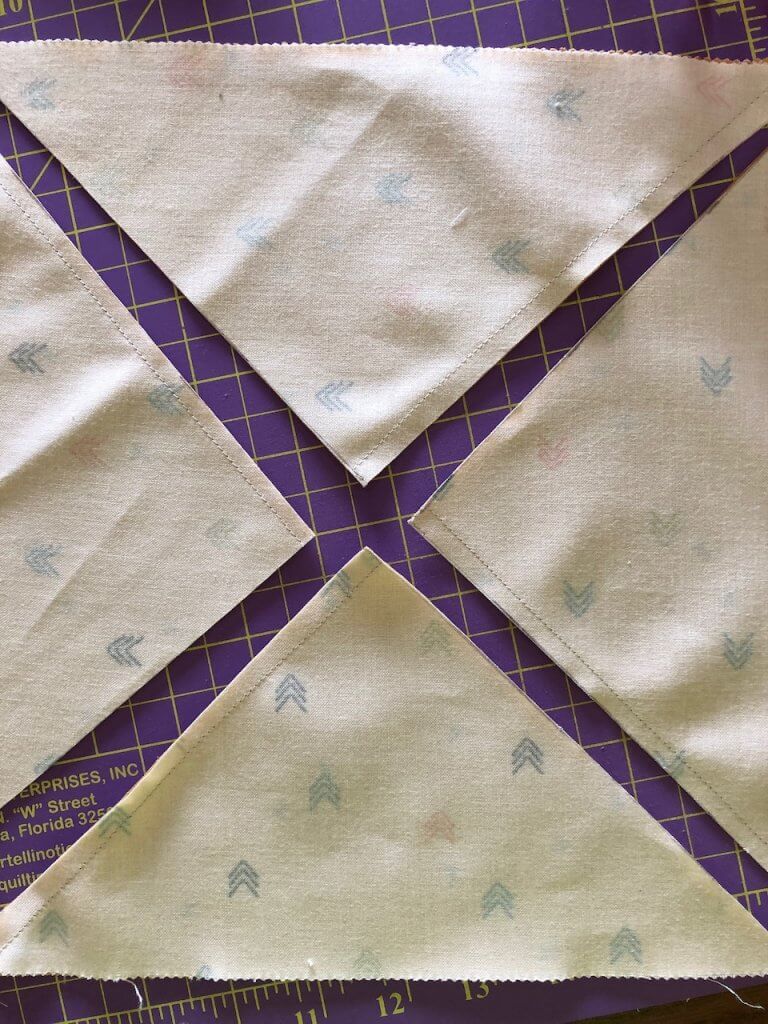
This is the ultimate goal–to have the quarter square triangles sewn together along one edge. When you open them out…
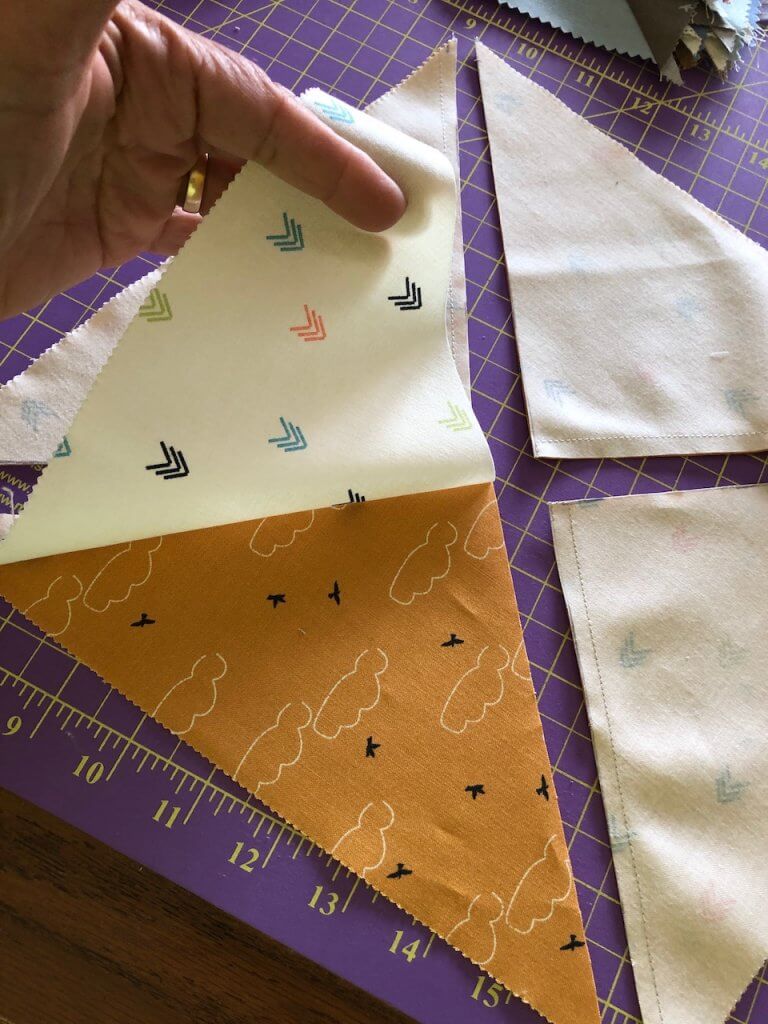
This is how they look. Press the seam allowance to the dark on all of them.
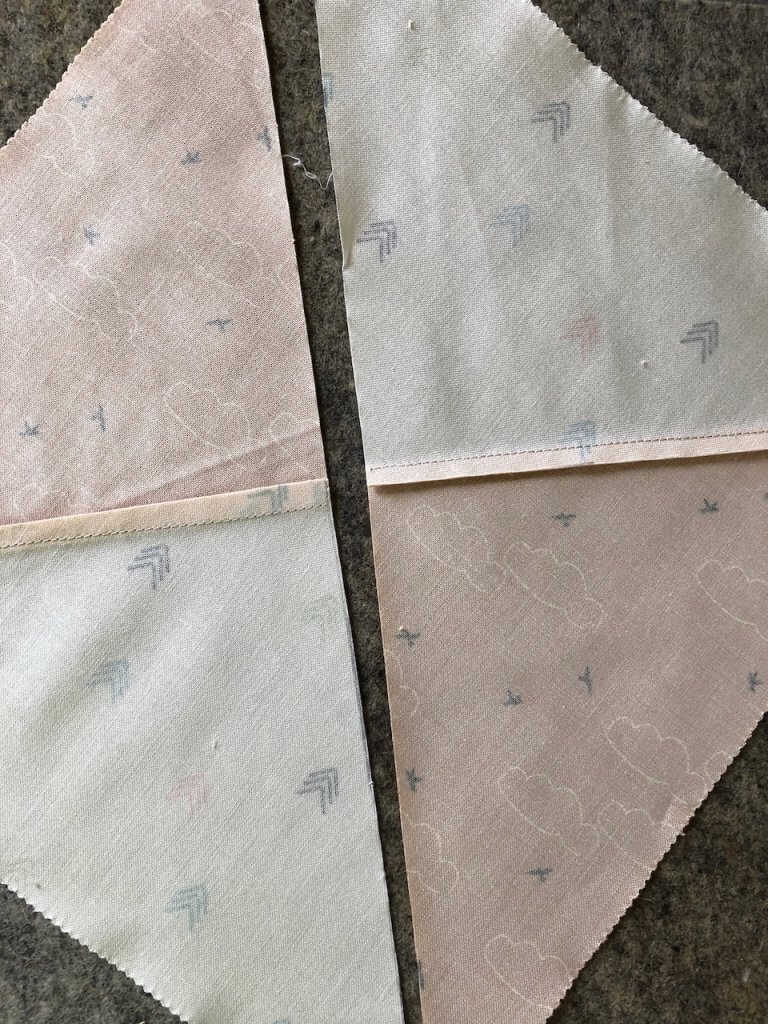
When you go to sew them together into the hourglass, the seam allowances will nest.
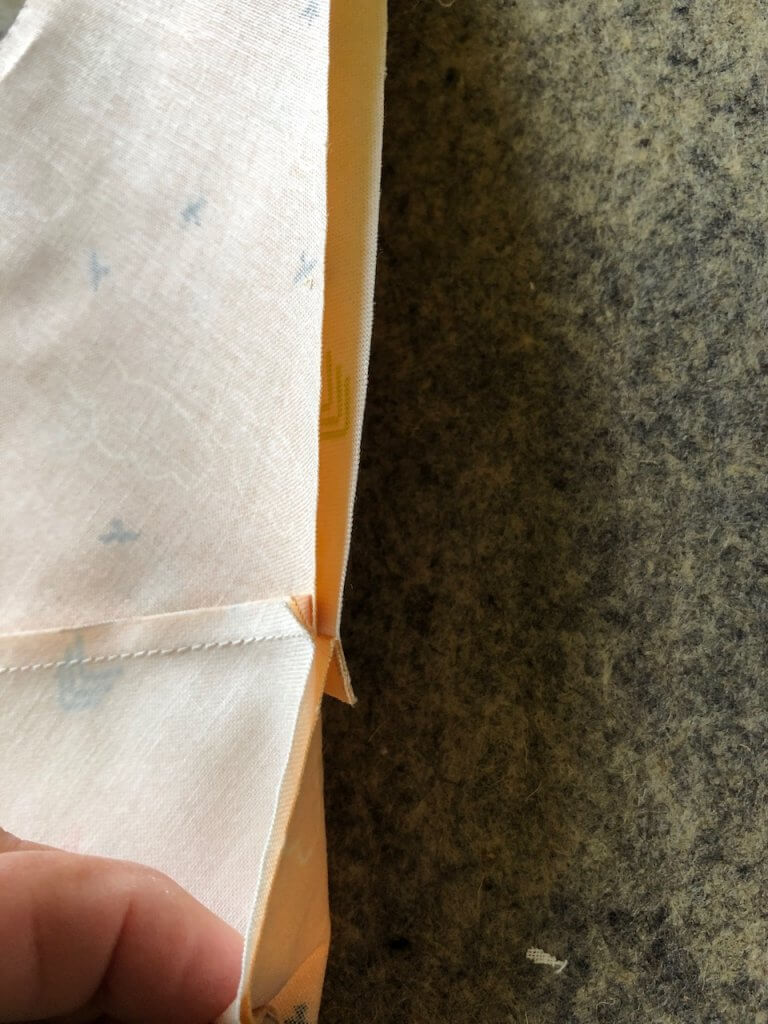
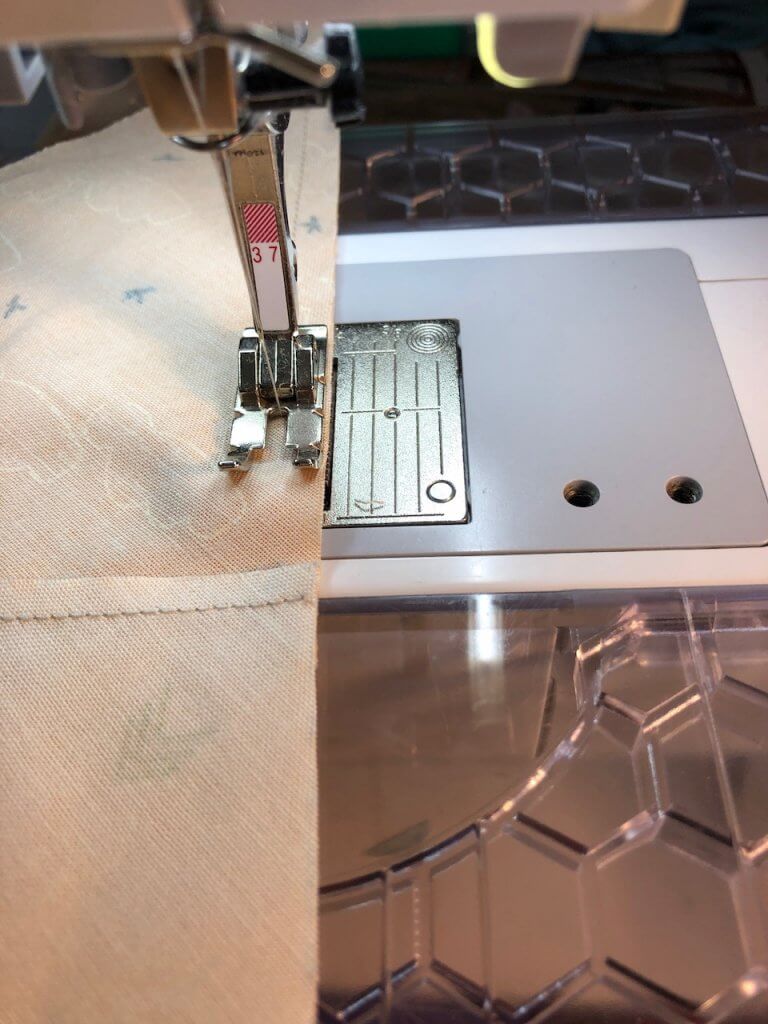
Stitch them together with a 1/4 inch seam. This entire process yields 2 blocks. That’s how fast it goes.
Very quickly you will have an entire pile of quarter square triangle blocks. Sew them together in rows, and then sew the rows together to make your quilt. Alternate the direction of the blocks as shown in the photo above. This is a fun way to get a quilt done that will always look great.

