This is a fun little quilt that can be as large or as small as desired. If it’s too large, it may become a bit unwieldy. But, if you’re an experienced sewist, you can do this. If you’re a beginner, just read on and take notes. Try something smaller with the cuddle, and move on as you see fit.
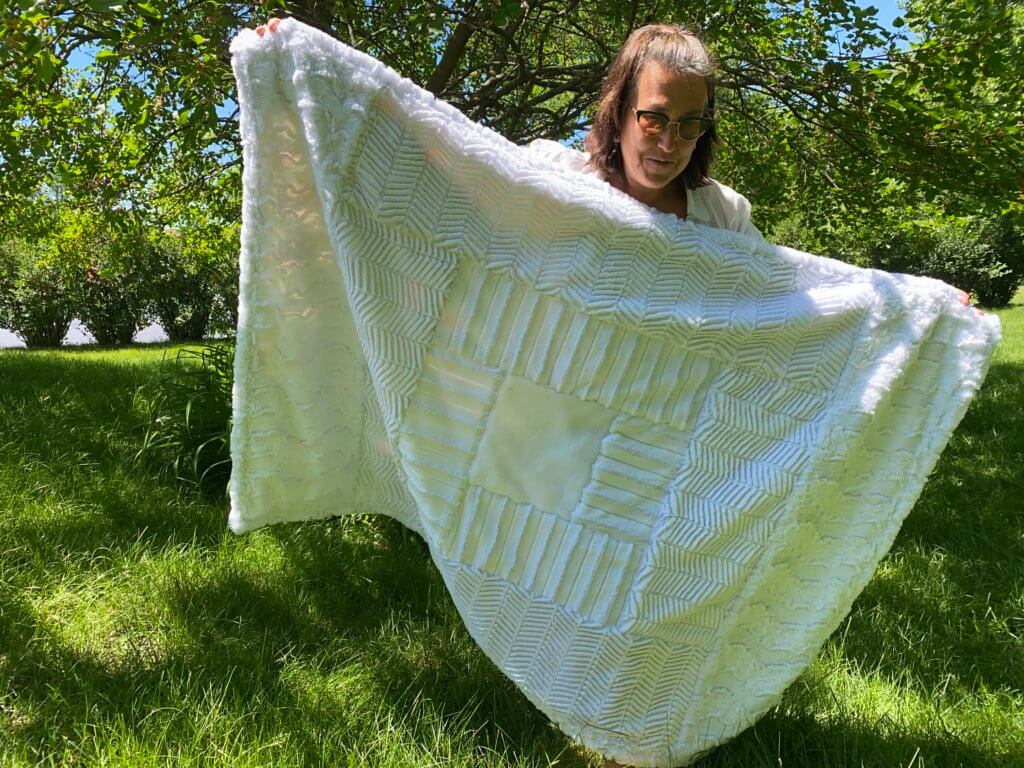
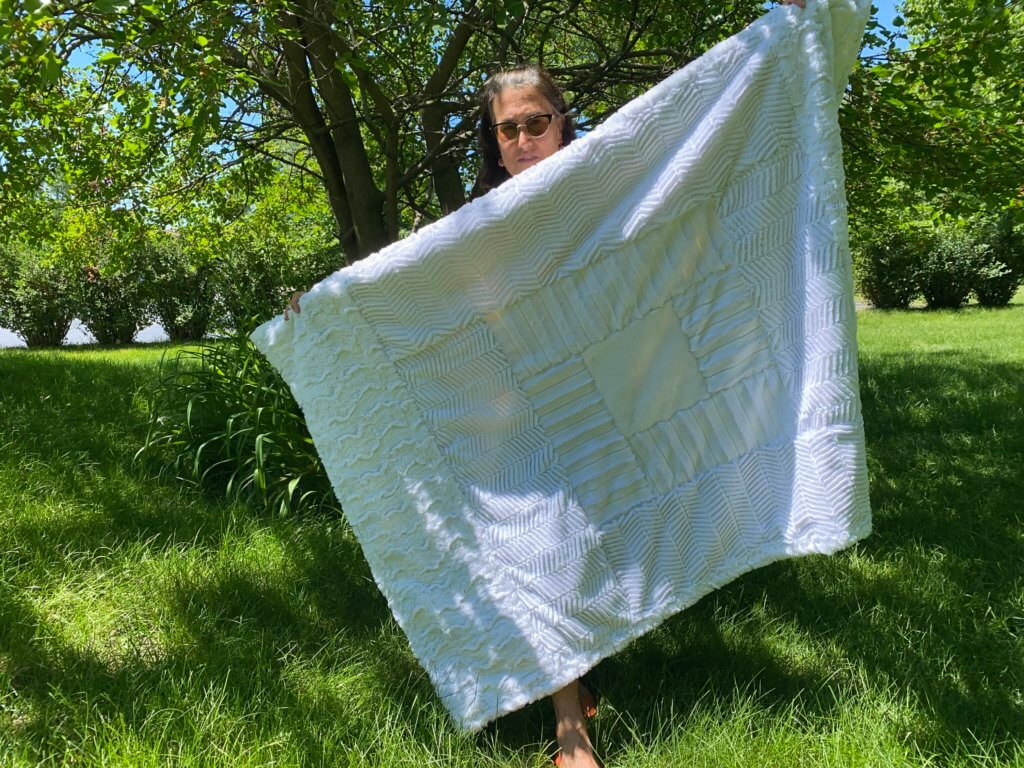
I’m going to talk you through this. There’s no real pattern so to speak. And, it’s not my own original idea. There have been lots of people that have done quilts like this, but here’s my version of this. It’s a quilt as you go quilt, and that makes if even better. It’s all made from Shannon Fabrics Cuddle, the only kind of minky I would ever use. It’s the only kind we have in the shop. You use multiple different textures, but all the same color. This gives it a very elegant look. I used Luxe Cuddle Chinchilla in Snow, Luxe Cuddle Seal in snow, Luxe Cuddle Ziggy in Snow, and Luxe Cuddle Glacier in Snow.
What you will need:
- 1/3 yard of Luxe Cuddle Seal
- 1/2 yard of Luxe Cuddle Chinchilla
- 7/8 yard of Luxe Cuddle Ziggy
- 5/8 yard of Luxe Cuddle Glacier
- 1 1/4 yard of 60” wide fabric for backing
- Batting that is 46” x 60”
- Sewing machine with walking foot
- thread to match
- basic sewing supplies
- 2 wooden skewers
- Basting safety pins
Cutting:
- From the Luxe Cuddle Seal 10” x 10” square
- From the Luxe Cuddle Chinchilla cut 2 strips 7” x 7”
- From the Luxe Cuddle Ziggy cut 3 strips 10” x 10”
- From the Luxe Cuddle Glacier cut 2 strips 10” x 10”
Make the Quilt
Centering the Fabric
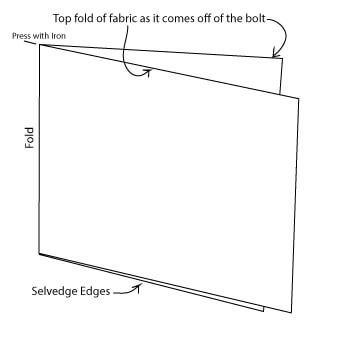
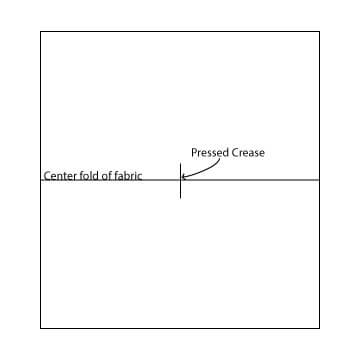
- Mark the center of the backing fabric by folding it in half as shown.
- Press the upper corner with an iron to make a crease that will look like a plus sign.
3. In the center of a flat surface like a table or countertop make a plus sign with the two wooden skewers and tape them down to the surface with masking tape. You can also use 2 larger, round toothpicks.
4. Open the fabric out and lay it on the large surface with the wrong side up. Center the fabric so that the plus sign in the fabric is positioned on the center of the plus sign that you made with the wooden skewers.
5. Smooth the fabric out with your hands so that there are no wrinkles.
6. Layer the batting on top of the backing fabric, centering it. Continue to smooth the batting and the backing fabric out so that there are no wrinkles. Smooth from the center outward.
6. Place the 10” x 10” square of Luxe Cuddle Seal in the center of the batting right side up. Feel for the skewers that are located under the fabric, batting and cuddle seal square. Center it.
7. From one of the Luxe Cuddle Chinchilla strips cut a piece that is 11” long.
8. Lay the chinchilla strip along one side of seal square, right sides together. Pin along the edge.
Note: When sewing with Cuddle you must pin so closely that the tip of the pin practically touches the head of the pin above it.
9. Increase your stitch length so that you have a longer stitch length about a 4 on a Bernina.
10. Make certain your walking foot is on the machine.
11. Roll the backing fabric and the batting together starting on the right side of the entire unit, rolling toward the center, so that it will fit through your sewing machine. Stop rolling near the chinchilla strip and square.
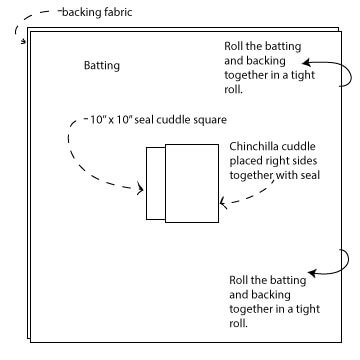
11. Stitch along the edge of chinchilla and square using a 3/8” to 1/2” seam allowance.
12. Open the strip out from the square.
13. Smooth it outward and place basting pins through the chinchilla strip and the seal square, making certain to catch all the layers through to the backing fabric.
14. Continue to smooth out the backing and the batting so that there are absolutely no pinches or puckers in them. They need to stay very smooth.
15. From the Chinchilla strip cut a piece that is 18” long.
16. Lay the 18” chinchilla strip right sides together along the edge of the seal square and the previously added chinchilla strip. Pin securely.
17. Again, roll the batting together with the backing so that it fits into your sewing machine.
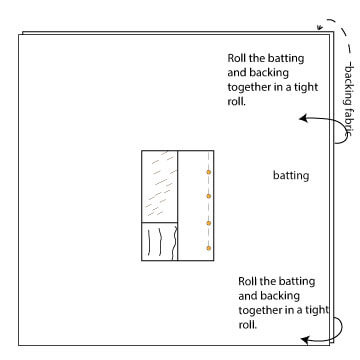
18. Stitch the strip of chinchilla to the first unit sewn.
19. Open out the strip and smooth the batting and backing outward from the center making certain there are no puckers or pinches.
20. Cut another strip of Chinchilla 18” long and continue to work around the center square repeating steps 8-19.
21. Once the entire square of seal is bordered by chinchilla, repeat all of the above steps with the Luxe Cuddle Ziggy, measuring the lengths needed around the square created by the Chinchilla.
Note: Make certain to pin the luxe cuddle strips down with basting safety pins after they are sewn onto the quilt. Continue smoothing and pinning.
22. Add strips of Luxe Cuddle Glacier to the short ends of the quilt, using the techniques described above.
Binding:
Using the leftovers from the strips of Luxe Cuddle, cut strips that are 2” wide, and stitch them end to end so that you have one long strip that measures 6 1/4 yards long.
Apply cuddle binding by referencing https://www.shannonfabrics.com/tutorials?main_page=tutorials&search=binding
Cuddle up with your new Cuddle Quilt!

