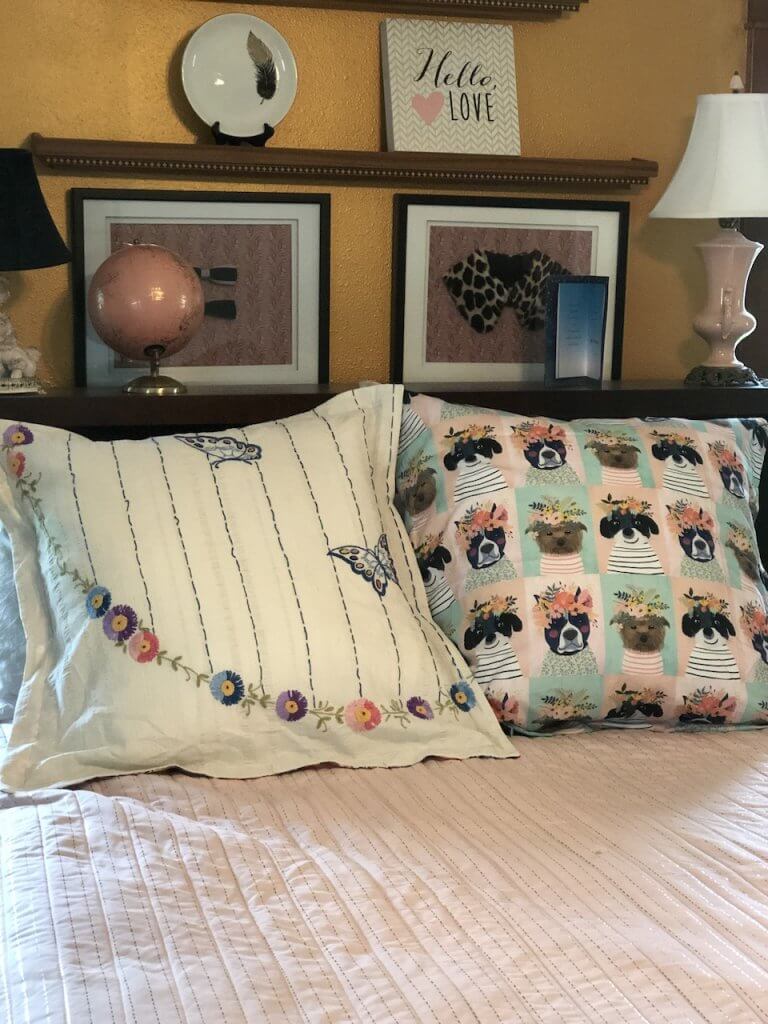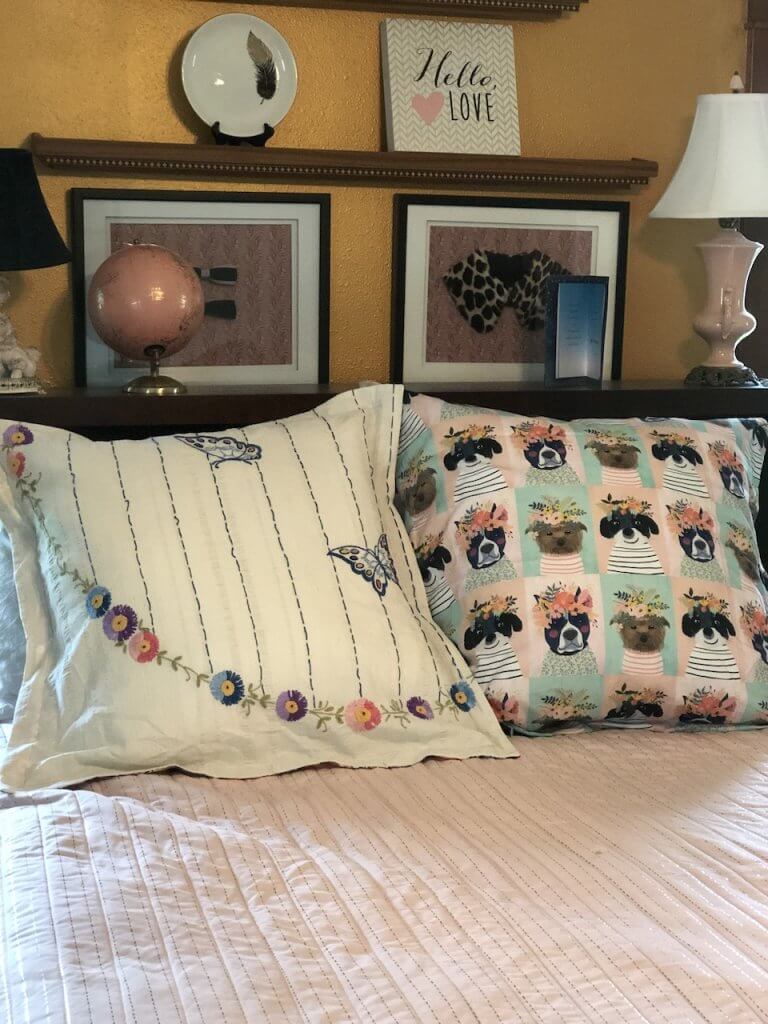
Today I would like to talk about making pillow forms in a simple but very decorative manner.
Certainly, you could just cut out the size squares that you would need to cover the pillow, sew them right sides together, insert the pillow and stitch it the fabric closed. If you do that, what you end up with is something that cannot be easily removed to be laundered, and something that looks much less professionally finished.
I really love a professional finish to my pillows. I like each and every part of it to be part of the design, even the zipper.
I have posted a ton on how to make zipper enclosures so today I am going to post on how to do a simple flap or envelope enclosure. It is simple, but I have added some design elements to it as well.
It’s May, and it’s planting season. I came straight in from the garden, washed my hands with soap and water, but I am afraid that some of the good old fashioned garden dirt was still a little under my nails, so excuse some of the photos! I was in such a hurry to get the pillow done before the baby woke up. There’s only so much time a baby will nap! You have to be an opportunist!
Here’s where we will start. I am using a huge pillow, but you can use any size you want and these directions will apply. For demonstration purposes I am going to say that it is a 16 x 16” square pillow.
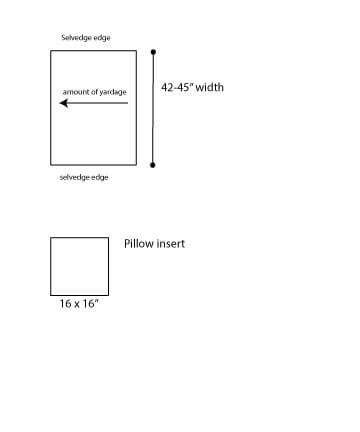
If your pillow is 16 x 16” you are only going to need about a 1/2 yard of fabric for the front and a half yard of fabric for the back. If that seems excessive, just wait and you will see why you need this much.
On the 1/2 yard piece that you want for the front, you will cut it to 17” x 17”. This is enough to allow for seam allowances. If you want to make a small flange around the edge, then cut it to 18” x 18”. I should mention that a fat quarter will work for this as well.
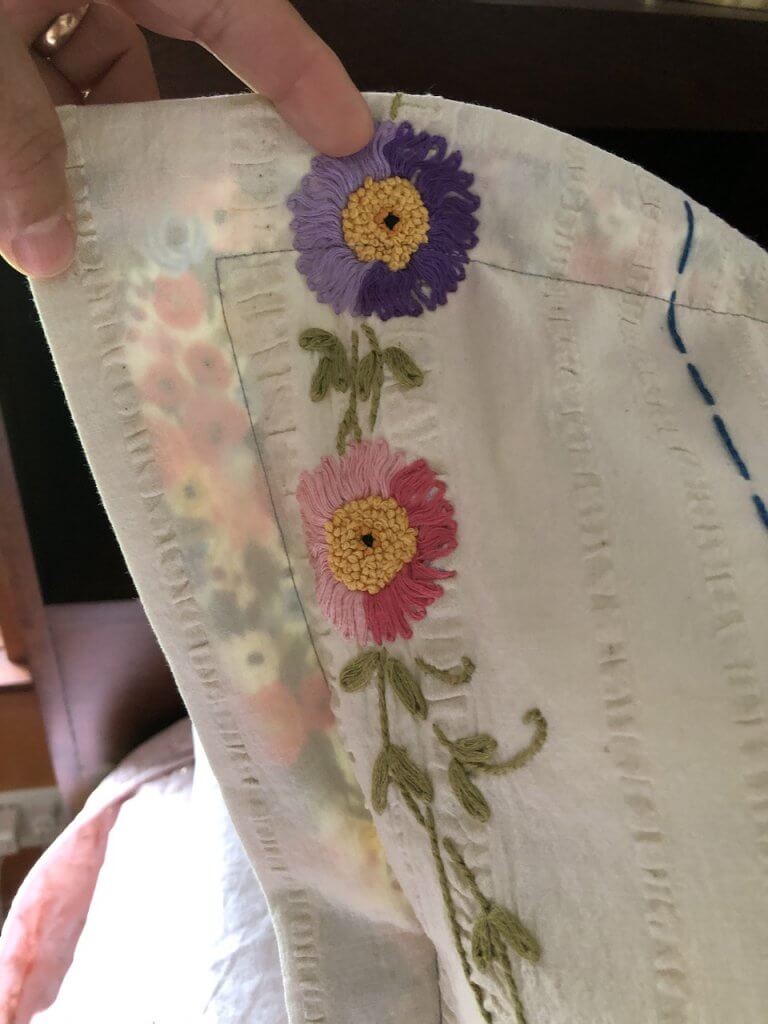
If you’re making a flange, consider how big you want it to be, and add this amount to the size of the square, and don’t forget to include seam allowance. So, if I want a flange that is 1 1/2”, and my pillow is 16 inches square, I will need to cut a square that is 17 3/4” if I am using a 1/4 inch seam allowance. When I am quilting I always use a 1/4” seam allowance, but for many other things I use a slightly larger seam allowance. Therefore, I would cut an 18” square.
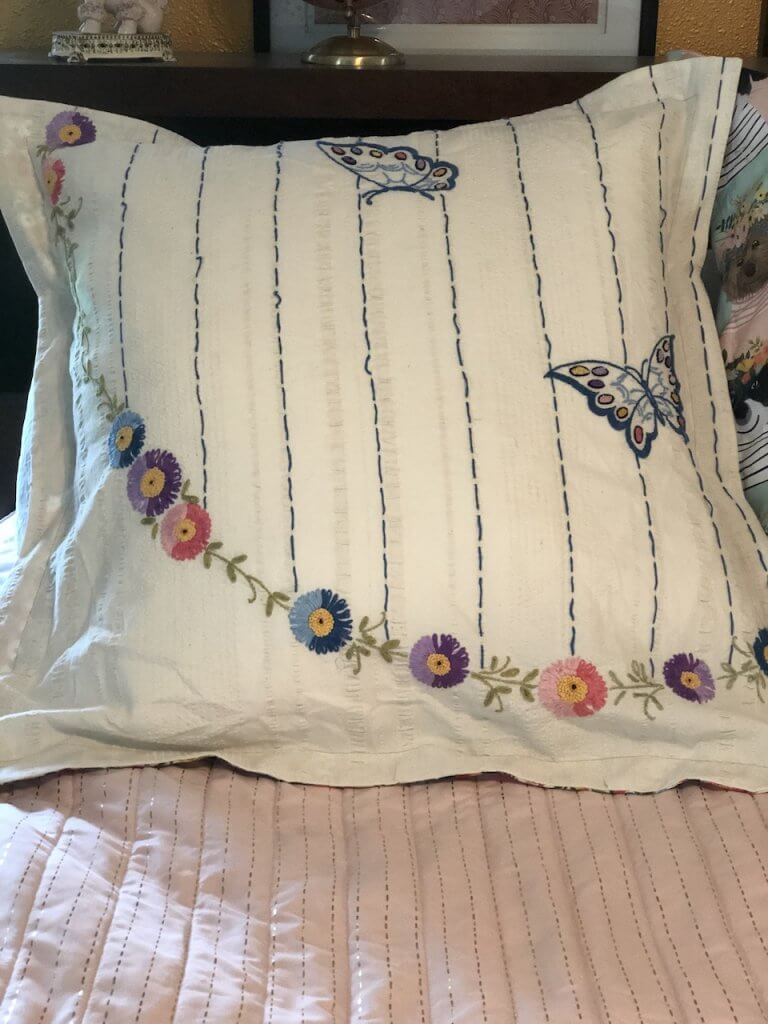
For the pillow shown above, I have used an embroidered bed coverlet for my pillow front. I cut it to 28 inches square because my pillow insert is 26 inches square.
For the back of the pillow, you are going to use the entire width of fabric. You will have scraps left over.
Fabric is 42-44 inches wide. If your fabric is 1/2 yard in length and 42 inches wide, you can accomodate a 16 inch square pillow.
Cut your fabric along the middle of the fabric parallel to the selvedge.
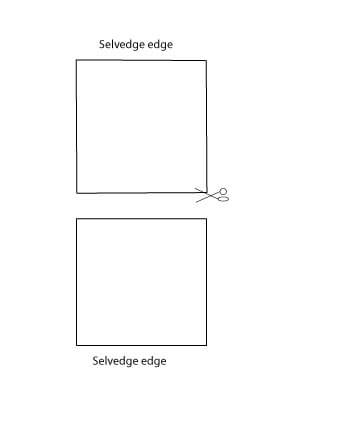
The next thing you will do is prepare the edges of the fabric.
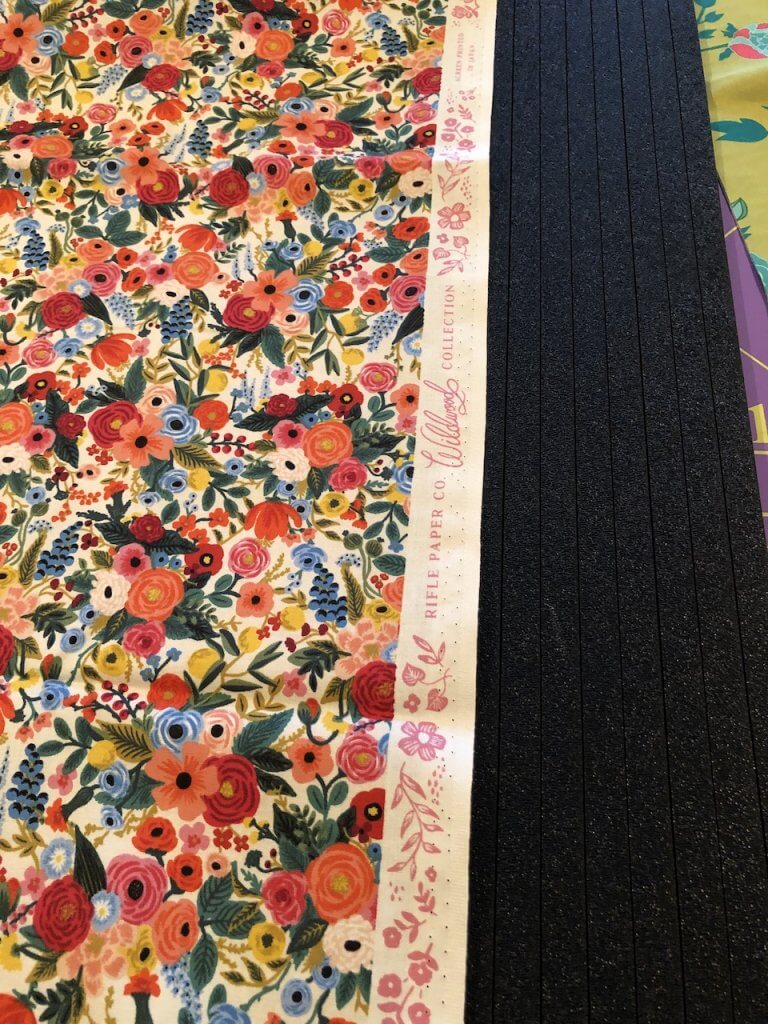
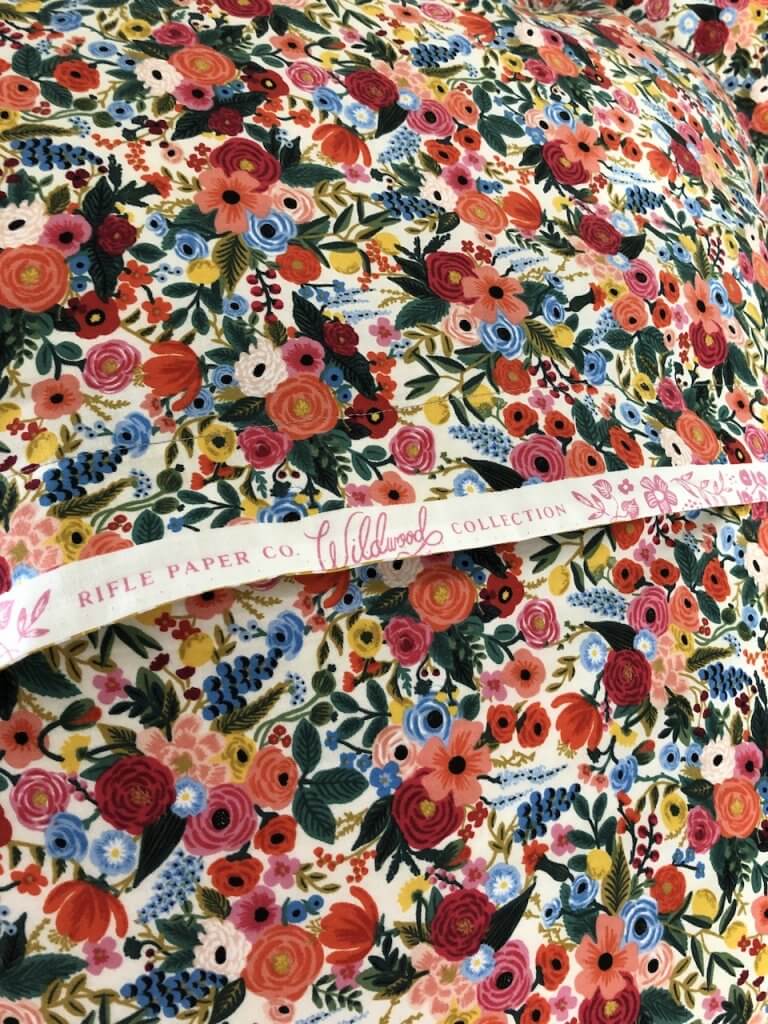
I have decided to use the selvedge edge as a design element. I want it to be on the outside. You don’t have to do this, you can just use your cut edge.
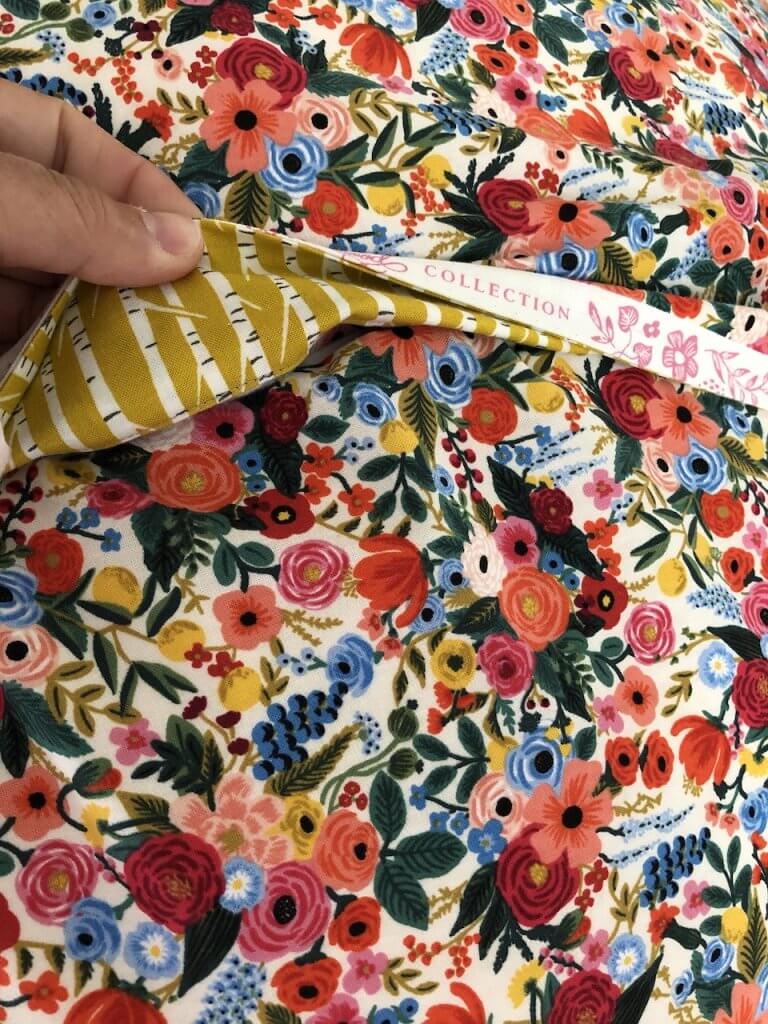
Cut a strip of coordinating fabric that is a different print or a different color, 2 1/2” wide by the length of your fabric. So if you have a 1/2 yard of fabric, your strip should be 2 1/2” x 18”. Stitch this strip right sides together with your cut edge. In my case, I stitched it right sides together with the selvedge edge.
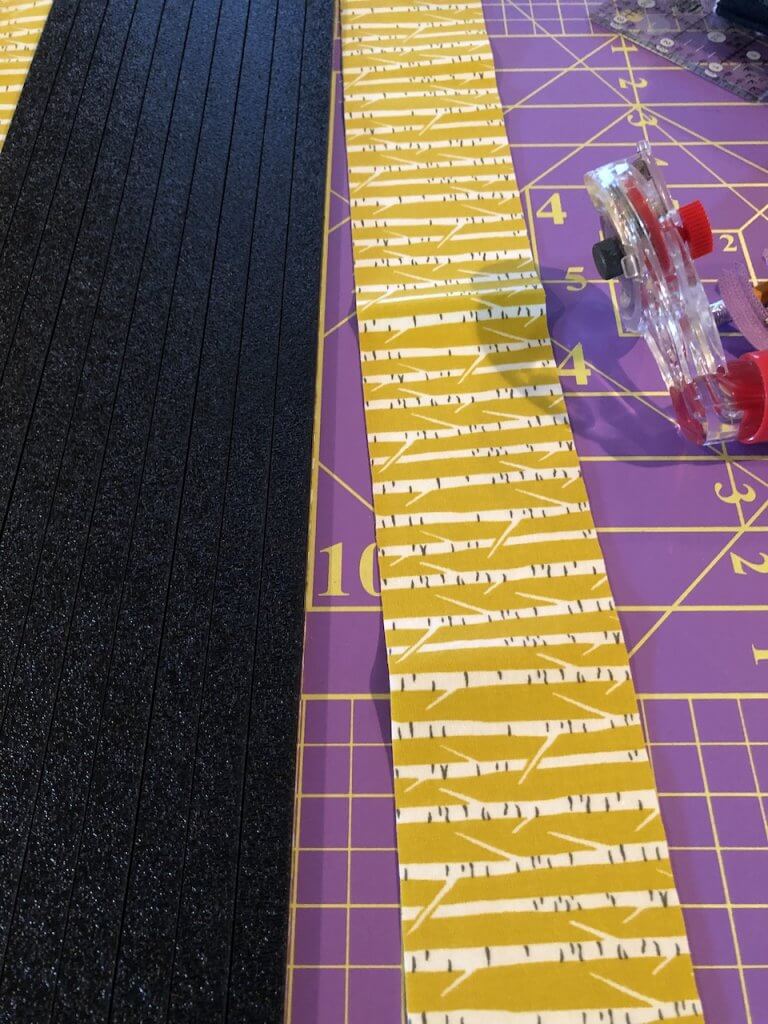
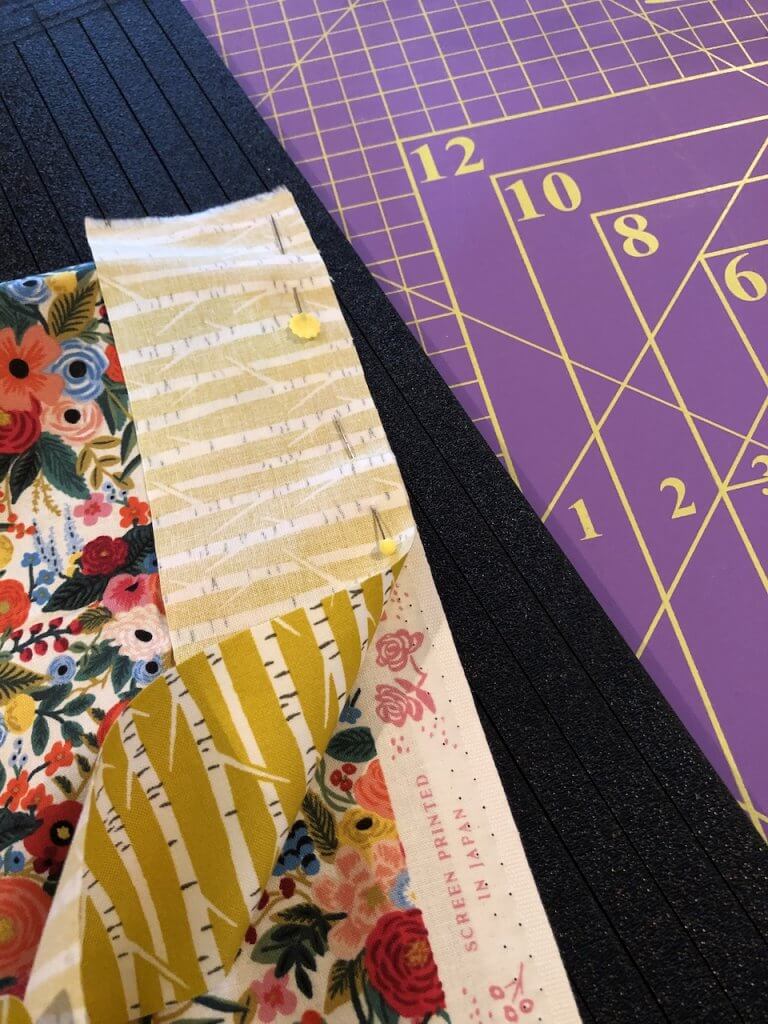
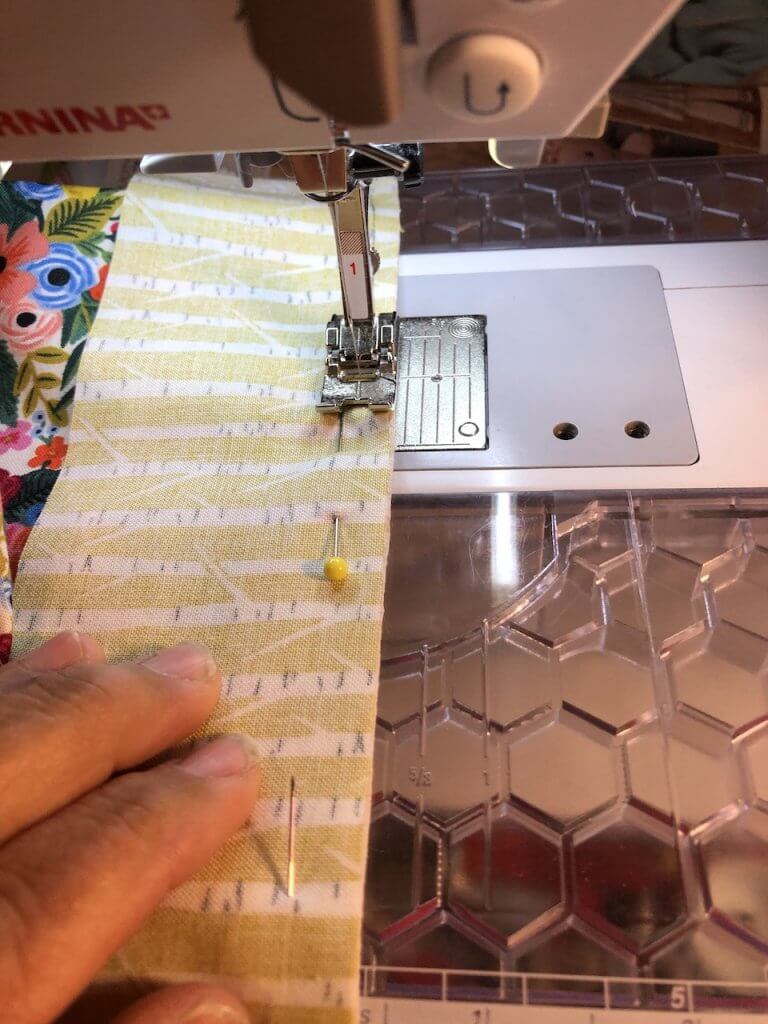
This process creates a finished edge for your envelope flap. After stitching the strip on, turn the strip so that it is right sides out and press.
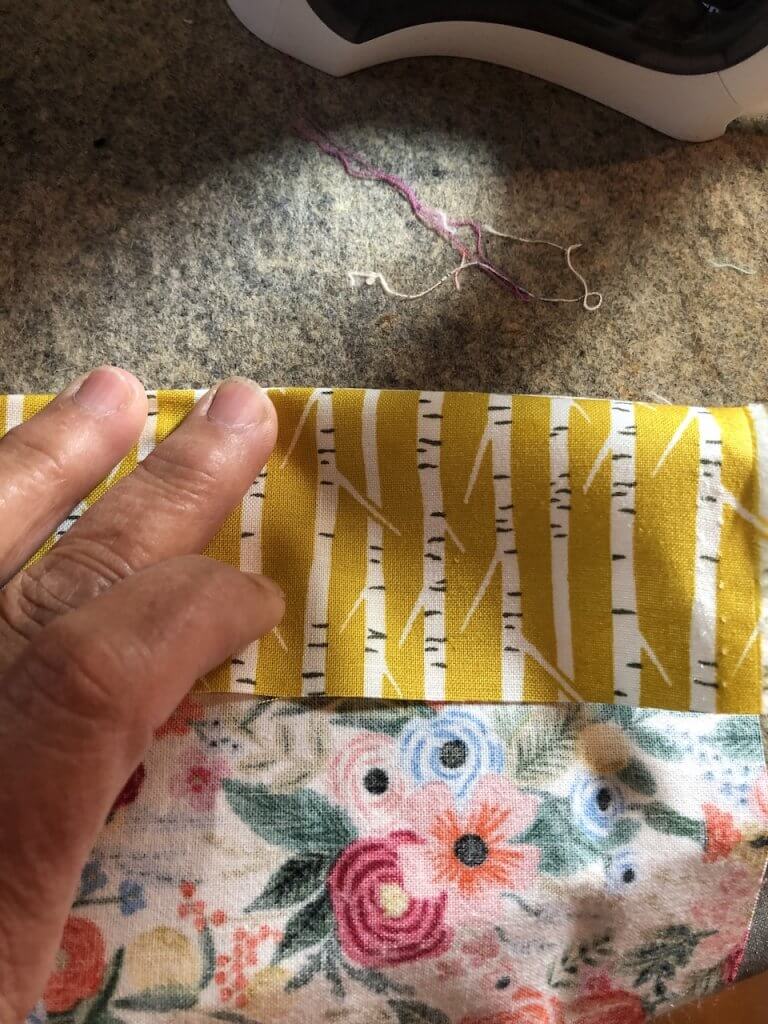
The wrong sides are now together, but you have one finished edge, and an edge of the strip that is not finished. You are going to turn that under 1/4 inch, press and stitch it down.
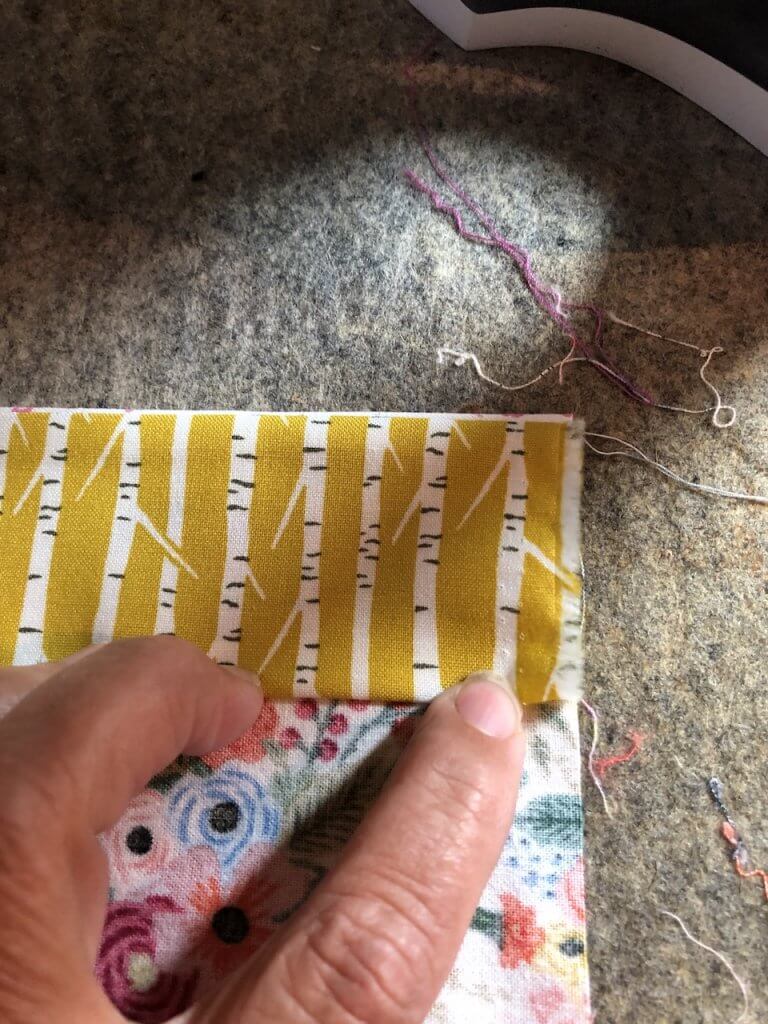
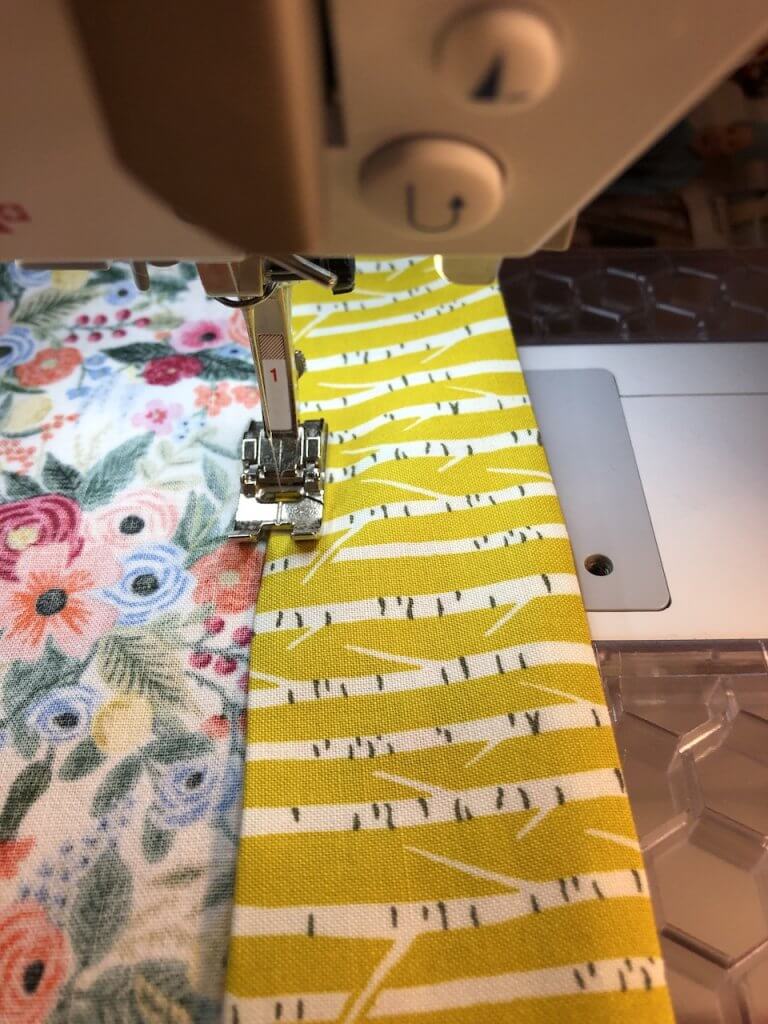
Now you have a flat that is perfectly finished off.
The next thing that you need to do is pick up the other half of the fabric that has not been finished off. The edge that you cut, that is parallel to the selvedge, will now be finished off.
Turn the edge under 1 inch and press. Turn it under 1 inch again, and stitch the edge.
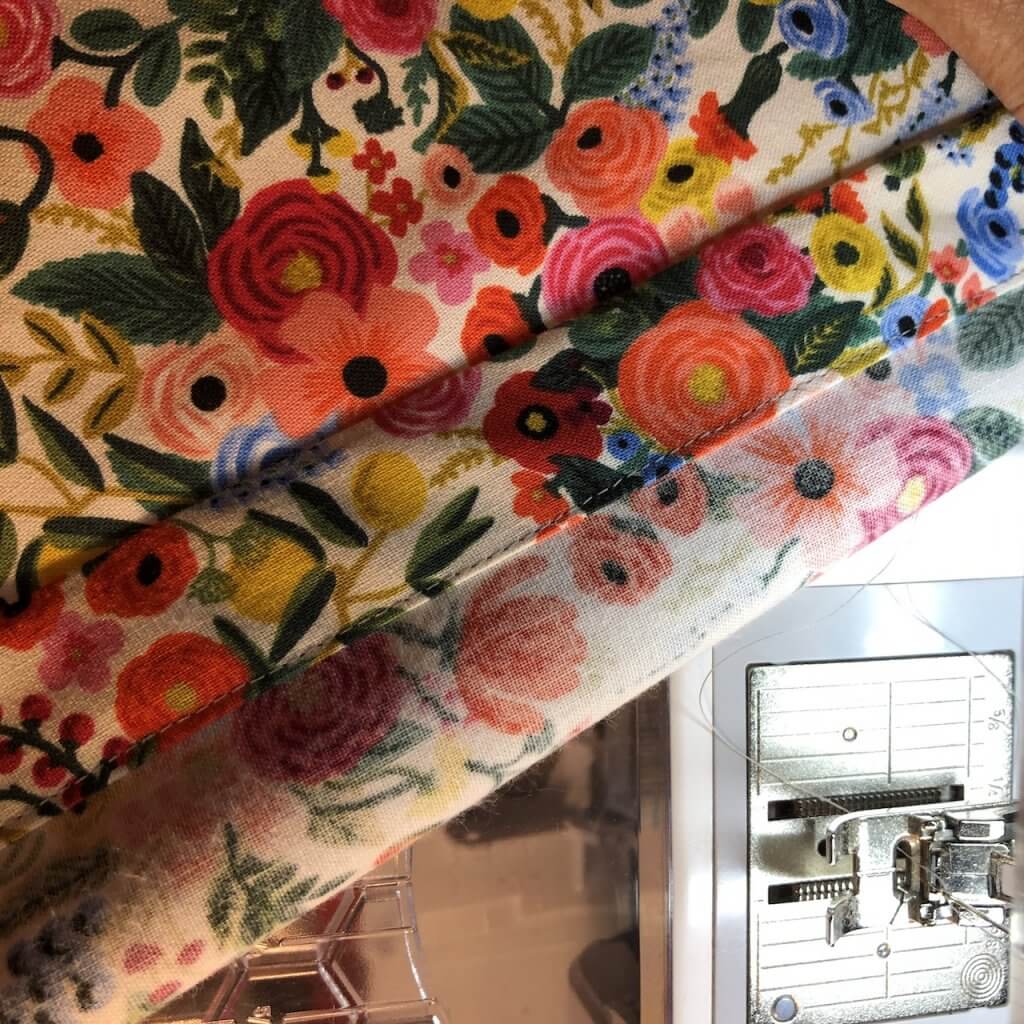
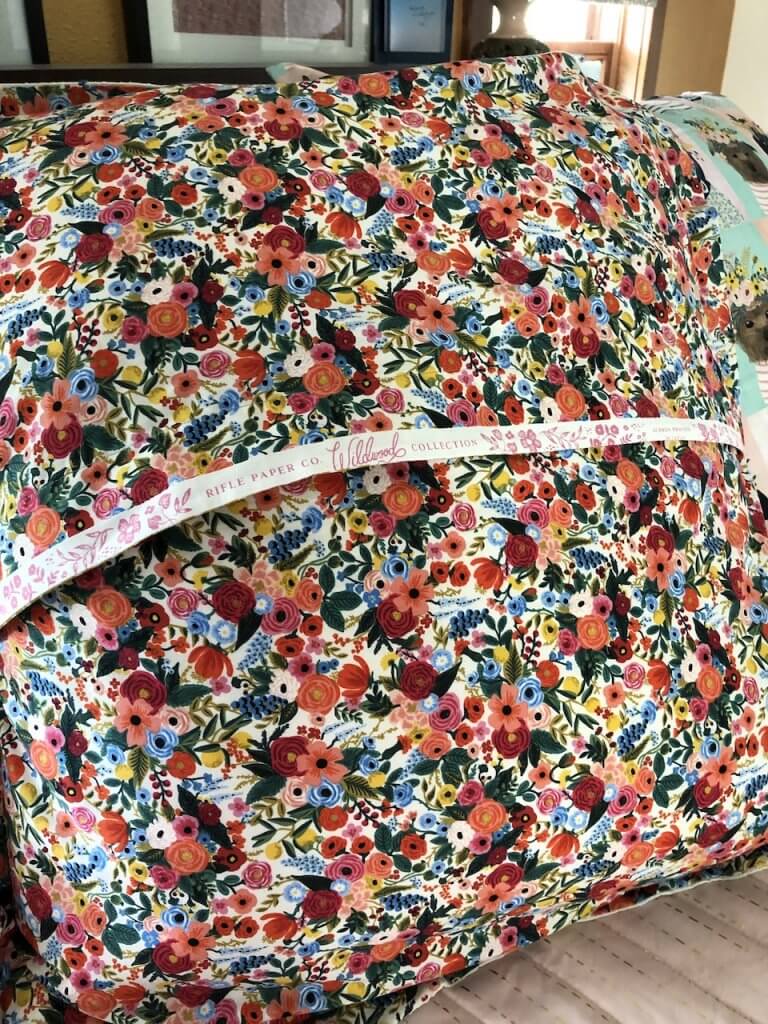
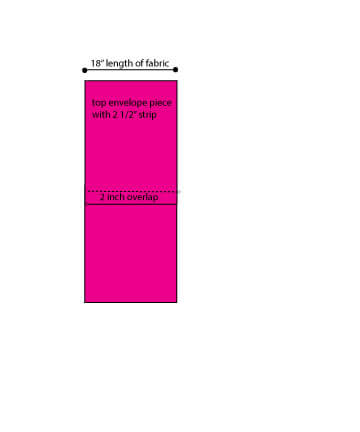
Now you have 2 sections with finished edges. These are the envelope flaps. Lay them down on a cutting board with the wrong side of the fabric down. The finished flaps should be next to each other. I laid them down on my bed because my cutting board was too full of stuff. Overlap the finished edges, with the one with the 2 inch strip on top.
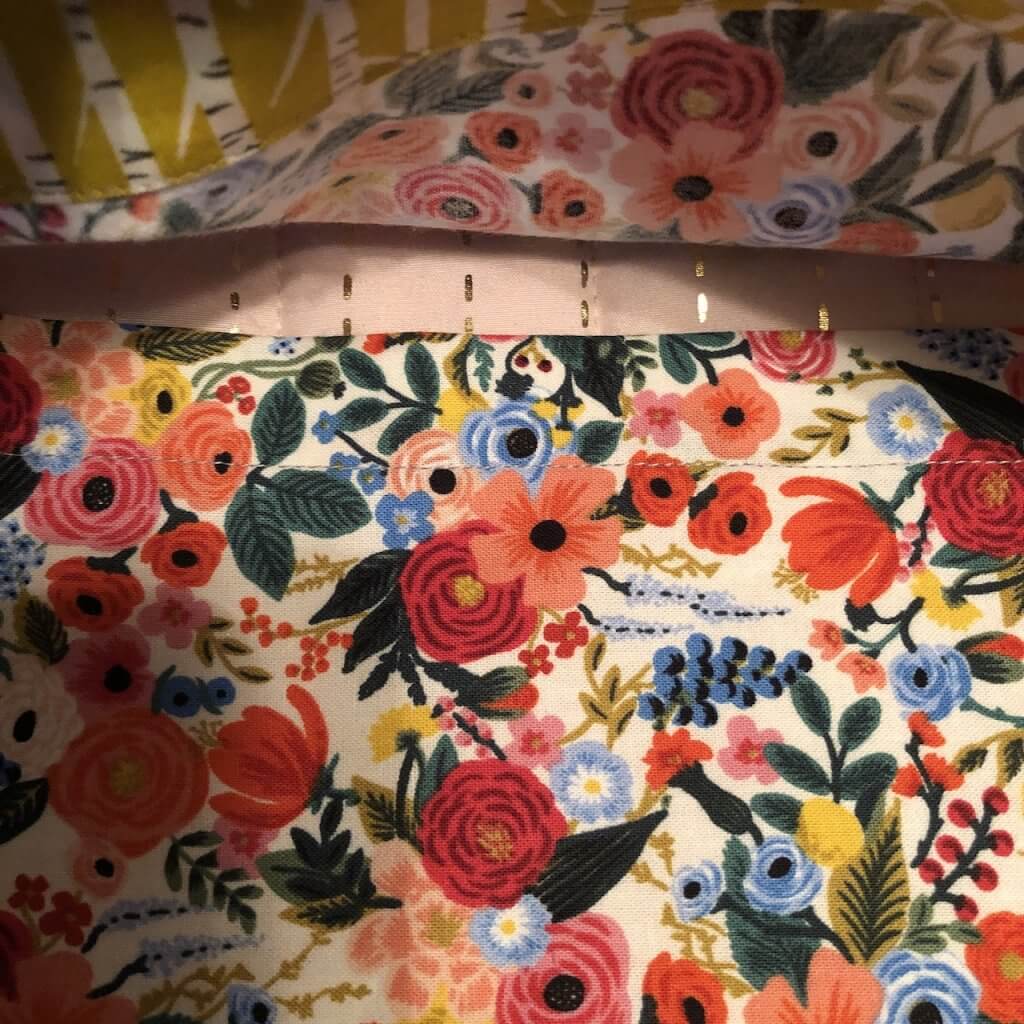
Overlap them about 2 inches. That means that 2 inches of the top piece should lay over 2 inches of the bottom piece.
Now you’re ready to add your pillow front to the back envelope. If you have already cut your front to 18 x 18”, great. If not, do so now.
Center your 18 x 18” pillow front over the flapped section of the pillow back. You will have edges sticking out at 2 ends.
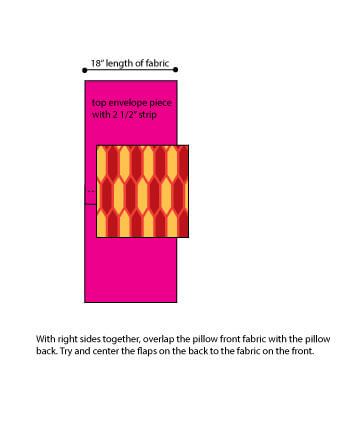
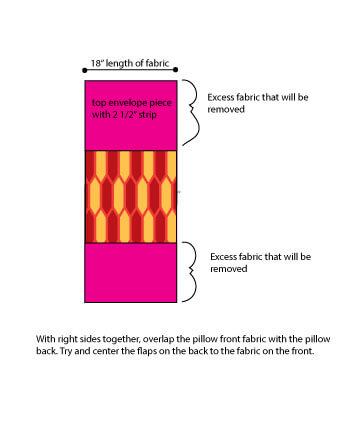
Place pins all the way around the perimeter. Make sure that the fabrics are all layered and pinned very securely. You can even handbaste the outside perimeter of the front to the back.
Take it over to the sewing machine and stitch all the way around the perimeter.
Cut off the excess fabric on the ends. Trim, and clip corners to eliminate bulk in the corners. Turn right sides out.
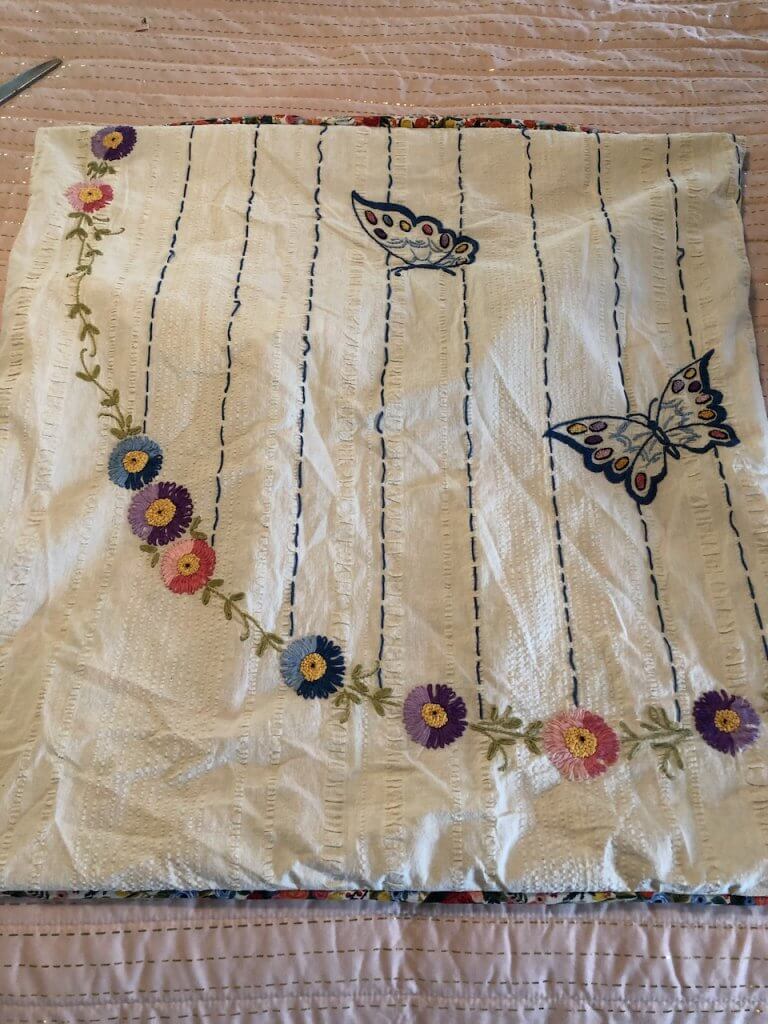
Press. To make your flange, you will need to mark 1 1/2” on your sewing machine from the needle to the spot on the machine where the 1 1/2” seam allowance would be. After doing this, stitch around the entire perimeter 1 1/2 inches from the outside edge.
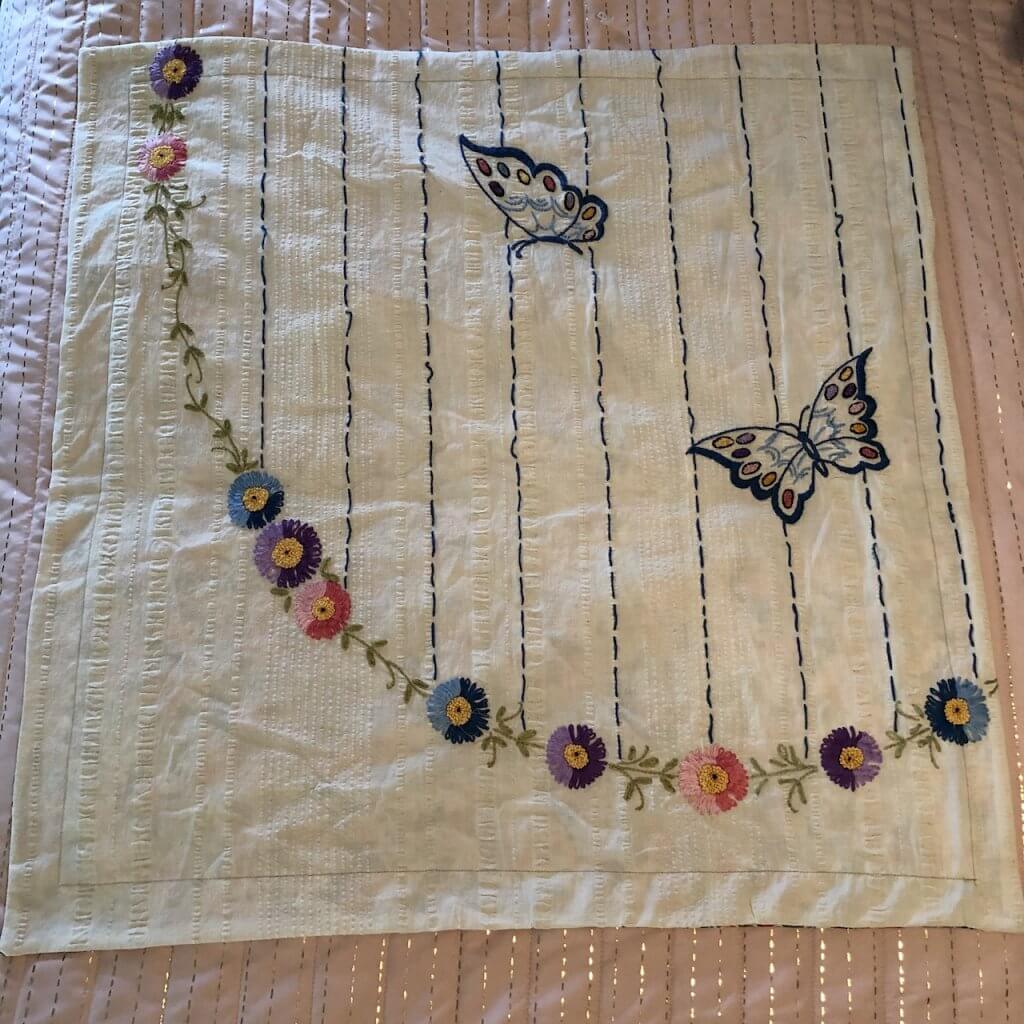
Insert your pillow through the flaps in the back!
