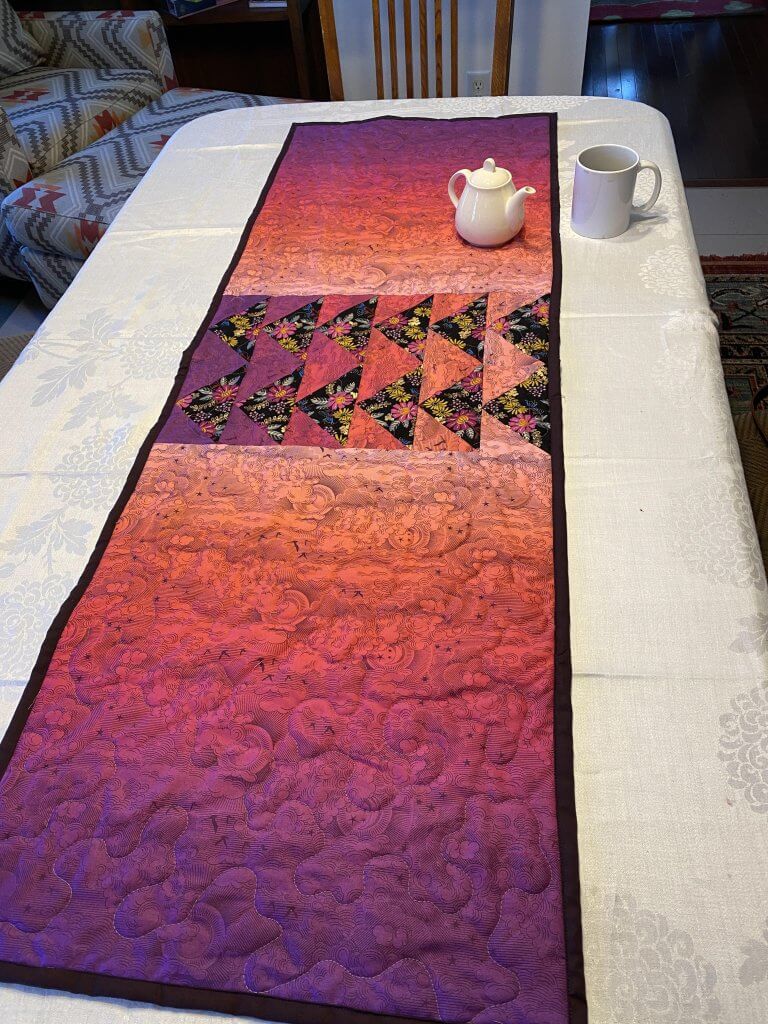
You see the ombre and you love it! It’s beautiful. But what to do with it? The human eye loves to see color progression and color order. The beautiful variation in color saturation just draws you in.
I have decided to make it easy on my customers. Make a table runner! Then everytime you see it you can count on how beautiful it is.
Fabric: Any ombre and a coordinating print.
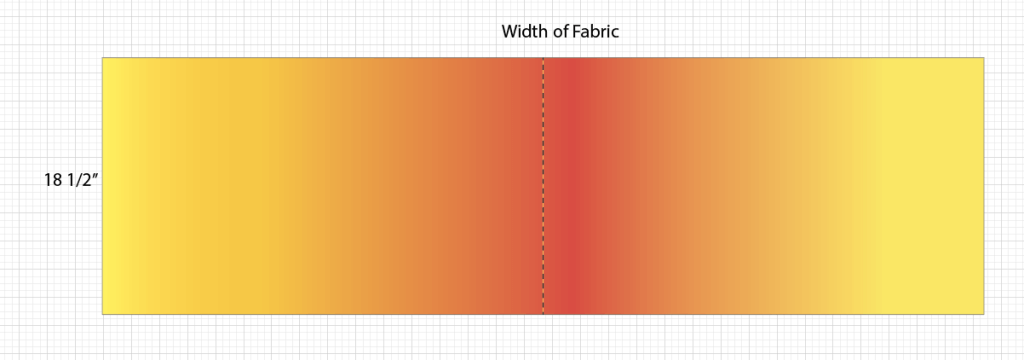
Use 18 1/2” of the ombre x width of fabric. Make a cut right down the center along either the long or short axis. If you choose to cut it down the long axis, you will need more flying geese. If you cut it on the short axis, you will need fewer.
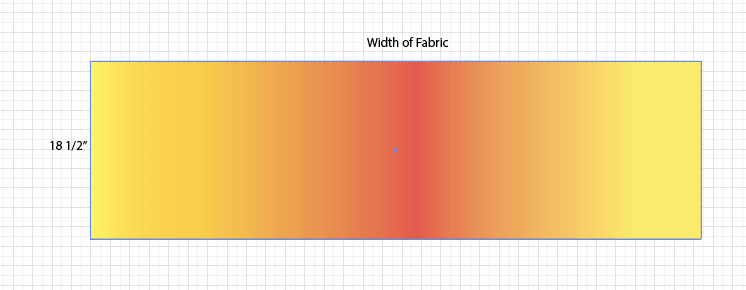
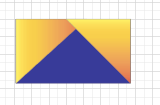
This will involve a bit of math. My flying geese were 3 1/2” x 6 1/2” because I wanted the fabric to be divided evenly. I could divided 18” plus the 1/2” for the seam allowance by 3, so I knew I could get 6 flying geese across the 18 1/2” cut. (See photo at beginning of post)
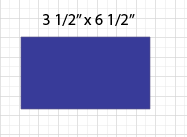
This is for the actual “geese”. The background squares should be done using the same ombre fabric, fussy cut in a way that looks good as color progression. Those will be cut 3 1/2” x 3 1/2”.
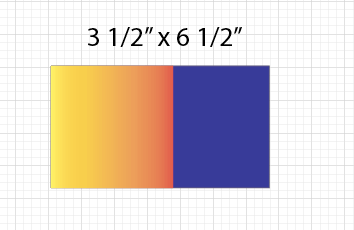
Lay the 3 1/2” x 3 1/2” square right sides together with the goose rectangle. Draw a diagonal line from corner to corner and stitch directly on the line.
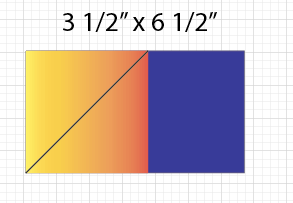
Clip the outside corner 1/4” away from the stitched line. Open out and press.
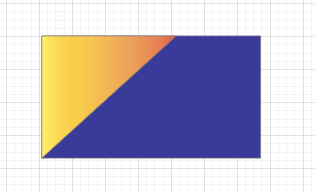
Repeat for the opposite side of the rectangle.
Create a total of 12. Refer to image below for placement. You can place the flying geese in alternating directions or going the same way.
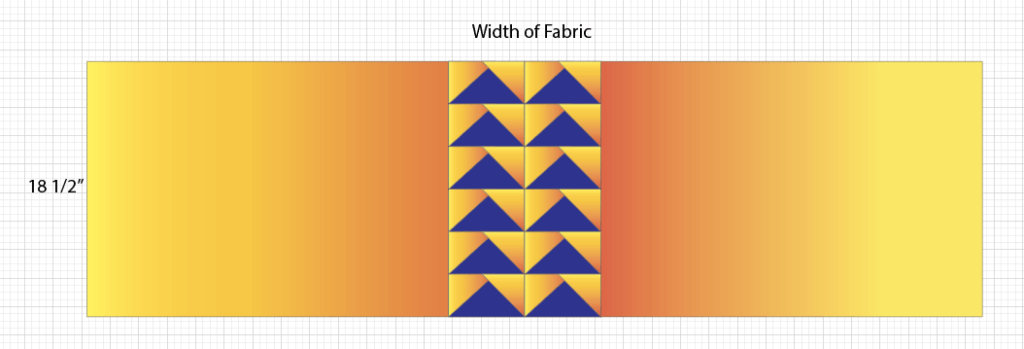
Here are some alternative layouts.

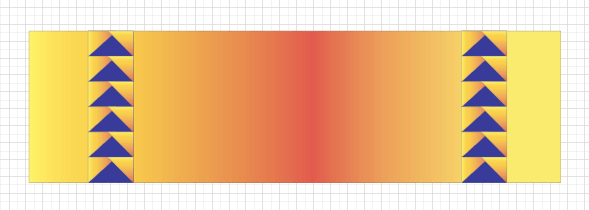
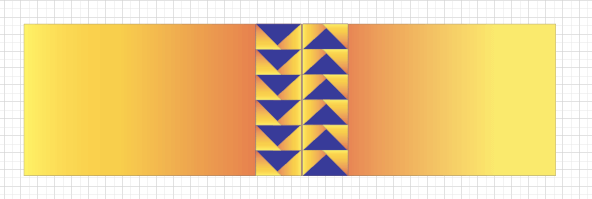
And you’re just letting the ombre do the work!
If you choose to cut the main ombre fabric down the long axis, you will need to find a way to make the multiples for the flying geese work for the width of fabric, which is usually anywhere from 42 to 44 inches. That is a little bit trickier.
So grab up some ombre fabric, about 3/4 yards, and a fun coordinating print, about 1/4 yard, and start having some fun.

