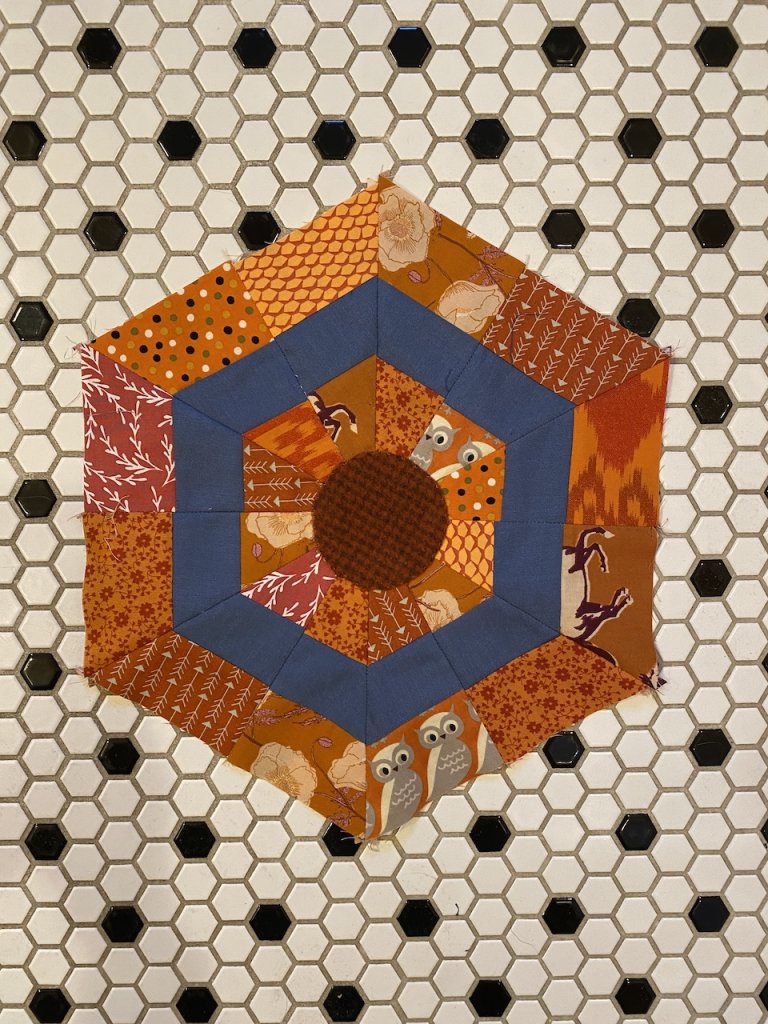
My blended hexagon block is one of my favorite blocks to make, and it lives in my book Rainbow Quilts for Scrap Lovers (C&T Publishing)
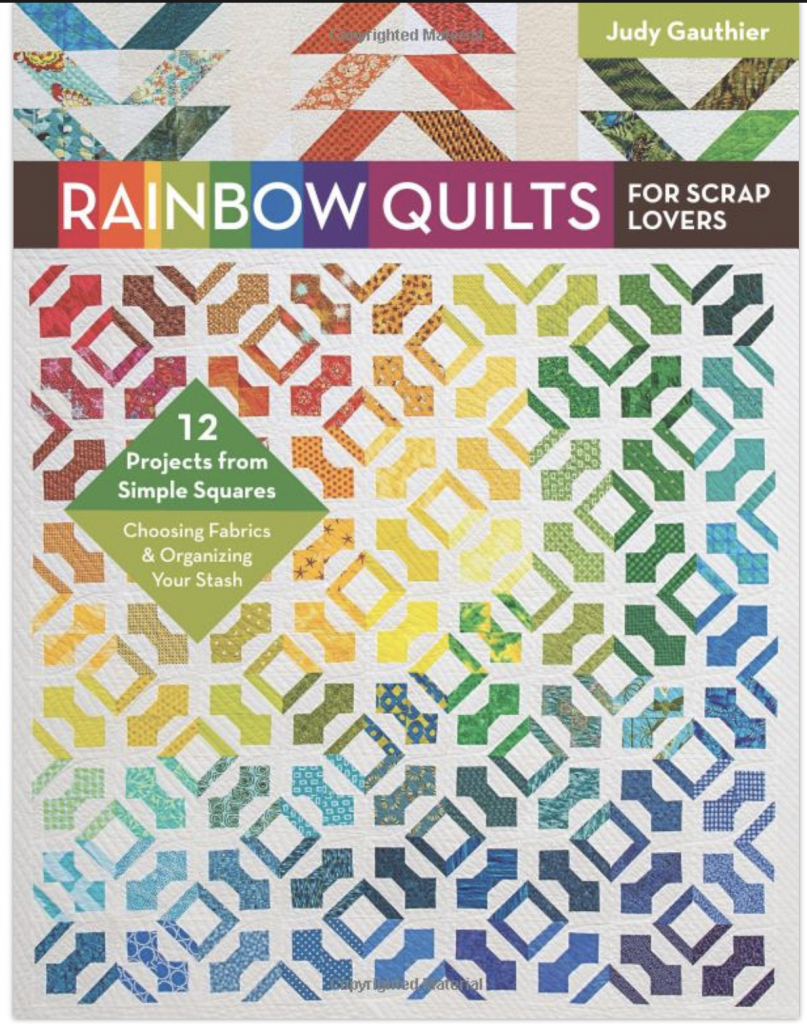
The actual quilt can be found in this book as a straight up, easy to make quilt. But there are variations on this block that add a lot of interest.
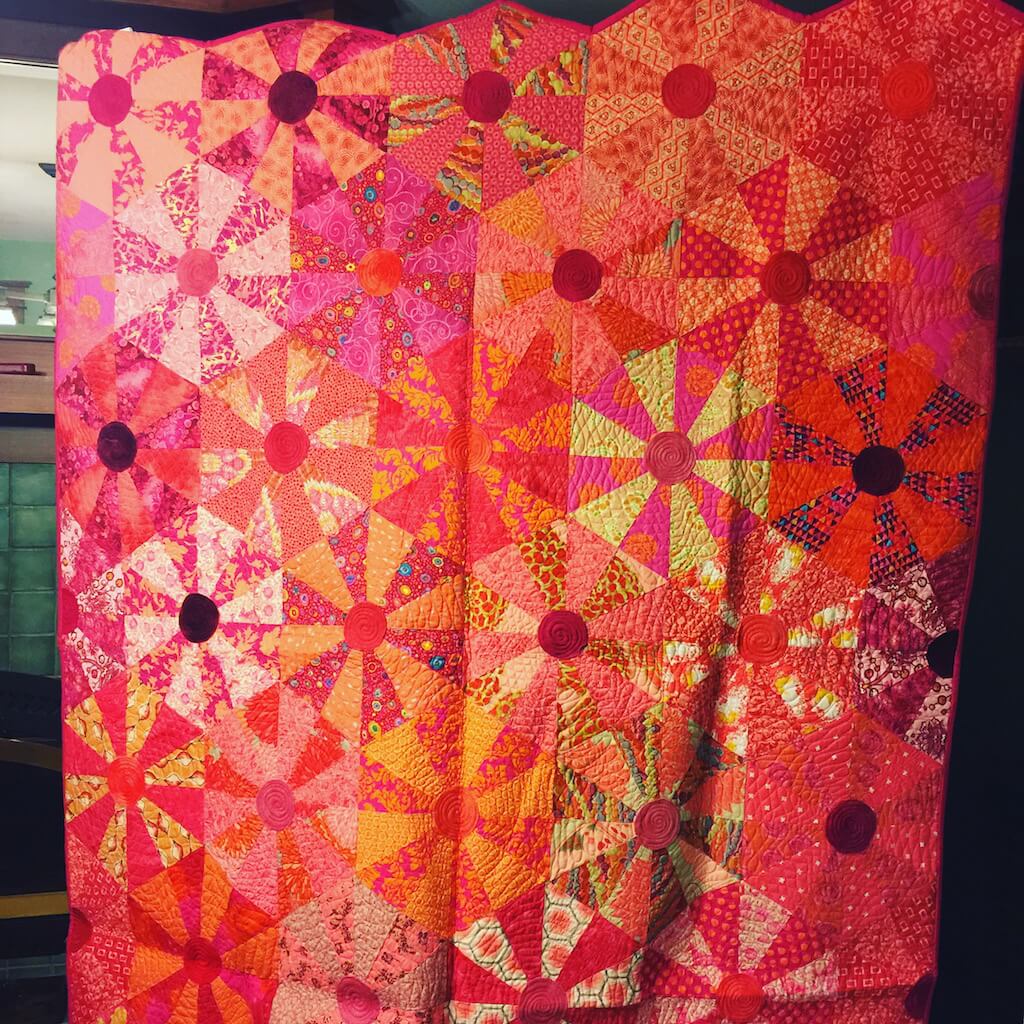
This is the Blended Hexagon Quilt. It’s deceptively easy to make, and it’s made with squares. Yup, squares.
Depending on how you create the squares before slicing them, you can come up with alternative designs when the hexagons are placed next to each other.
Here is an example. This is the star variation. The instructions for this are in a different blog post.
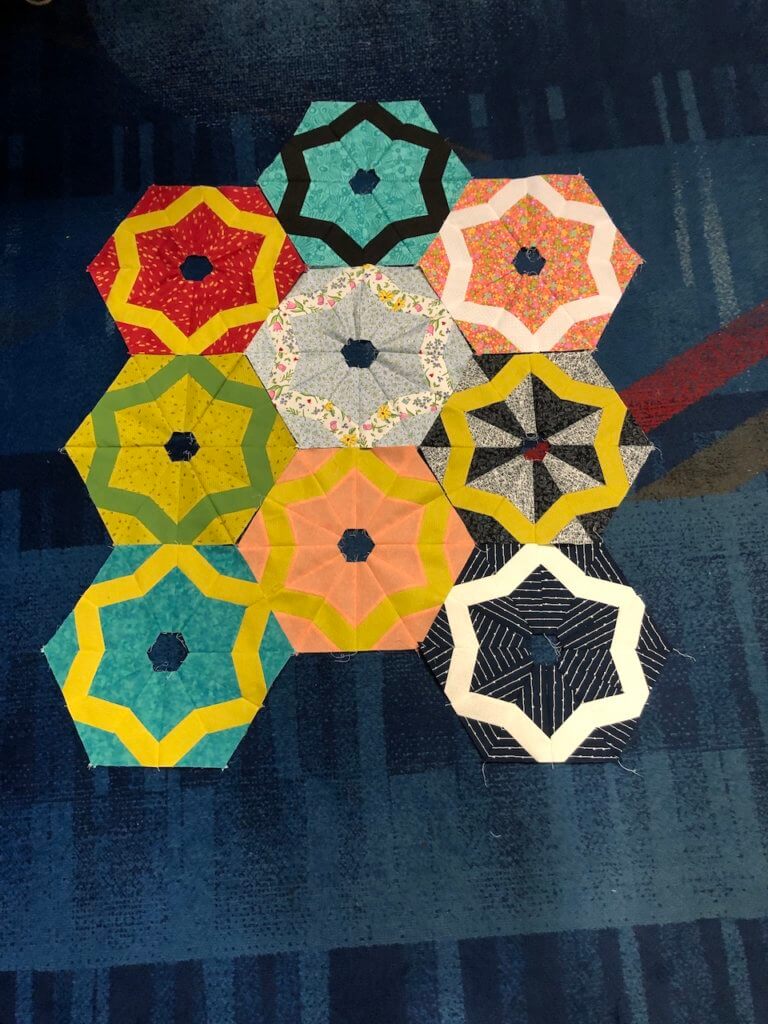
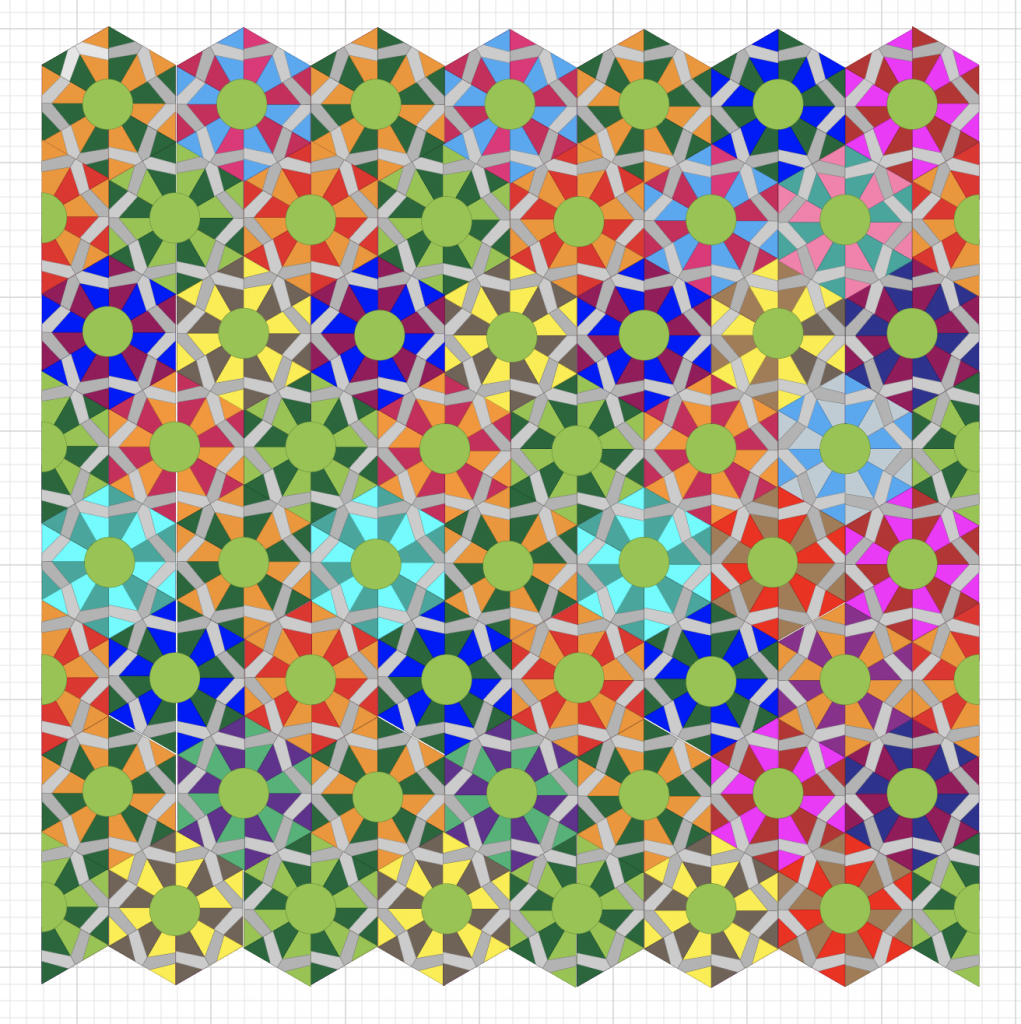
This is an actual design that I drew in Illustrator to show how this can be done. Again, it’s in a prior blog post. The actual quilt that I made using this technique is here.
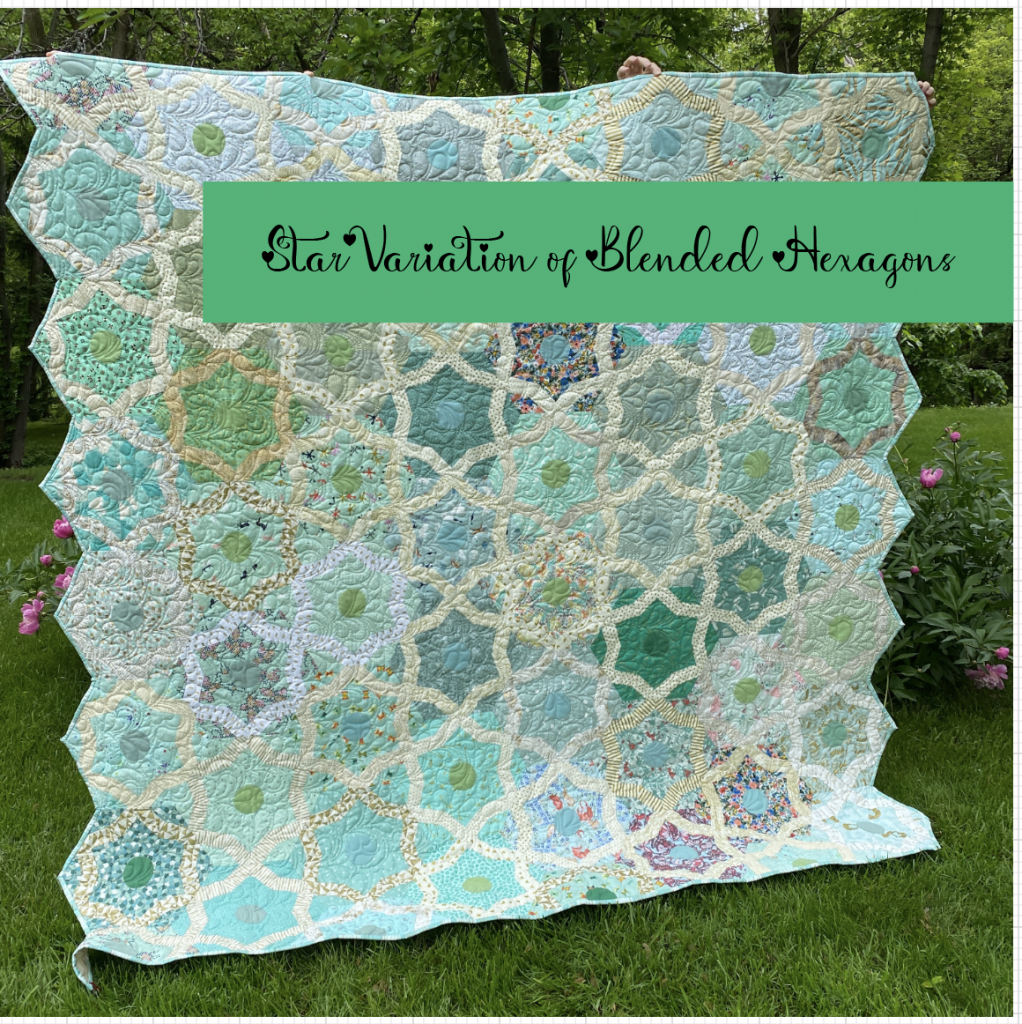
So this is not the only variation. You’re here today to see what I did by adding the strip horizontally to the block.
In the star variation, a strip of fabric is added to the squares on the diagonal before the square is cut according to the directions in the book.
If you add the strip to the blocks horizontally, it takes on a new design and a new dimension.
Would you like to see how it’s done? Sure, why not!
Like everything I do, it starts with a scraps.
Decide what color palette you desire. I have decided to use orange and blue and some neutrals. What a surprise that I should choose orange. The blue will be the strip that goes through the squares, and I am using Storm Cloud, a Peppered Cotton by Studio e.
I have cut my scraps into chunks that are rectangles. They’re not perfect rectangles. I just sliced them into rectangles that are approximately 3” by however long the scrap was.
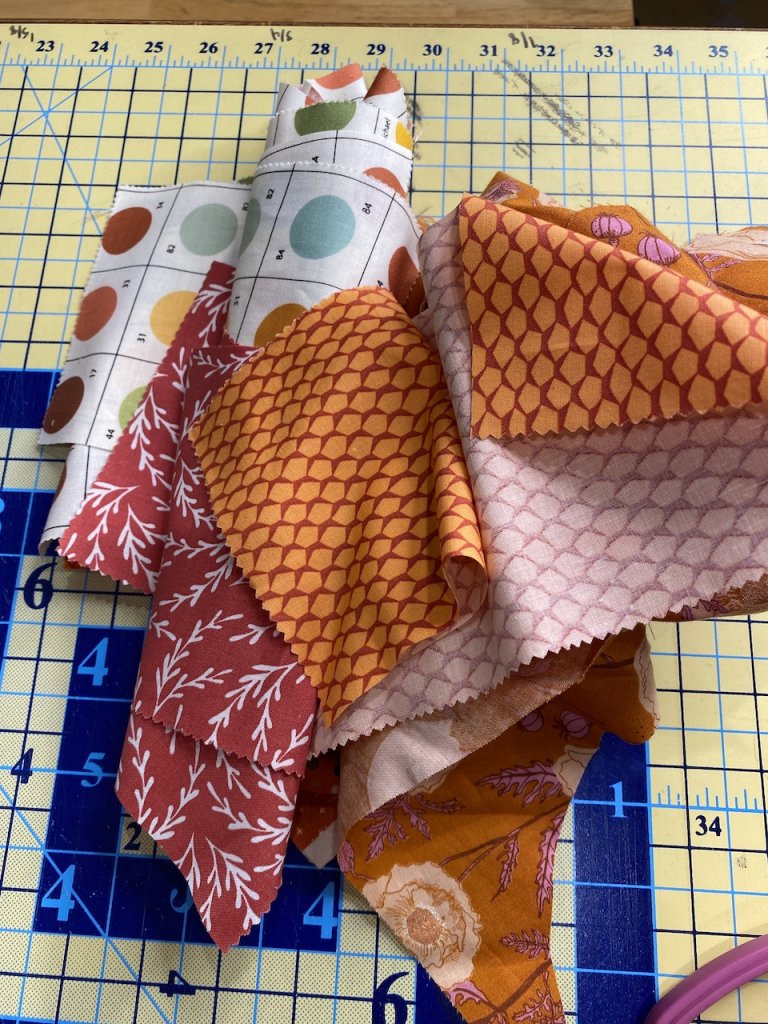
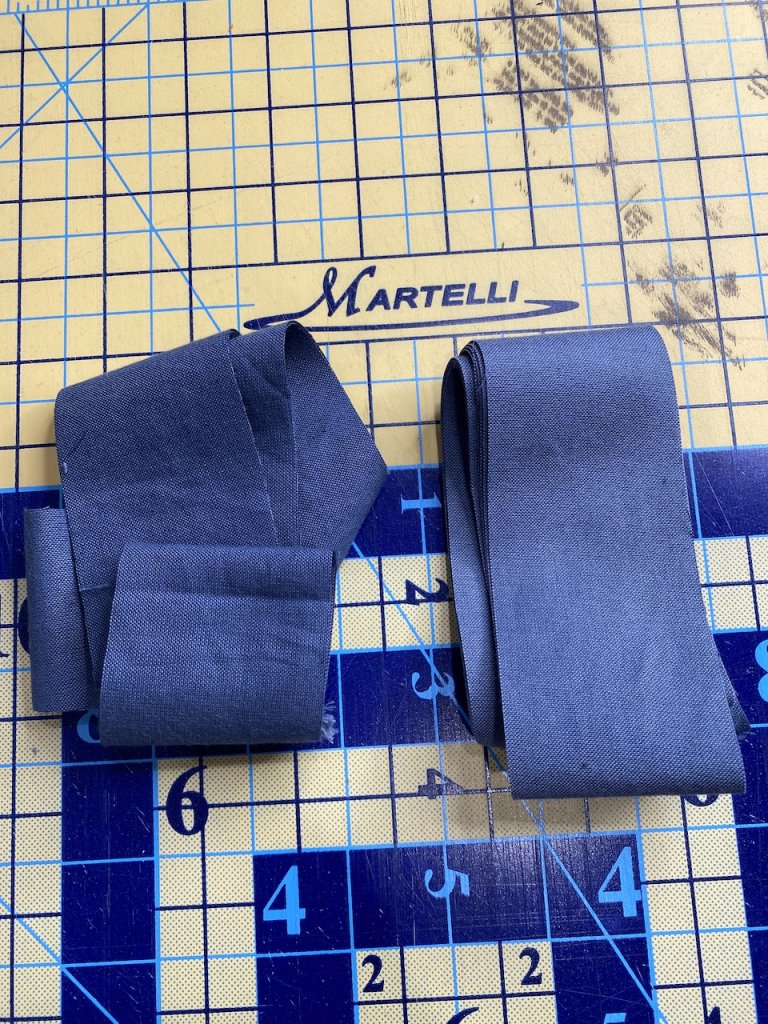
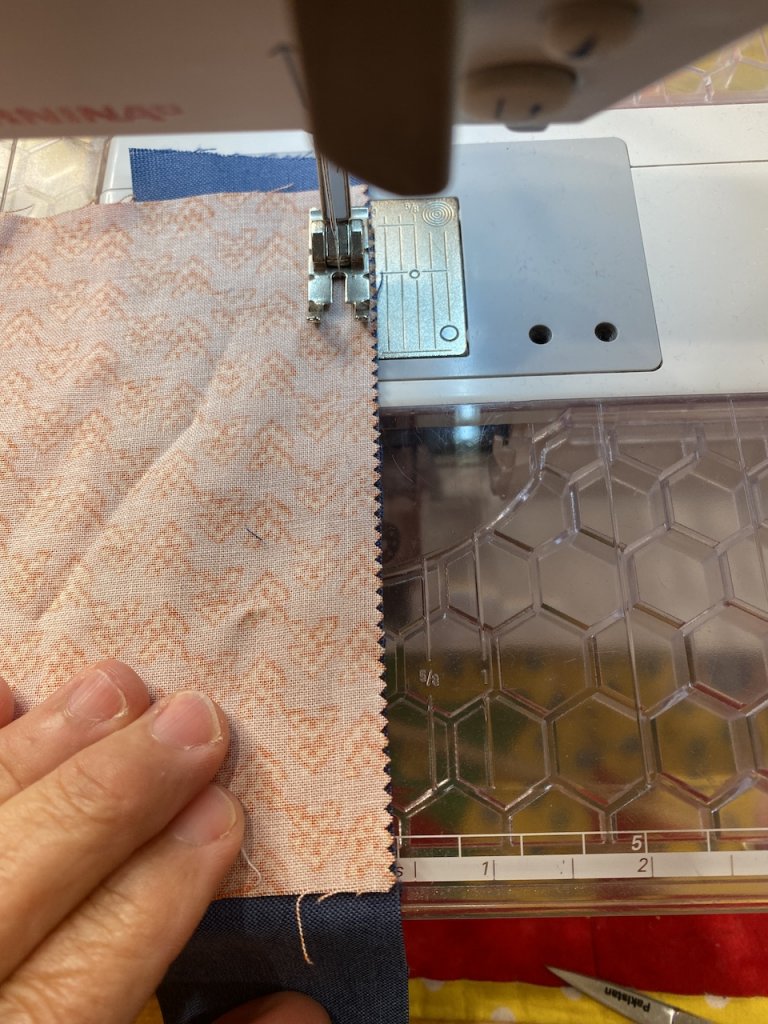
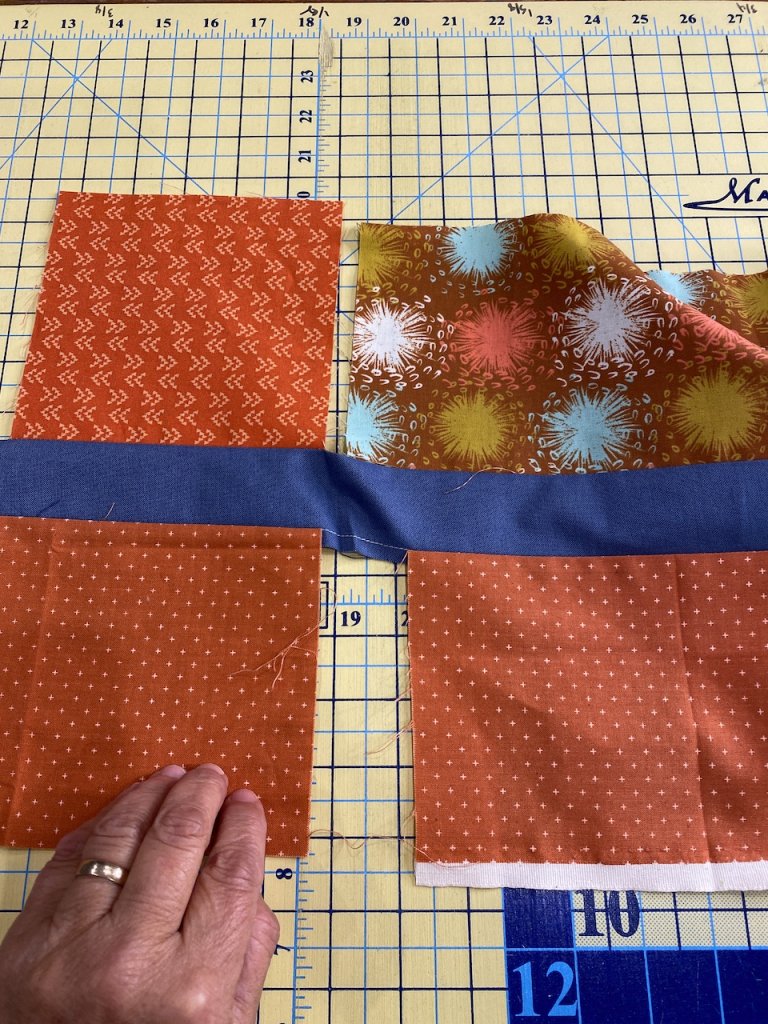
Then I sewed the rectangles to the 2” blue strip along the long edge. The 2” strip can be any length that you want it to be. If you’re using the width of the fabric to cut your strips then the strip will be 44 inches. I am using a leftover side from a quilt backing, so my strip will be longer than 44”.
You can tell by my descriptions that it’s hard to quantify size when you’re using scraps. So I sewed the rectangles onto both sides of the strip. Some were longer, some were shorter.
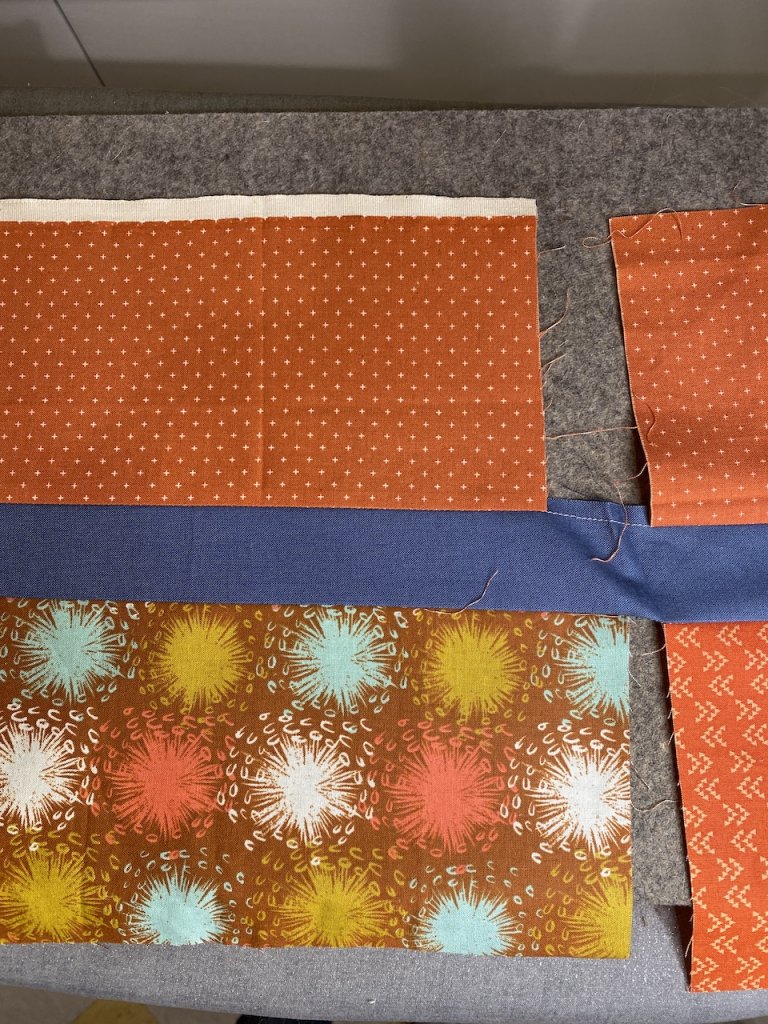
Not to worry though. I am going to lay my 5 1/2” template over the unit with the strip in the exact middle. I marked my template so that I could line it up over the center.
Since I cut 2” strips and sewed them to the scraps with a 1/4” seam allowance, the strip is now 1 1/2” wide.
I know that I need to make a section on my template that is directly in the center and is 1 1/2” wide. So I measured down 2” from the top edge of the template and the edge of a piece of tape along the 2” line. I repeated this for the bottom of the template and measured 2” up.
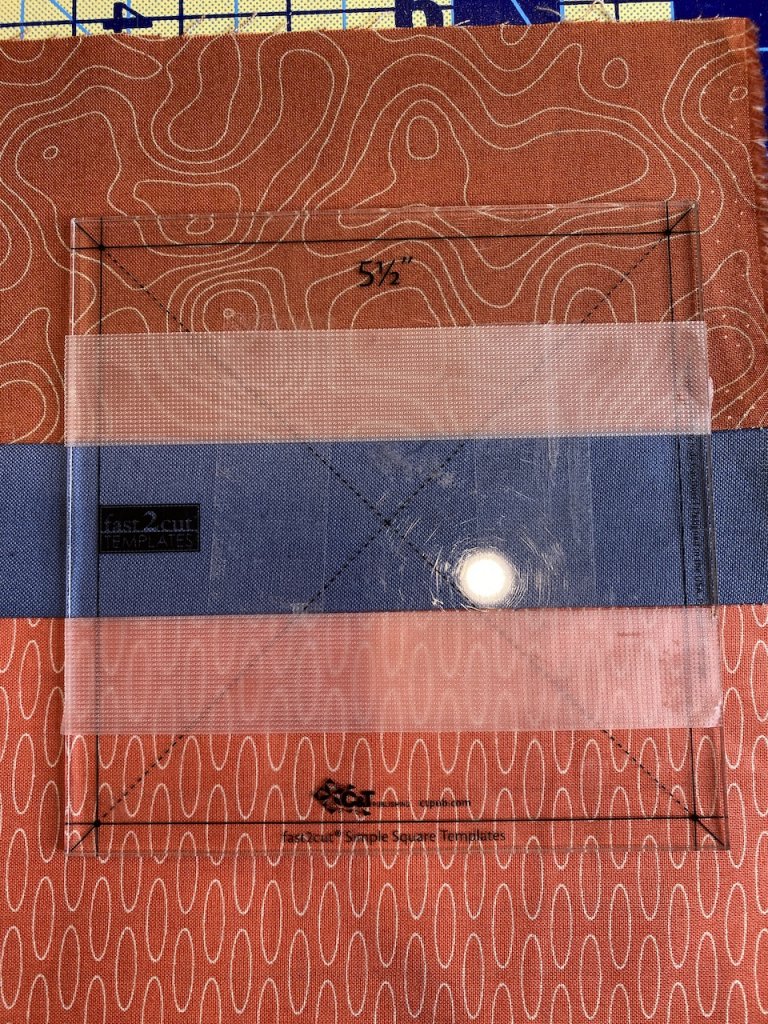
The 5 1/2” template is layed over the center strip and I used a rotary cutter to cut around it. I know that there’s waste, but I don’t throw any of it away.
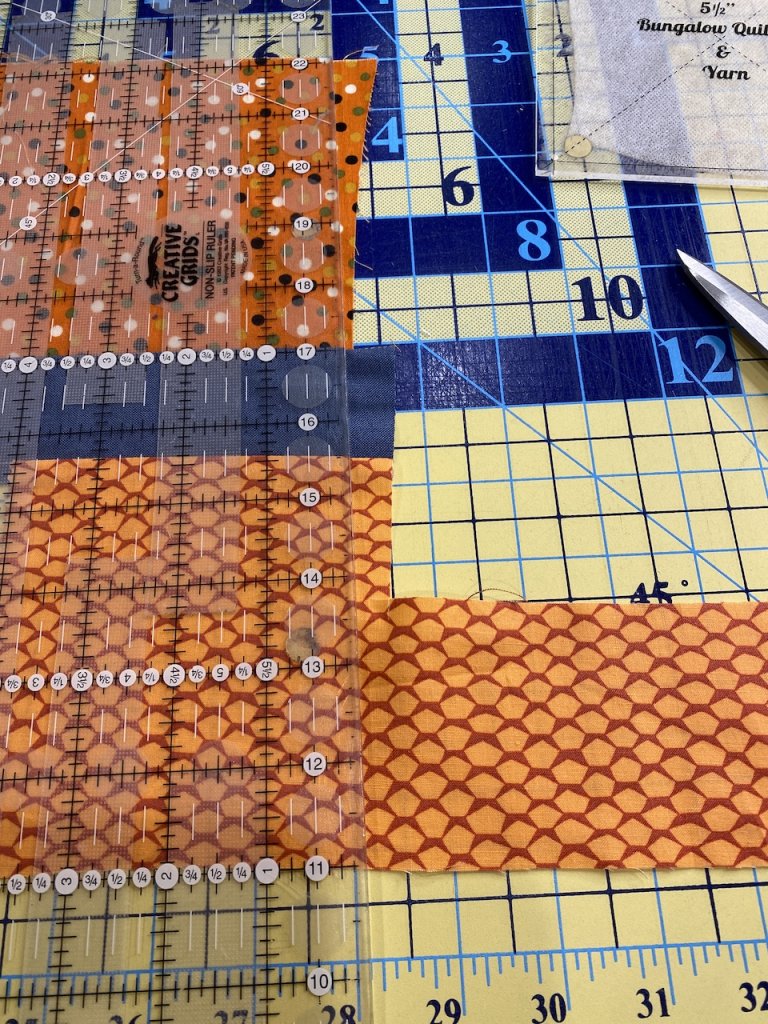
I am going to trim and resquare and keep cutting squares out. When there are odd pieces left over, I will cut those into smaller rectangles for another project and keep them in the appropriate color bins.
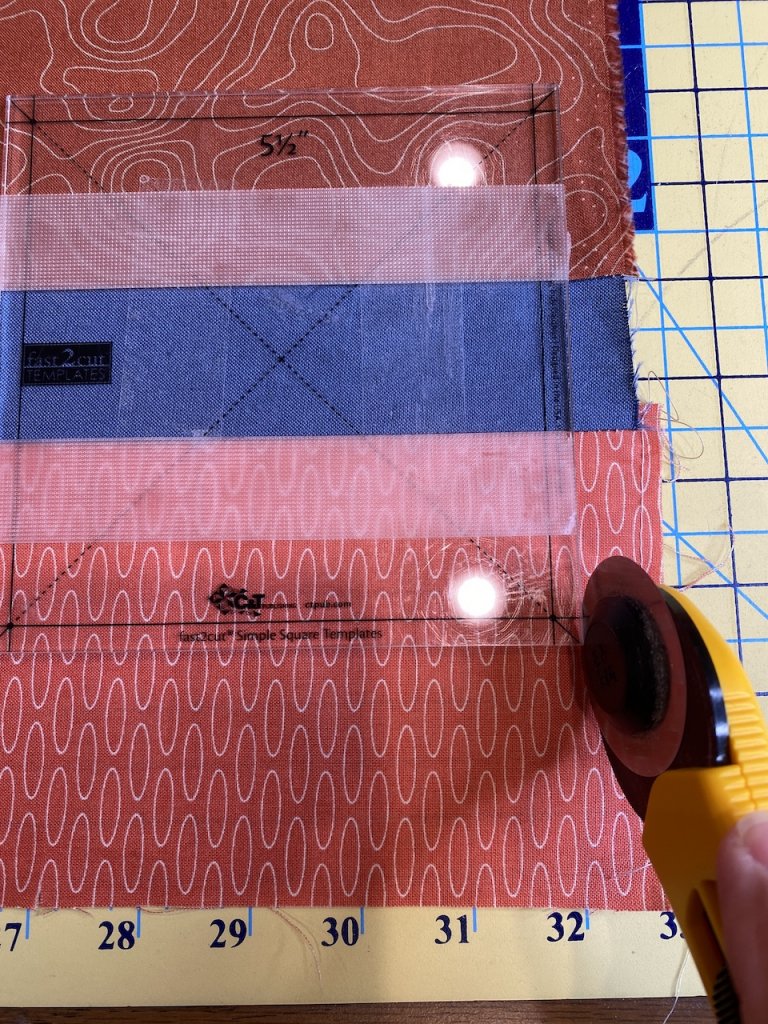
Once there are 6 of these 5 1/2” squares, I am ready to start making the hexagon variation from Blended Hexagons.
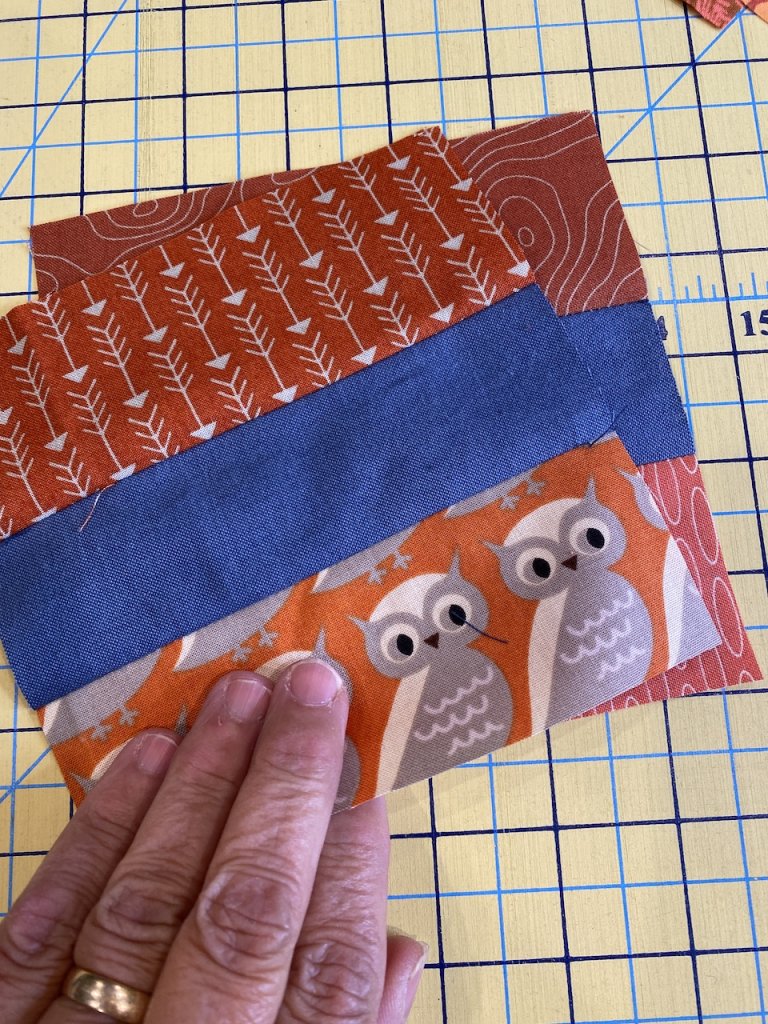
Once you have six of these units pictured above you can place them into pairs, right sides together. Then, take out your book Rainbow Quilts for Scrap Lovers and follow the directions for the Blended Hexagon Quilt. Your finished hexagon should look like this.
