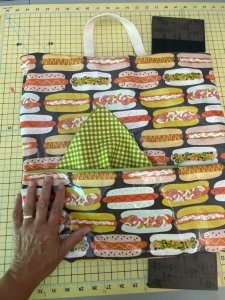
The other day I went to the park with the kids. We were all getting hungry, and I hadn’t planned on a picnic. It was a nice day, so I thought, why not a picnic? Well, for starters, I had no food. We went to the Culver’s drive through. We couldn’t eat inside, because it is still closed due to COVID. The outside picnic tables faced the noisy freeway, and there was an electrical substation across the freeway and huge power lines overhead. Well, I am not super fussy, but the ambiance just wasn’t there. So I thought, “Why not go back to the park?” So we did.
When we got to the park with our food we found a picnic table under the shelter. Ick. No, the table was a nice aluminum table, but the seats were so dirty and covered with bugs. The table top was dirty as well. Luckily Finny is still in diapers, so I had lots of wipes. We wiped the table down, and I was wishing that I had brought a table cloth. I would need to remember to keep one in my SUV just for this purpose. The lady next to me was fanning out her tablecloth with her little tribe of hungry kids, and I noticed that she gave me a funny look. I must’ve had a wistful, longing look at her tablecloth. Anyway, I proceeded to wipe.
That gave me an idea. I love the saying “Necessity is the mother of all invention” because nothing is truer. If I had an organized way of keeping things together for an impromptu picnic, how much nicer would this have been? You could even keep it in your car year round if you lived someplace warm. Impromptu picnics don’t happen in the winter in Wisconsin.
So, we at least had the paper from the Culver’s food wrappers for the top of the table. But the seats were so dirty, and that’s where the kids put their little hands. So, I dreamed this up….a sit-upon that is super portable with a pocket for a napkin, a wet wipe, and maybe even a fork and spoon. You could include a straw, or anything you think you might need. Hand sanitizer for sure!
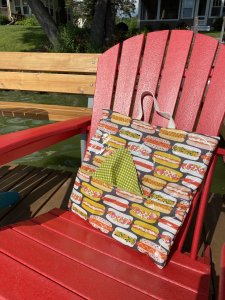
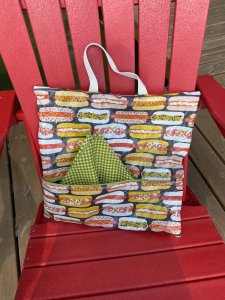
Above is a shot of the finished product. For this I used a wipeable laminated cotton, but you could use any cotton print that is at least 42” wide, and spray it with some type of protective finish. You wouldn’t even need to do that because it would be easily washable.
Would you like to make one? Here’s how you do it. Oh, and here’s a photo of Stella sitting on it at a picnic table. It has a little handle so that each kid can carry their own to the table.
We’re in the middle of gardening season, so you will have to excuse the condition of my hands and cuticles as you read this tutorial!

What you will need:
- 1/2 yard of quilt shop quality cotton or laminated cotton
- Thread to match
- 22 inch polyester zipper that can be cut
- rotary cutter
- rotary mat
- scissors
- pins
- sewing machine with zipper foot and walking foot
- 1/2 yard of fluffy cheap polyester batting (I didn’t use good cotton batting for this, but you could use 2 layers of good batting instead. It works out to have something that is a little fluffier.)
- hand stitching needle
- Marking pencil or pen that washes out of fabric
- 15 inch piece of cotton webbing for handle
Cutting:
- Cut the 1/2 yard of fabric into the following:
- 1 rectangle that is 18” x 7”
- 2 squares 18” x 18”
- Cut the batting into an 18” x 18” square
Sewing the Zipper:
Lay the zipper right side down along the upper, 18″ edge of the rectangle.
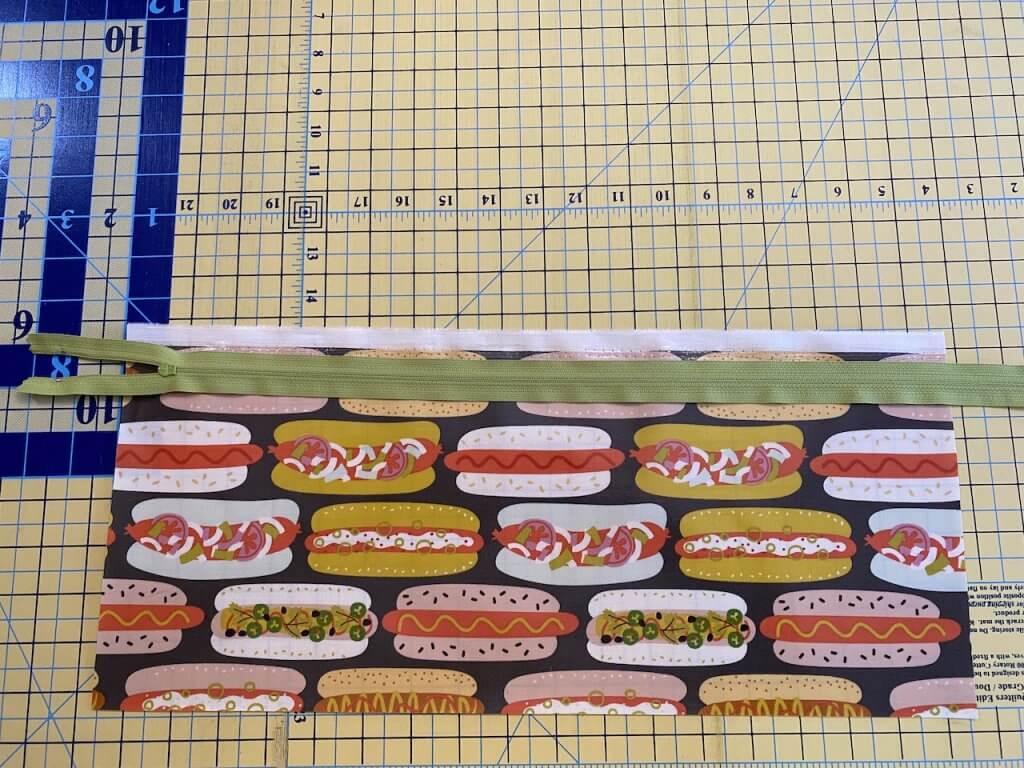
Note that the zipper extends off of the edges of the rectangle on both sides.
Stitch along the center of the zipper tape using the zipper foot, on one side of the zipper only–the side nearest the edge.
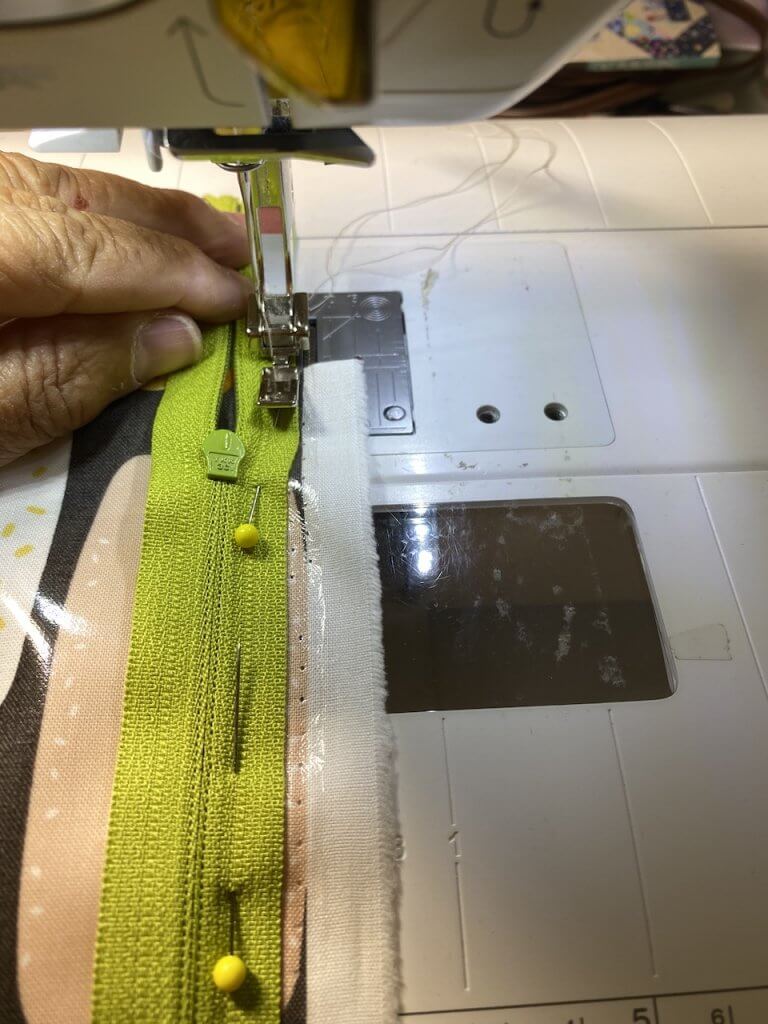
Continue to the end of the rectangle.
Take one of the 18” squares and apply the quilt batting to the wrong side of it. You can do this by either fusing it with adhesive spray, or pinning it, and then machine basting it to the square. (If you’ve read any of my prior posts, you know that I get on a rant about aerosolizing glue and breathing it in, so needless to say, I always use pins.) My mother would have said to use a large basting stitch and a needle and thread and baste the batting to the square. You can do this as well.
If you have chosen to pin the batting to the square, you can now sew it to the square, staying about 1/4” in from the edge, and using a long basting stitch on your machine.
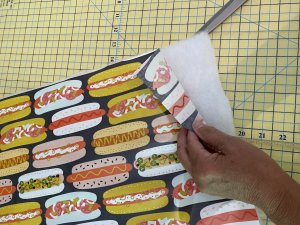
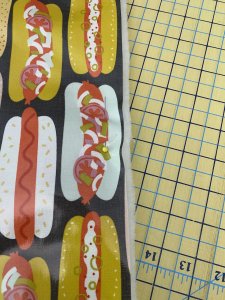
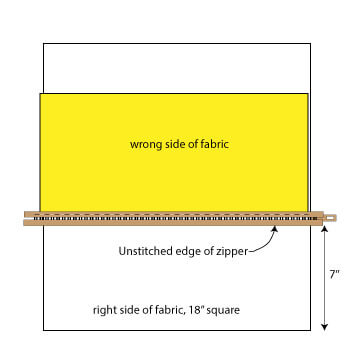
On the piece with the zipper sewn to it, fold the zipper out so that it looks like this:
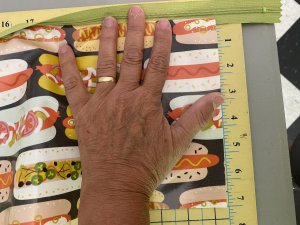
You can press it with an iron unless you are using laminated cotton. This will be the pocket.
With a marking pen that washes out, mark a line, 7 inches from the edge of the remaining 18” square that doesn’t have batting sewn to it.
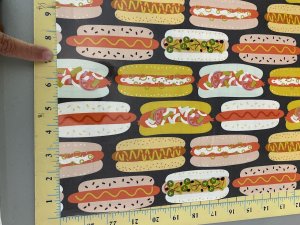
Draw the line across the fabric, 7 inches up from the edge.
With right sides together, lay the unsewn zipper tape along the line that was drawn, as shown:
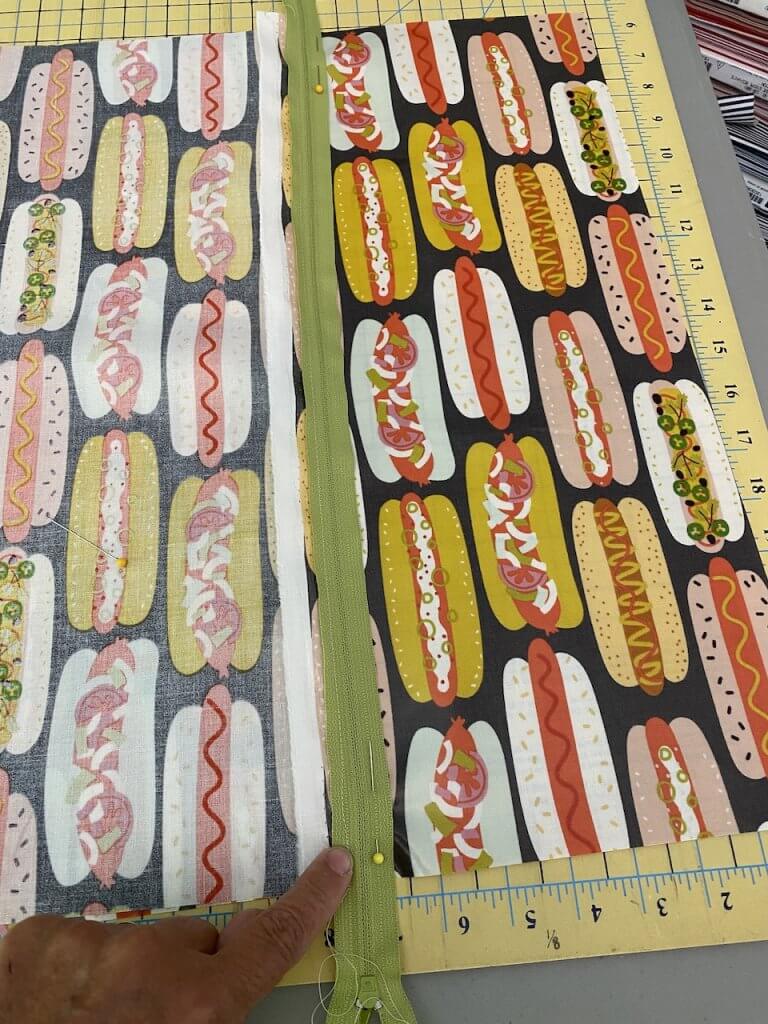
The edges of the zipper tape are still extending beyond the edges.
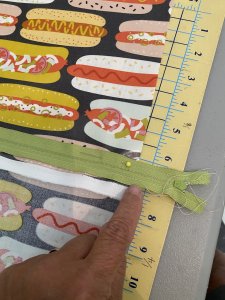
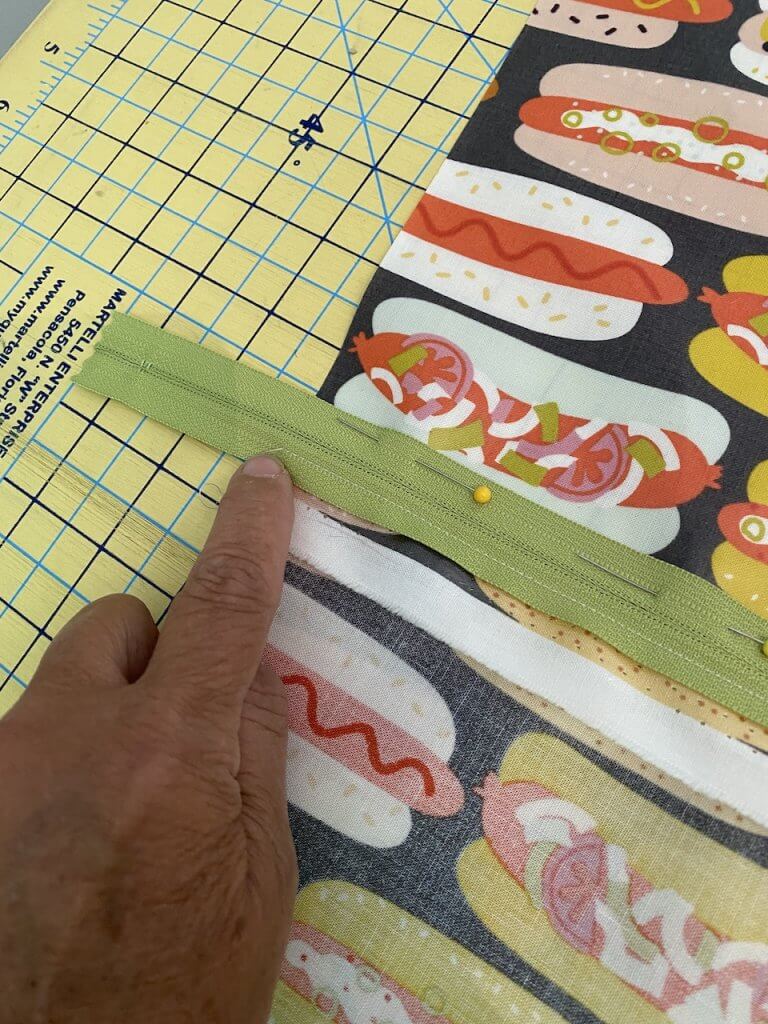
Stitch along the zipper tape using a zipper foot or walking foot. I used a walking foot because it was easier with the laminated fabric.
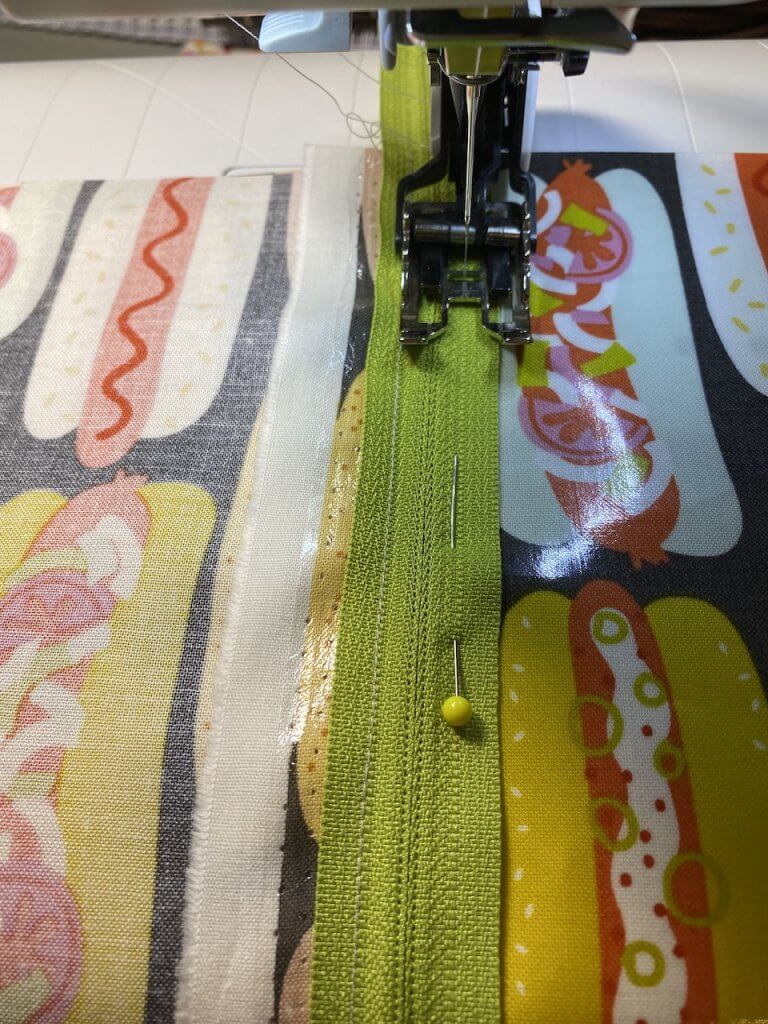
Flip the pocket so that the right side of the zipper is facing outward, and the wrong side of the pocket is against the right side of the 18 inch square. Align the edges and corners.
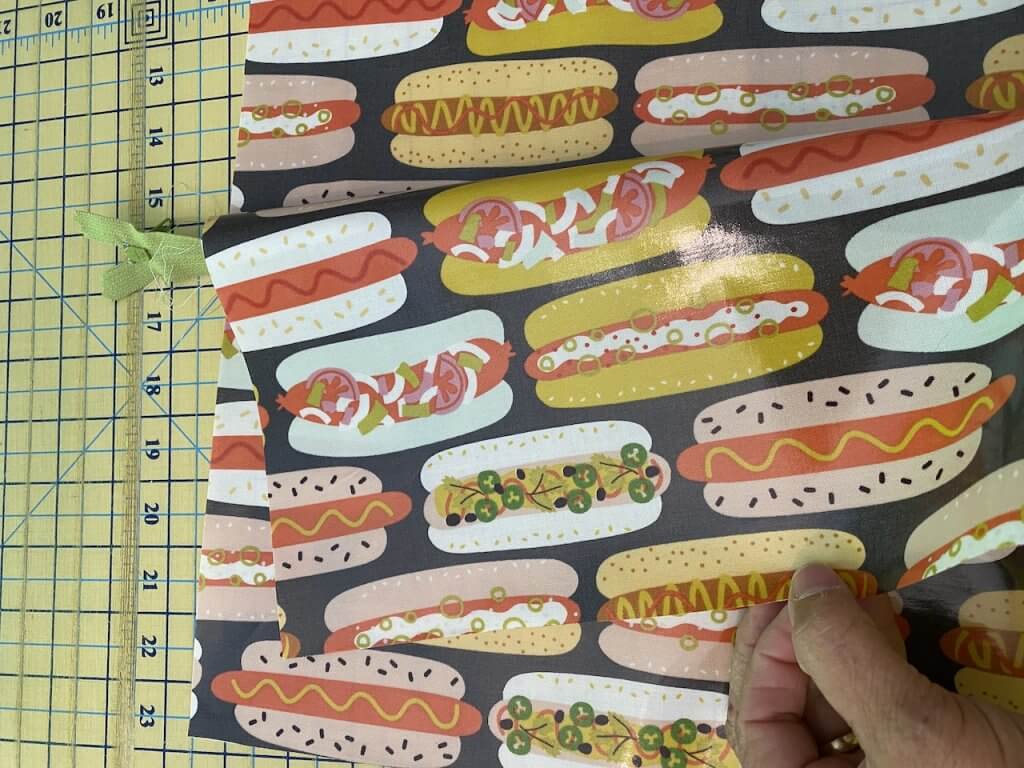
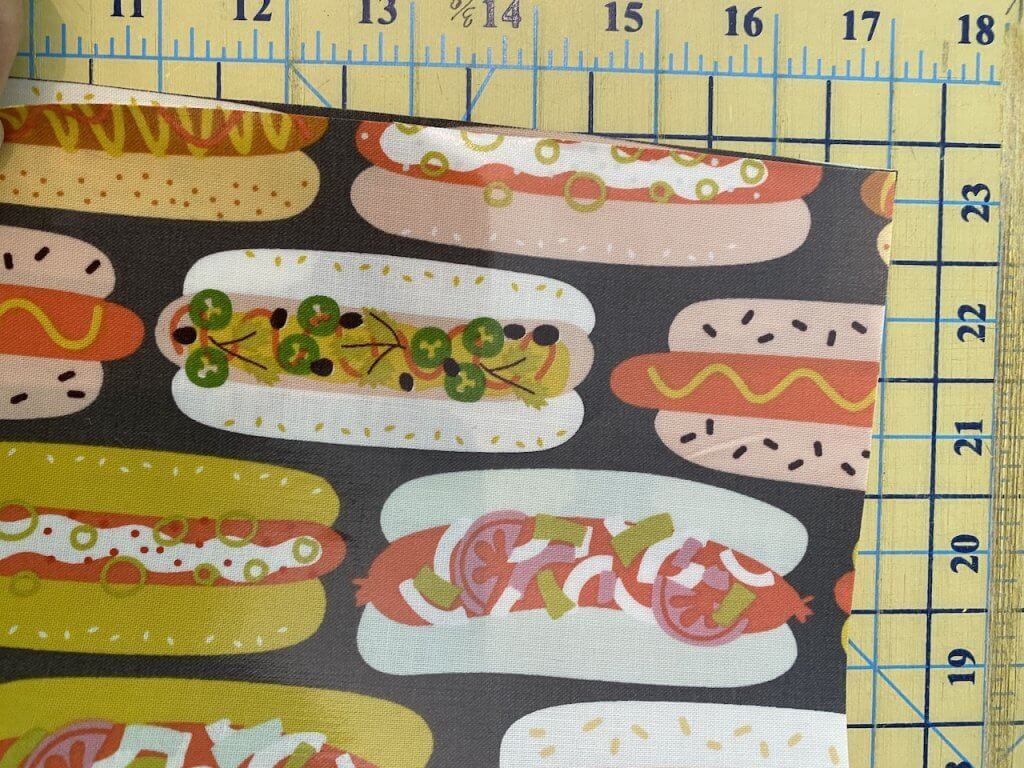
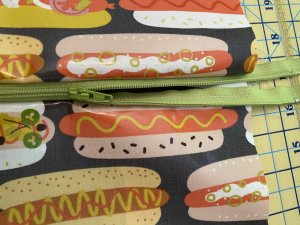
At this point you may want to press it all neatly, unless you have a laminated fabric as I have.
Now you can baste the edges of your pocket to the 18 inch square using a long stitch on your sewing machine.
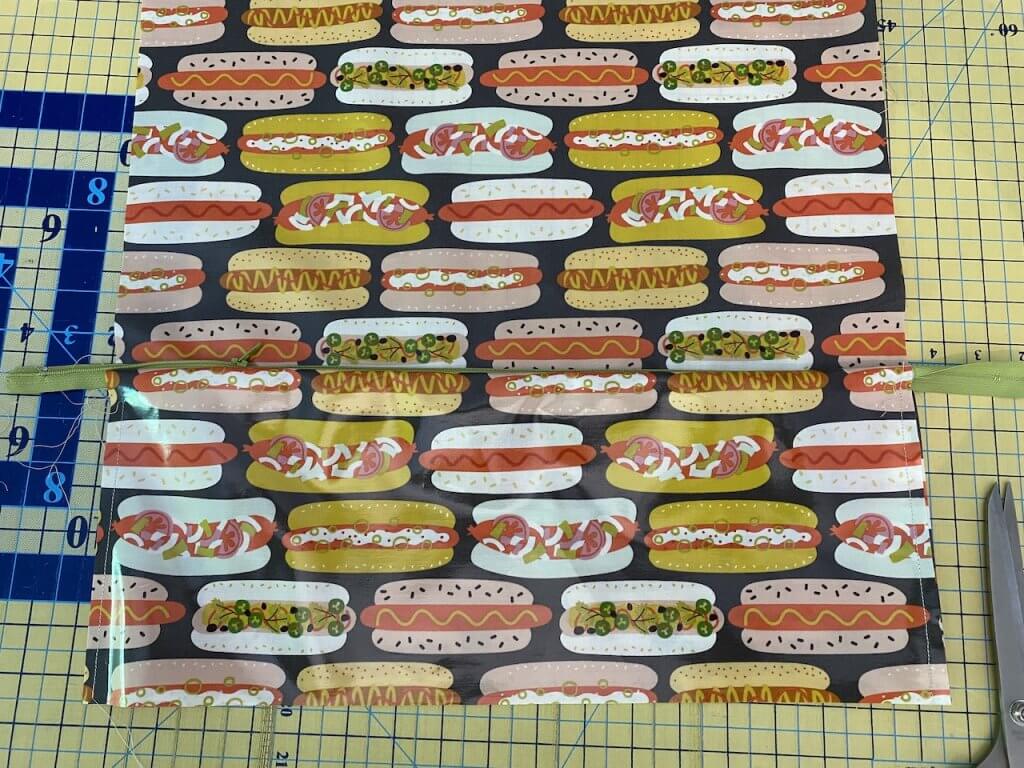
The next step is to add the handle. Little kids like to have a handle to hang on to so they can carry their own gear. So do grown ups! Lay your webbing onto the square, either square will work, and pin securely. Baste the ends of the handle down using a long stitch on your machine.
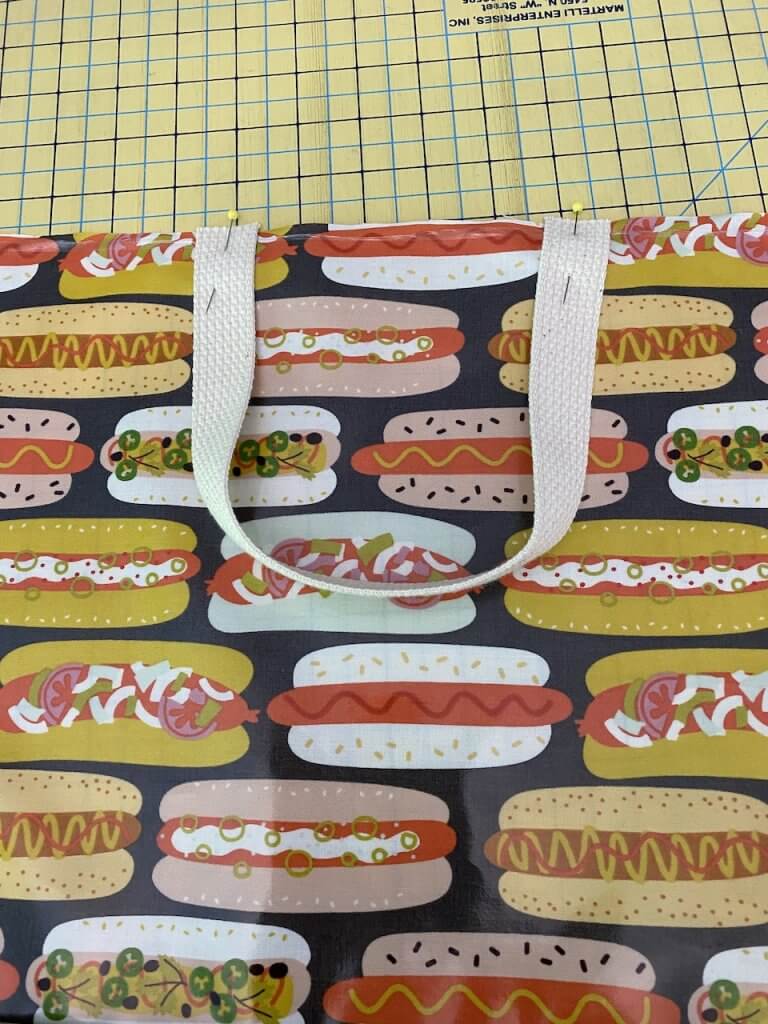
Lay the 18” square with the batting attached on top of the pocket/18” square unit, right sides together. Pin all around the perimeter.
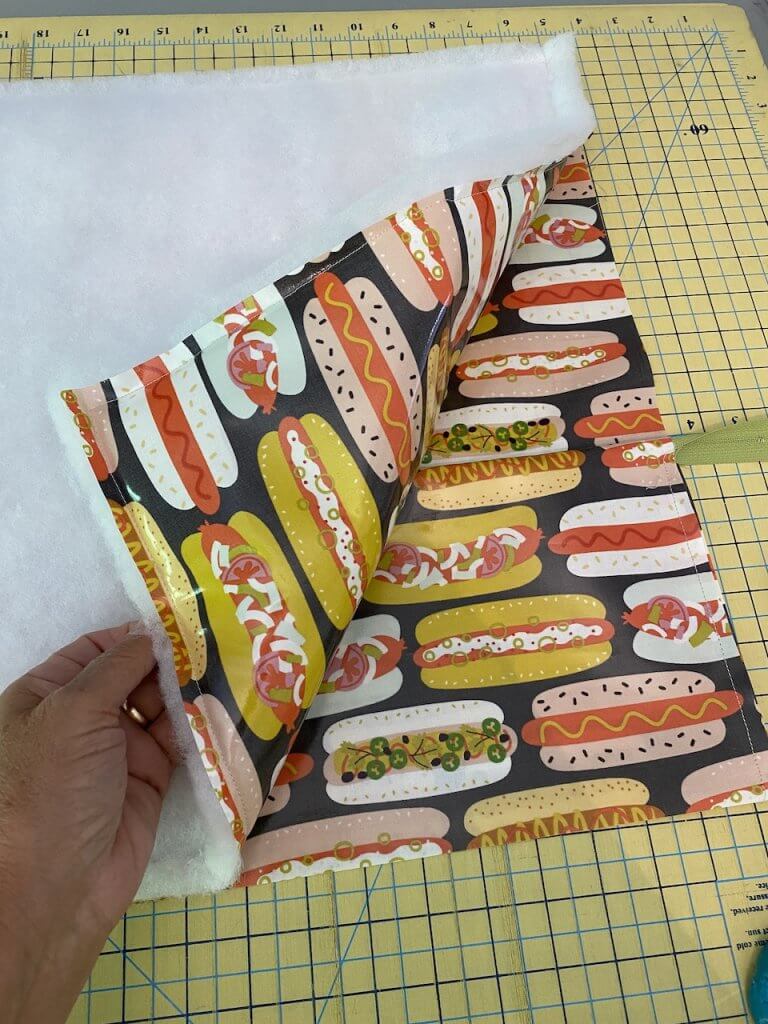
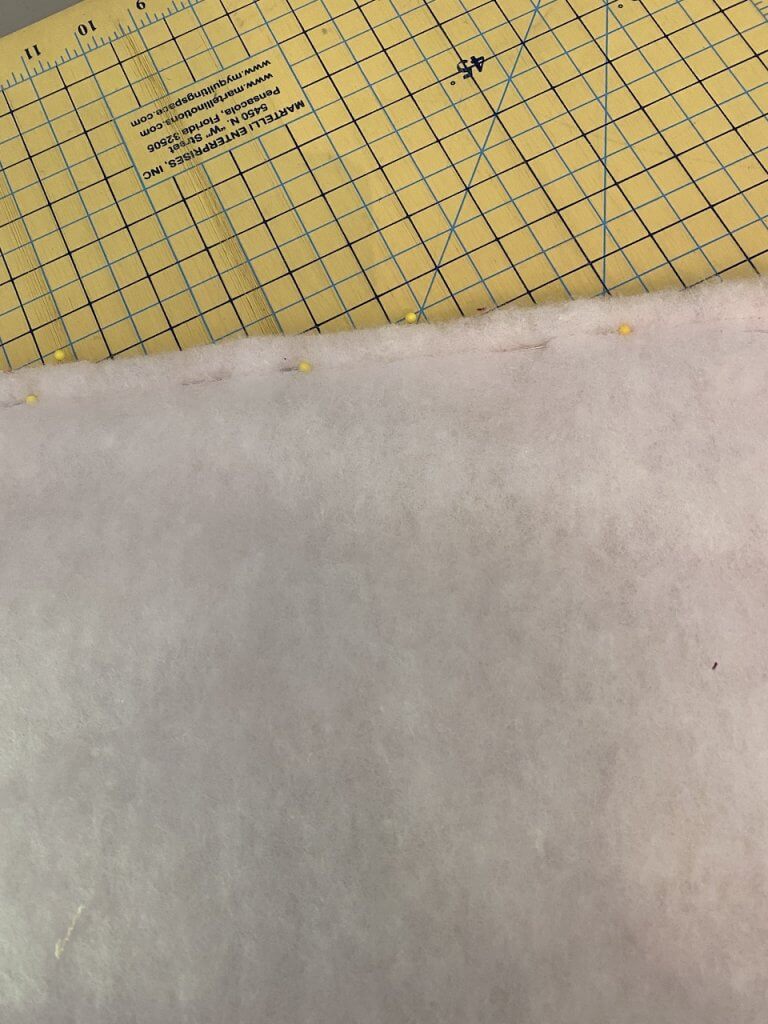
*************Important note: Make sure that the zipper tab is pulled back inside the edge of the square so that it is inside of the entire unit, and far enough in so that you do not hit it with your needle. ********************************
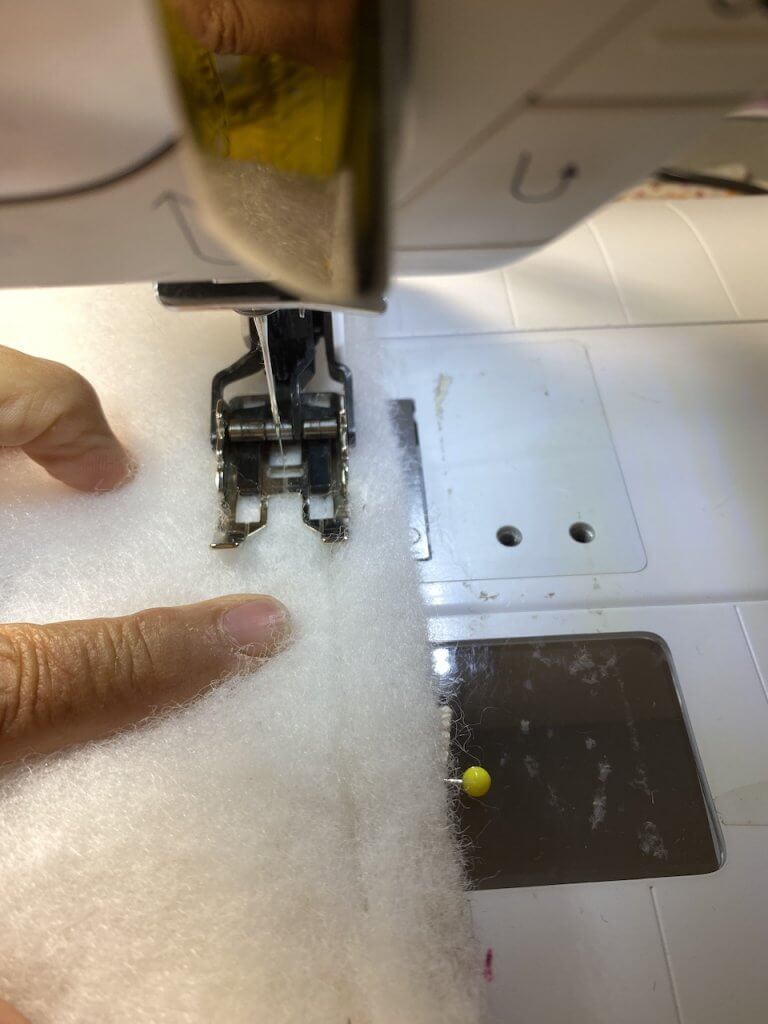
When you stitch these right sides together, make sure to use your walking foot, and also to smooth down the batting as you sew to ensure that the walking foot doesn’t get caught in the fibers.
Leave an opening about 4 inches long to turn the entire thing right sides out.
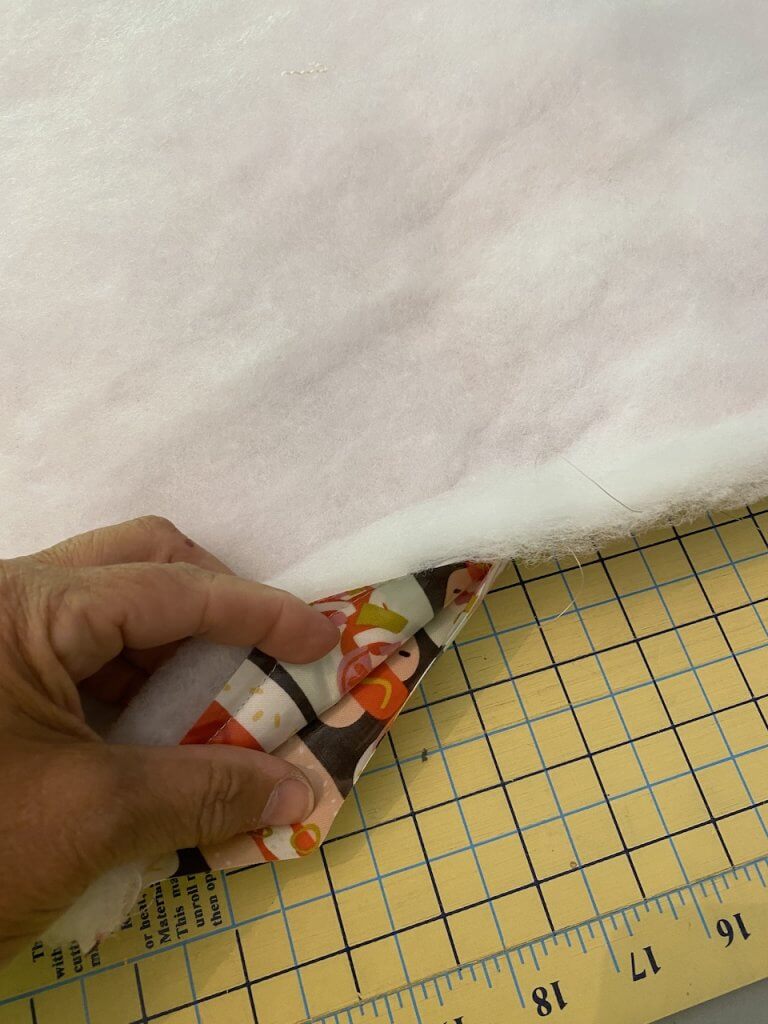
Trim your seam allowances and clip the corners for a neater edge.
At this point you can cut off the extended edges of the zipper. Turn right sides out and stitch the opening closed.
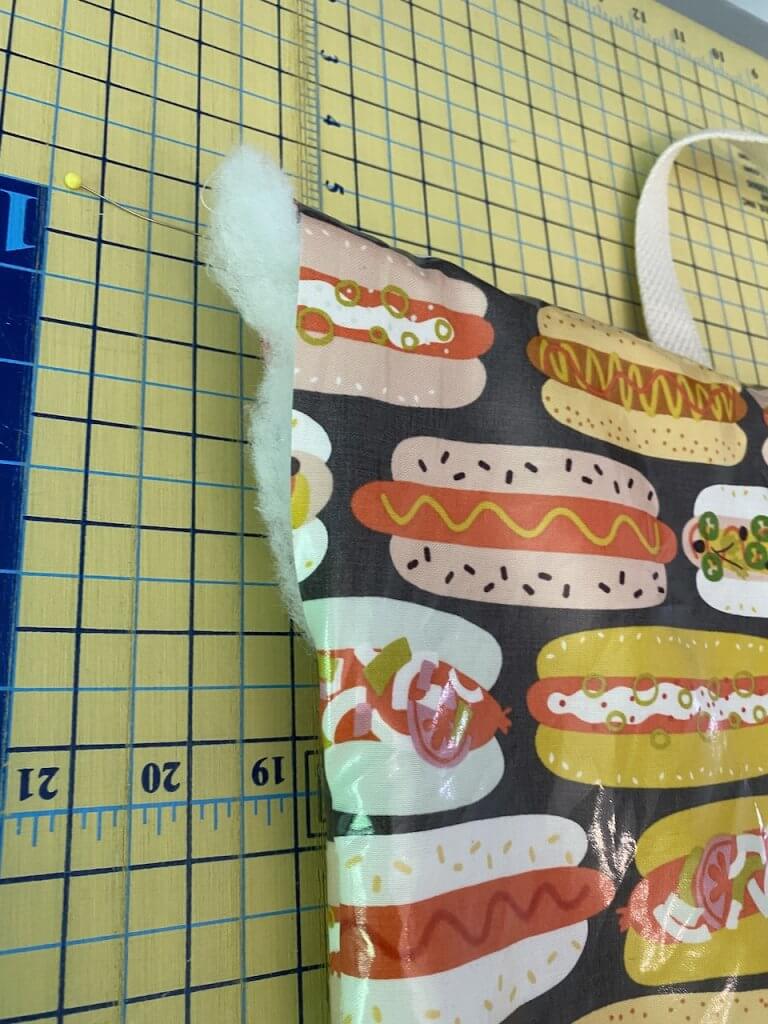
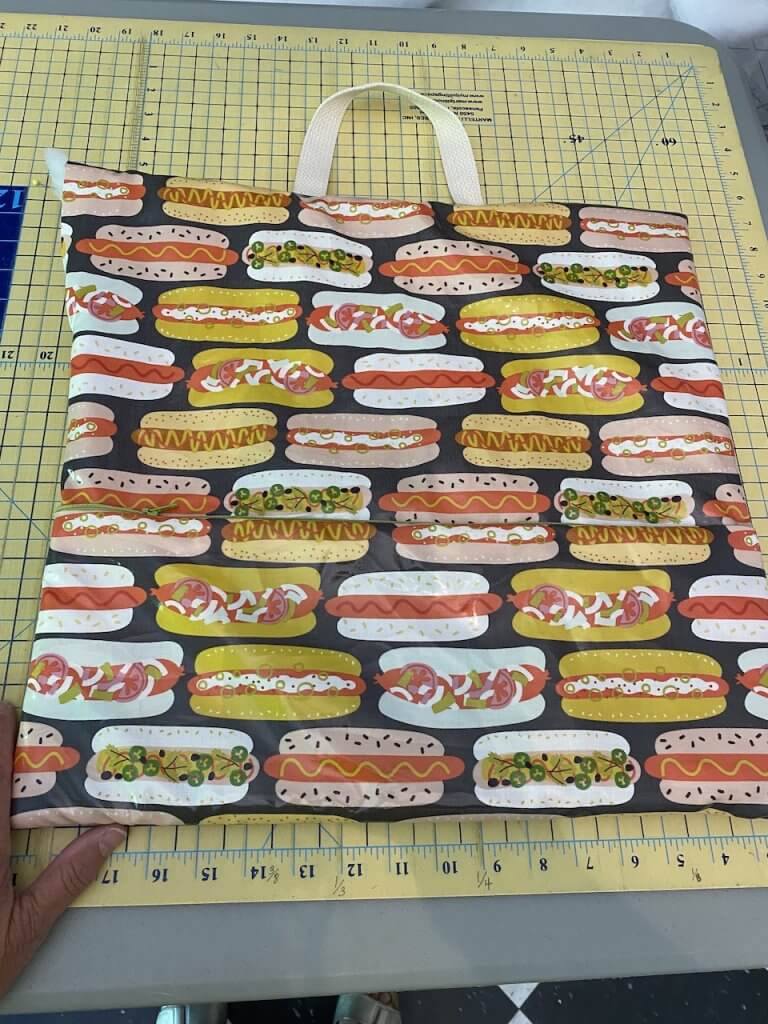
Now, I had to decide about a matching napkin. I laid out some fabrics out that I thought looked “picnicky”.
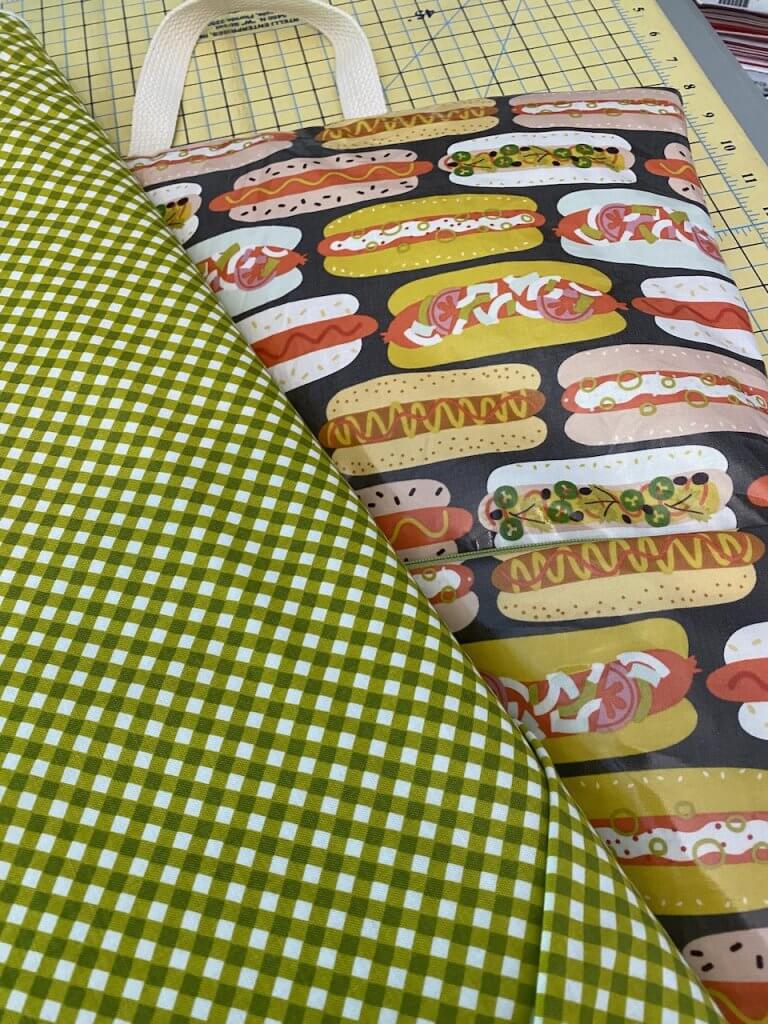
I love gingham. Nothing screams picnic like a gingham. And, I wanted to match the relish on the print, so I chose the Michael Miller printed gingham piece.
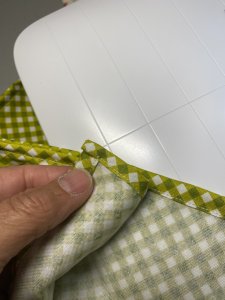
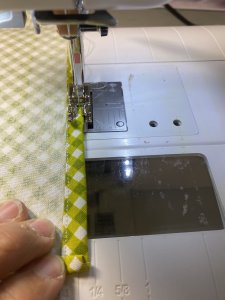
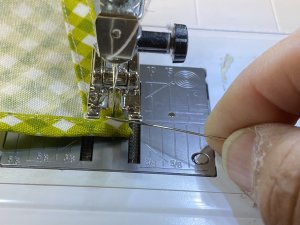
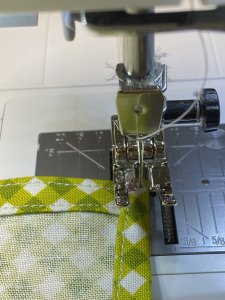
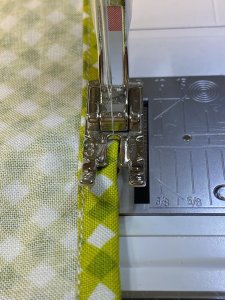
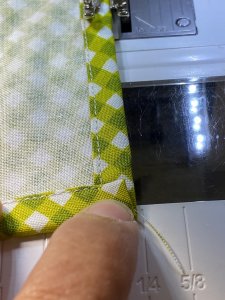
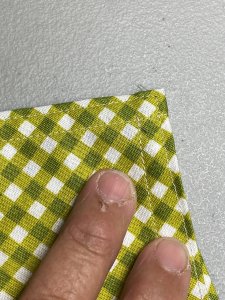
At this point I wasn’t going to get fancy with my napkin, so I simply cut an 18” square and did a small 1/4” hem around the entire perimeter. I added an additional line of stitching, as shown, to hold it all down securely and to give it a professional edge.
Now, just add a wet wipe, and maybe a fork and here you go!
