I just wanted a skirt pattern. I have many. None of them suited the bill. I knew in my mind’s eye what I wanted. So, I found the identical pattern to what I wanted, only to find that it was out of print. Hmmm.
I had seen this skirt on ModCloth. It’s a clothing site. It has THE CUTEST things ever. They are making skirts out of prints that you would see in my shop. So darling. Holiday appropriate!
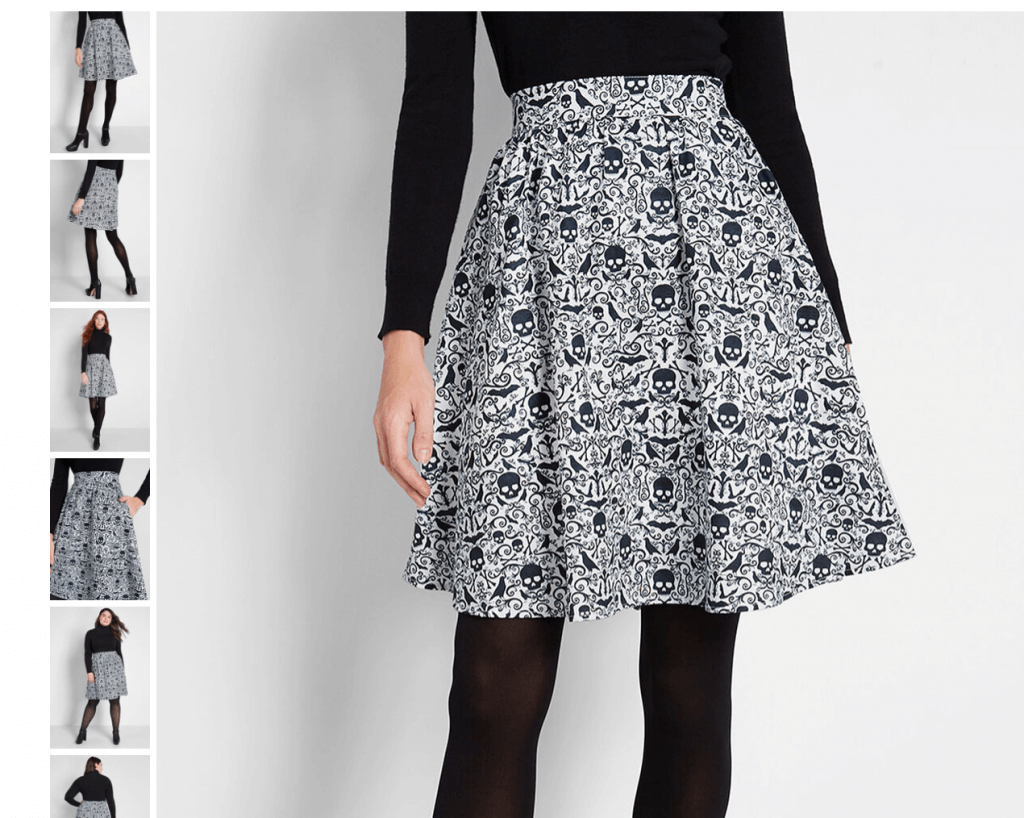
I wanted something like this. I didn’t want a seam down the front. I do have an excellent, slimming pattern that we sell but it has a seam down the front. I do like it a lot, but right now, that is not what I wanted. Now anyways.
I also like the website “Unique Vintage”. What I like about both of these websites is that their models don’t look like they have been starved to death. They are healthy, normal women. Here’s an example of another couple of skirts that I love. They too have been sewn from fabric that you could easily get in my shop.
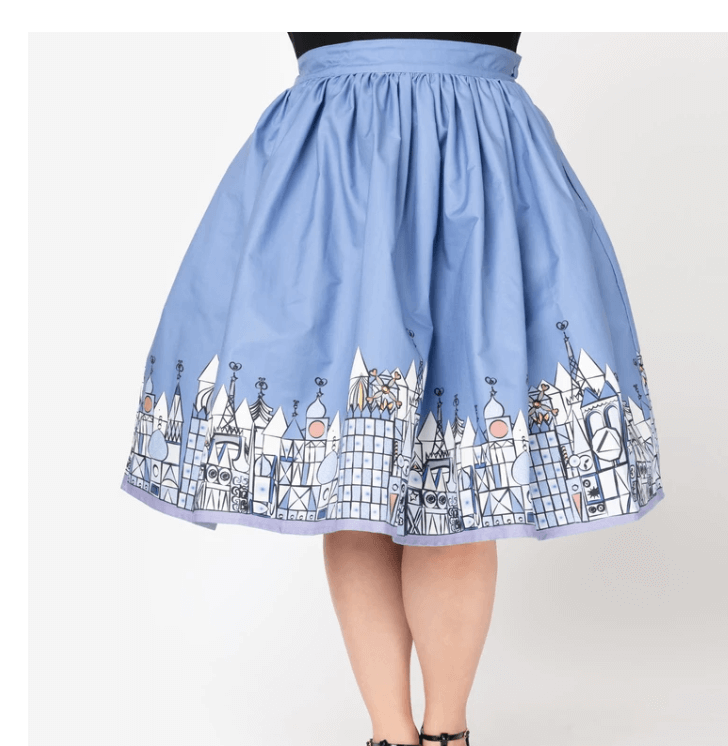
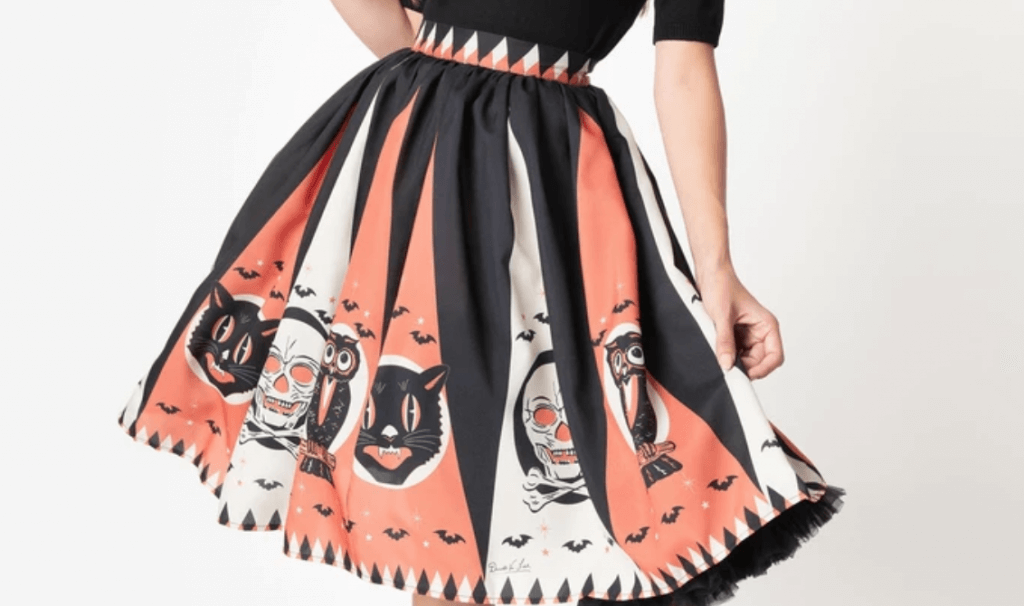
I know, right? Just too cute. So, I found a pattern. Only it was out of print. I would have to take matters into my own hands. So here we go. Here’s how to sew a skirt like this for any size lady without a pattern.
Supplies:
- Fabric that you are just dying over.
- sewing machine with matching thread
- basic sewing supplies (scissors, seam ripper–but why would you need that?
- 1 button
- 1- 7 inch zipper
- Fusible woven interfacing 1/4 yard
HOW TO……
- Measure yourself. I know, it’s sometimes not what you really want to do but go for it. Actually, have someone else do it because you can’t measure yourself accurately. Here are the measurements that you will need: 1. Waist 2. Hips 3. Distance from waist to where you want the hemline to be.
To measure your waist, make sure that you’re actually on your waist. Your true waist is right above your umbilicus or belly button for you non-nurse people.
Measure your hips. Your hips are the fullest part of your butt. Usually this is measured at the greater trochanter of the head of the femur. So, it’s that big old bone that is your hip bone. It juts out directly across from your little girl parts. Get the fullest part please.
Measure how long you want the skirt to be. So measure from where you took that waist measurement down to where you want the skirt to fall. Add 1 inch to that.
If you’re a bigger girl you may need fabric that is 60” wide. But, remember. You have an entire 44 inch piece of fabric that should be able to go around half of you. You will have enough most likely.
- Take up your fabric. You have gone to the fabric store and found fabric that you love. Get a couple yards. You don’t want to run out. Lay your fabric out with the fold intact and the selvedges together. Start your measurements and your drawing. Using pins, mark out the perimeter of your skirt, or draw it onto paper.
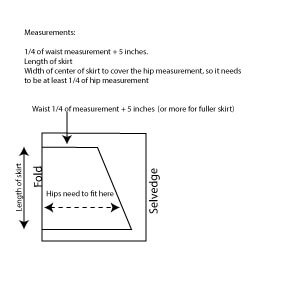
So if my waist is 30”, and I want the skirt to be gathered at the top, but I don’t want to just gather a rectangle, this is how it is done. I take half of my waist measurement which would be around the front of the skirt. Since my fabric is on the fold, that half gets divided in half again. Then, you want the skirt to be gathered at the top. So, you need to add a few more inches. You need at least 1 inch for the seam allowance (1/2 inch seam allowance on both sides) plus you want the skirt gathered. So, I added about 5 inches. You could add 6 or 7. So, my skirt top measurement from the fold will be at least 13 inches.
Measure down the fold for the length of the skirt. I chose 18”. Place a pin or some kind of marker. Draw a line from that fold over to the selvedge.
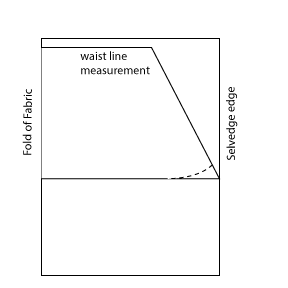
Now, draw a diagonal line from the end of the waist measurement to the length measurement. Remember your hips have to fit into this so if this the center of the skirt isn’t big enough to encircle your hips, you will have to extend the waist measurement and possibly use a wider piece of fabric.
Cut on the lines you have drawn, and curve the bottom corner where the dotted line indicates in the diagram above.
Now, for the back of the skirt. All you need to do is keep the front folded and lay it along another length of fabric as shown. You are going to cut around it completely because there will be a zipper in the back, so you need a center back seam.
Cut completely around the front skirt after laying it on the fabric.
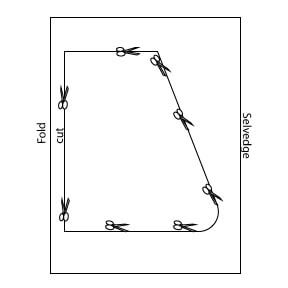
After the skirt back is cut out, zig zag the long edge of the straight center backs of both pieces. They should not be together when you do this. Zig zag both pieces separately.
With right sides together, stitch the center back seam using a 1/2 inch seam allowance, from the bottom hemline of the skirt up until 7 inches from the top. Backstitch. Press seam allowance open.
Sew the zipper into the open area at the top of the center back seam.
Run a long row of stitching along the top edges of the skirt back, within the 1/2 inch seam allowance, and repeat, also keeping the second row of stitches inside the 1/2 inch seam allowance. This is for gathering the skirt.
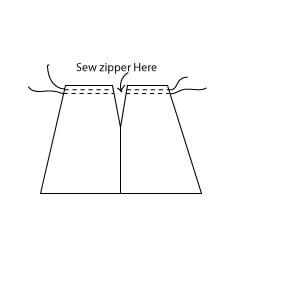
Place the zipper into the seam left open for the zipper. If you have never put a zipper in before, there are many great tutorials for putting in zippers. This is beyond the scope of this tutorial, but it’s not hard–I promise!
Stitch 2 long rows of gathering stitches at the top of the skirt front making certain that they are within the 1/2” seam allowance.
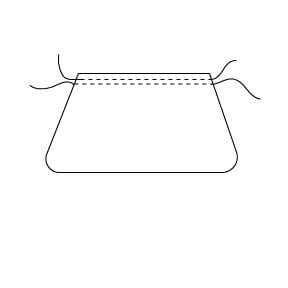
Stitch front to back at side seams. Zig zag the side seam allowances.
Mark the center of the front of skirt with a pin.
Make the Waistband
Using your waist measurement, cut a strip the length of your waist measurement + 2 1/2”. This strip should be 3 1/2” wide.
Cut a piece of woven fusible interfacing this same length x 1 3/4” wide. Iron this to the wrong side of the waistband, along half of it.
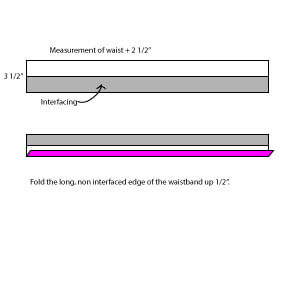
Fold the long, non interfaced side up 1/2”, wrong sides together and press.
Fold the entire waistband in half, the long way. Stitch the short ends using a 1/4” seam allowance.
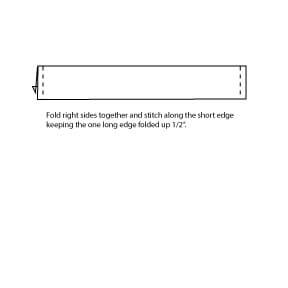
Turn right sides out.
Gather the skirt using the stitching along the top edge of the skirt until the top of the skirt measures your waist measurement.
Stitch the unfolded edge of the waistband right sides together with the skirt, leaving the long edge with the fold free. You will have an overhang of the waistband by 1 1/2”.
Stitch the unfolded edge of the waistband down over the gathered edge of the skirt, right sides together.
Stitch the waistband closed over the skirt. There will be an overhang of 1 1/2” to sew a button hole in. Stitch a button on the opposite end of the waist band.
Stitch up a 1/4 inch rolled hem–and Voila!
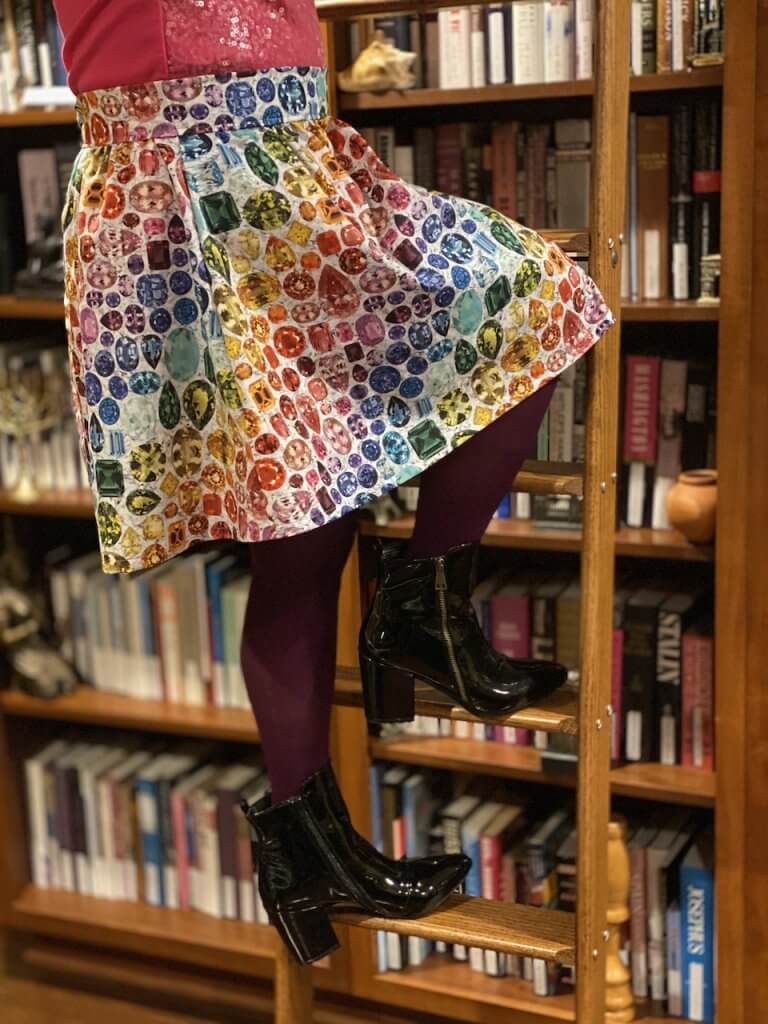
Here’s your skirt! Easy peasy, no pattern needed. Call the Bungalow if you need help!

