Here’s an idea for your next breakfast party. What, you don’t have breakfast parties? Well, time to start! Have a brunch sometime and invite friends over. Cook an egg dish. This will be tons of fun!
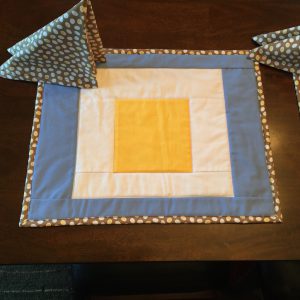
I got the idea for these placemats from a book my Granddaughter has. I was reading it to her and it was all about colors and shapes. What a great idea for modern placemats. So simple and such fun.
Want to know how to do it? Okay. Here is the pattern. It’s not much of a pattern so I will just explain it easily.
Materials:
Yellow Moda Bella Solid 1/2 yard
White Kona Cotton 1/2 yard
Blue Kona Cotton 3/4 yard
2 yards egg fabric
I’m going to walk you through one placemat rather than tell you to cut all the strips at once. The yellow center square is a 6 1/2 inch square. The white strips surrounding it are as follows. You will add the side strips first. They are 3 1/2” x 6 1/2”. Make certain to press the seam allowances toward the yellow center. This will make a big difference for quilting later on. The top and bottom strips are cut next. They are not equal in width. The bottom strip is 2 1/2” x 12 1/2”. The top strip is 3 1/2” x 12 1/2. When you sew these on, press the seam allowances toward the yellow.
Now for the blue. The side strips come next. They are 4” x 11 1/2”. Sew these on and press the seam allowances toward the blue. Then, add the bottom and top strips which are 2”x 18 1/2”.
Square everything up and add the back and the binding. That’s the egg fabric. This fabric is from Moda Fabrics. We sell it in our Etsy shop linked from this website. Here’s the link.
https://www.etsy.com/your/shops/BungalowQuilting/tools/listings/query:eggs/467739050
Now for the napkins. I have discovered a new way to do mitered corners. It’s not really all that tricky but requires a little manipulation.
Cut the napkins out of the fabric you have chosen 18 1/2” x 18 1/2”.
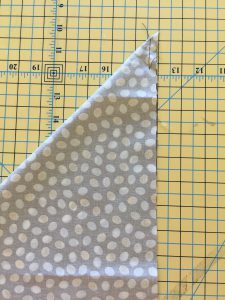
Fold them on the diagonal and stitch 1 1/4” down the side, 1/4 ” from the edge.
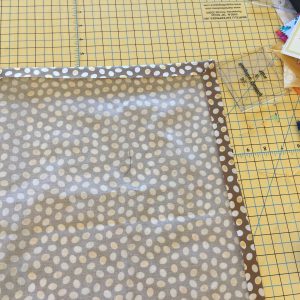
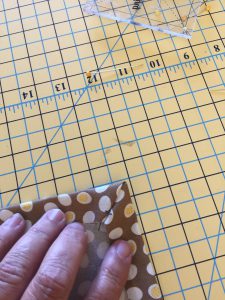
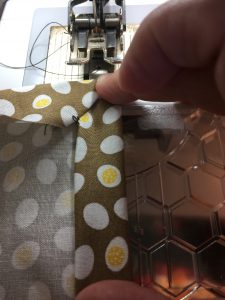
Do this on all 4 corners. Turn them right sides out, but not all the way. You don’t want to push it out all the way, but leave part of it unturned. You will recognize how far to go when you see how it looks.
There will be a small amount of the fabric underneath the turned out fabric, and you should push it to one side with a wooden skewer. I like to use a small wooden skewer for turning things.
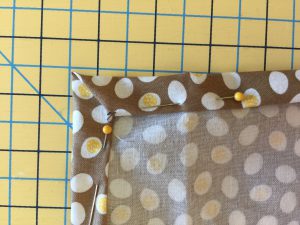
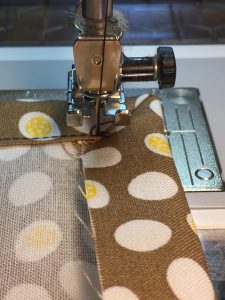
Then, roll the edges under about 1/4 inch, and stitch very close to the edges. Do this all the way around. It makes a quick, nice miter on each corner.
See how you just roll those edges under? Then sew around.
They turn out really nice.
Now go, invite some friends over!

