You may want something quick and elegant for a last-minute or an unexpected-minute gift. Let’s say someone has invited you over for dinner. You don’t want to give them just another bottle of wine. Yes, everyone loves wine, but you want to make an impression. You want to give a gift that shows that you are a sewist, a maker. Here’s the perfect idea.
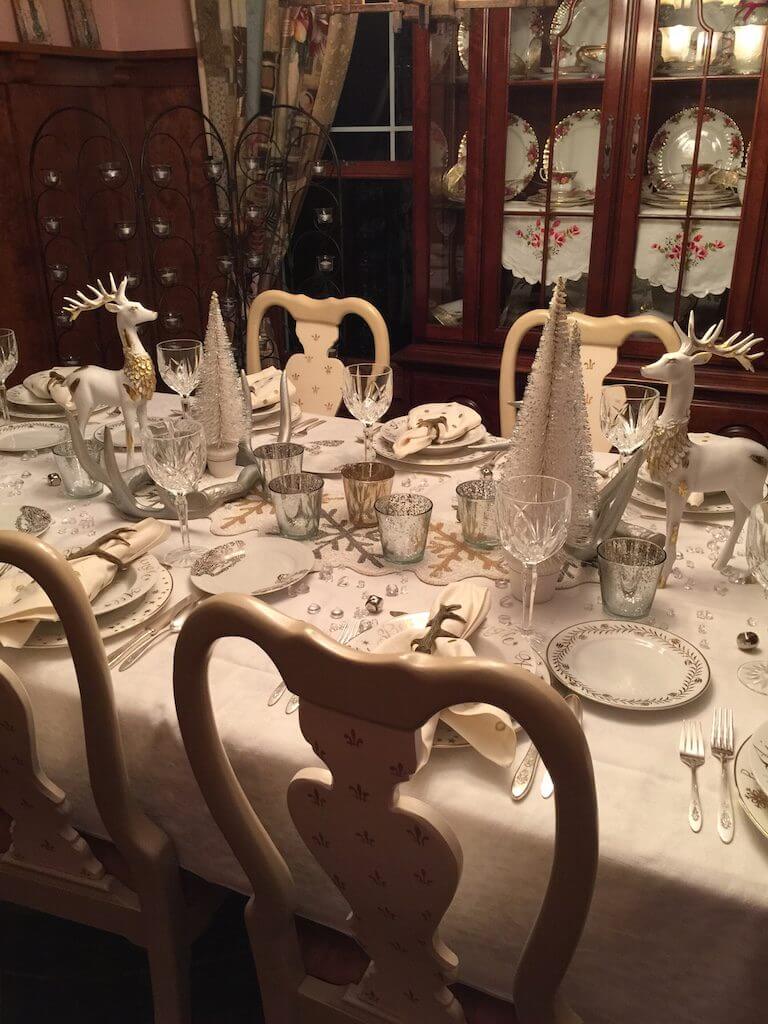
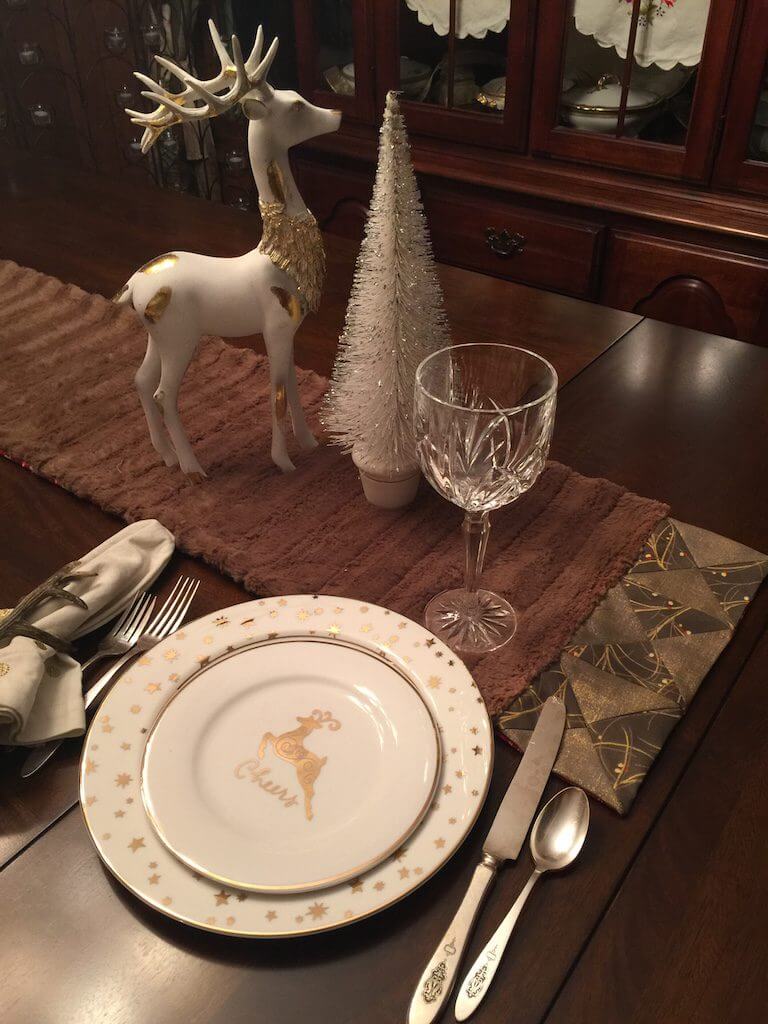
I love to do tablescaping. Maybe that’s because I am not a very good cook. I need to compensate for that fact by having a “knock ’em dead” beautiful table setting. This is a table setting that I did for a dinner party that I host every year.
I love the way that it looks, sort of icy, outdoorsy, just right for what I was serving. Yes, I am not the greatest cook, but I sure can set a table.
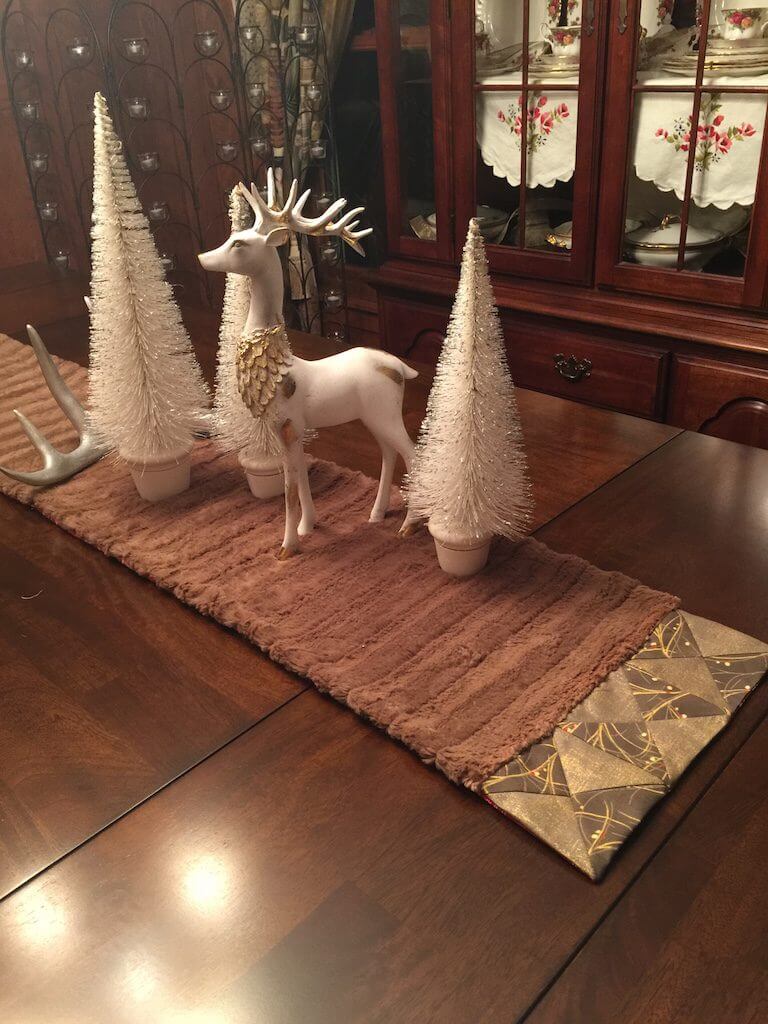
Now, let’s say that you want to give a gift to a hostess that is going to make her or him think about inviting you for dinner every year! I think that an unusual, unexpected table runner is in order. So what do I mean by unexpected and unusual? Why, a fur one of course. Something that looks vintage like, something that looks like Christmases of yesteryear. Here it is, and I am going to present a tutorial of how to make it, along with tips for how to work with this stunning fabric.
I love the combination of piecing with the Shannon Cuddle Fabric. It’s just so striking! This fabric is super easy to work with. I didn’t need to add a binding or any batting, and therefore, no quilting.
Here’s how it’s done.
Shannon Cuddle comes 60 inches wide. I love this about it. I used the entire width of fabric from selvedge to selvedge. I cut a strip from selvedge to selvedge edge 12 1/2 inches wide.
I chose 12 1/2 inches because my 3 blocks that are on the edges are each 4 1/2 inches square. Of course, I used my templates when designing this table runner. My templates are sold through C & T Publishing or at your local quilt shop. You most certainly can find them on Amazon or on this website for purchase.
What you will need:
2 contrasting fabrics each large enough to cut 3 squares 5 1/2″ x 5 1/2″
Shannon Cuddle fabric in color to match fabric choice
Rotary cutter
5 1/2 inch template from Fast 2 Cut Set by Judy Gauthier
4 1/2 inch template from Fast 2 Cut Set by Judy Gauthier
Cut:
3 squares 5 1/2″ x 5 1/2″ from dark fabric
3 squares 5 1/2″ x 5 1/2″ from contrasting fabric
Cut the Cuddle fabric 12 1/2″ wide by whatever length you want for the table runner
Lay the squares in pairs, pairing up the contrasting fabrics right sides together.
On the lighter of the 2 fabrics draw a diagonal line corner to corner, and then a second diagonal line as shown above.
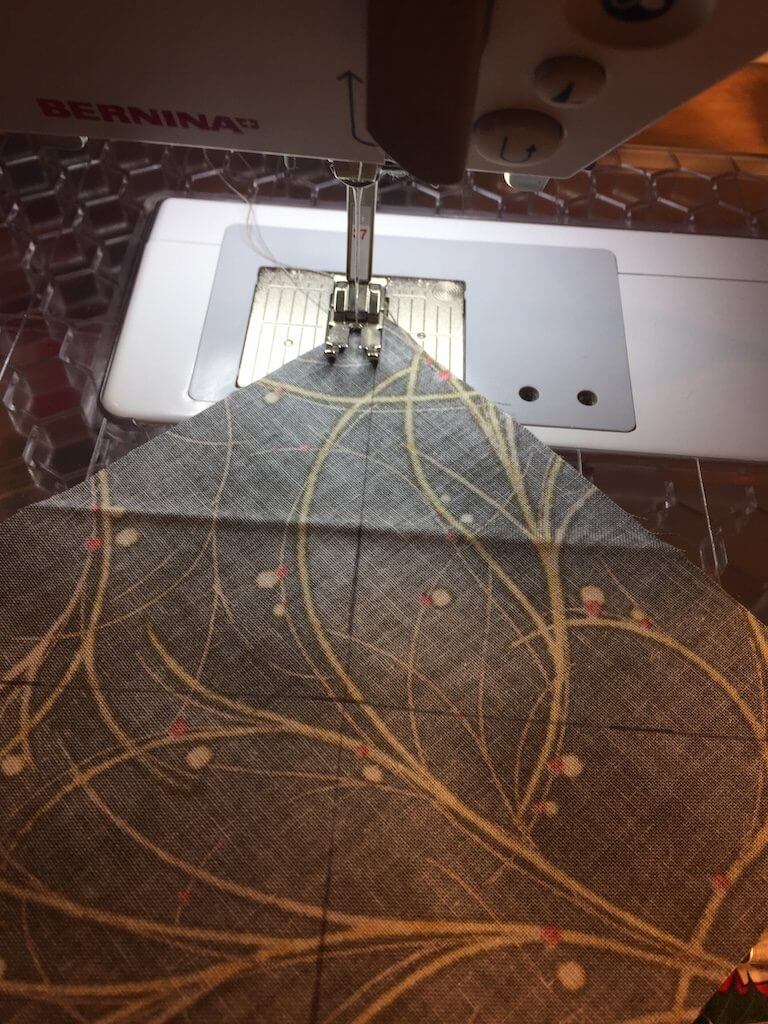
Stitch 1/4″ from the lines that you drew in the following manner.
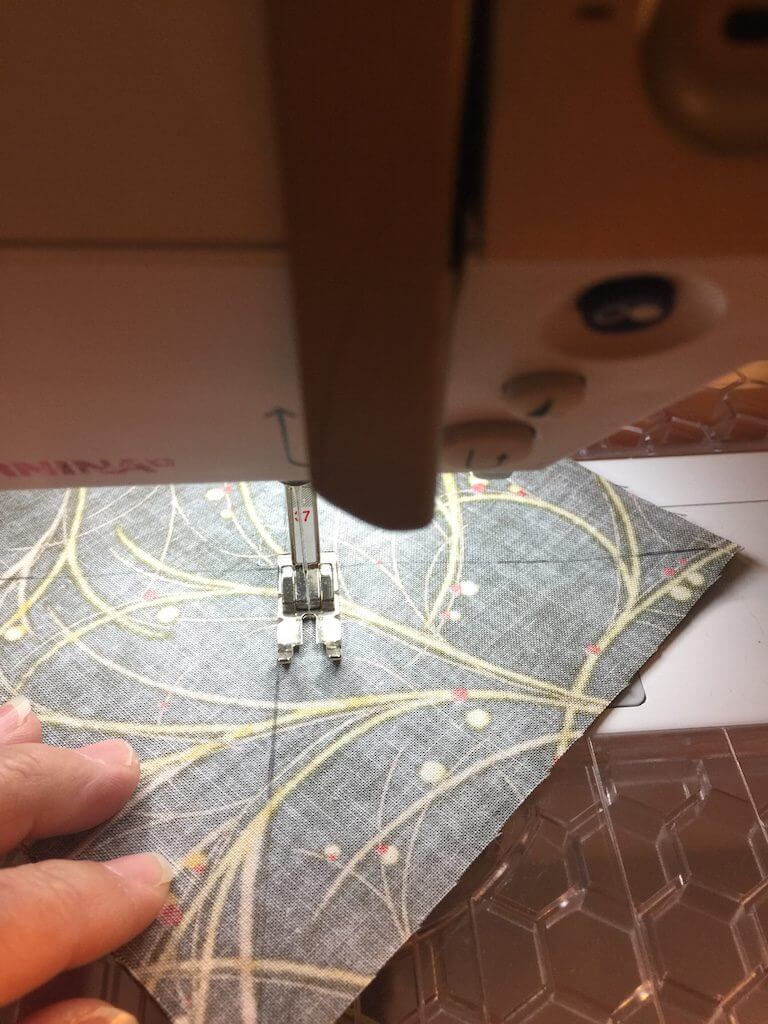
Start in the corner on the left side of the line, 1/4 inch away from the line. Use a 1/4 inch foot for your sewing machine. Stitch along this line until you reach the line that crosses. Pivot with the needle in place, and sew directly on the intersecting line until you reach the other side of the line.
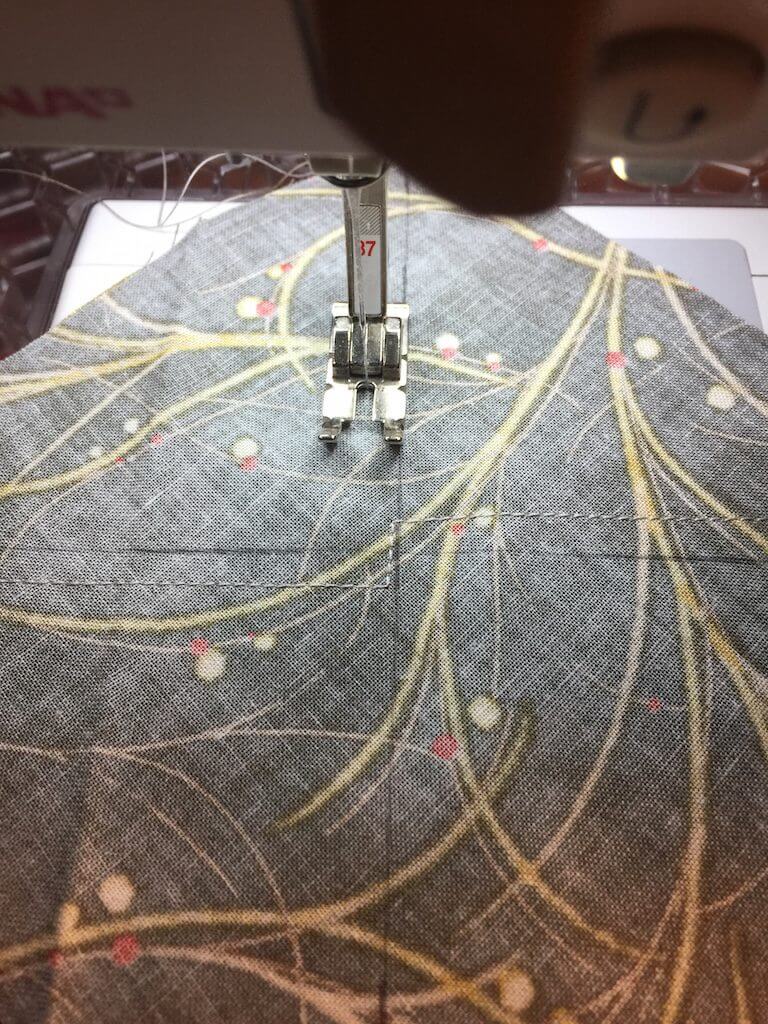
See how you cross over at the intersection of both lines? You will cross over and then sew down the right side of the diagonal line.
When you get to the end, clip your thread and do the same on the other diagonal line.
This picture makes it much clearer to see how it was done on the first line. You will repeat this on the second line.
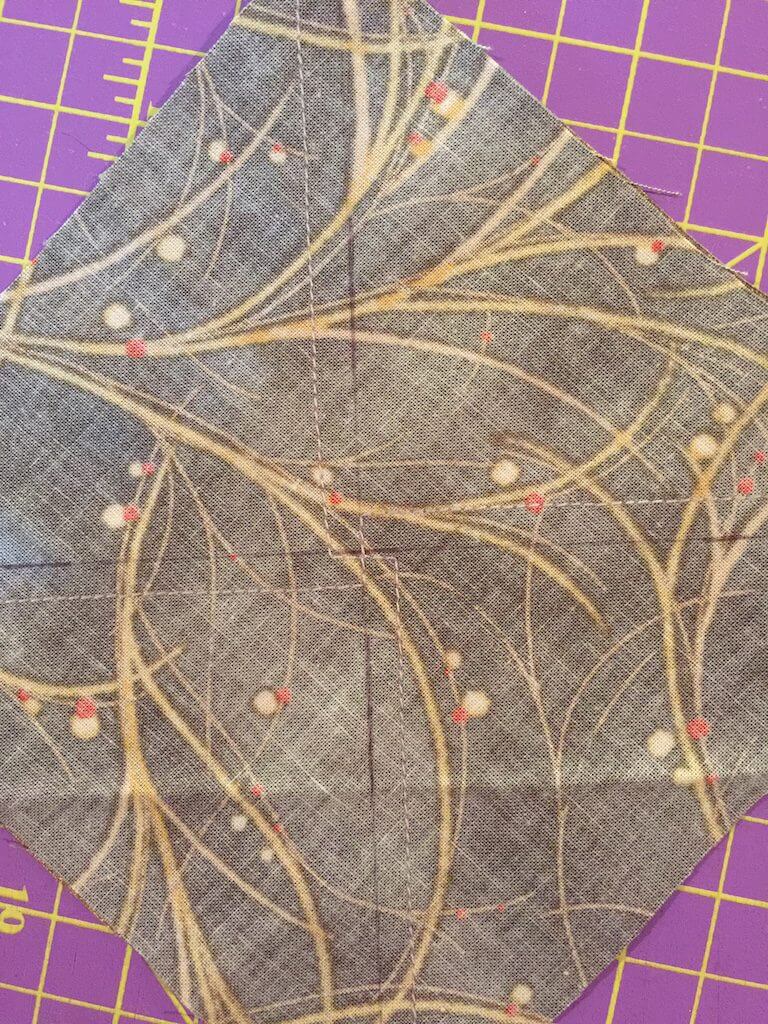
So your stitching should look like this when finished.
For lack of better terminology, it actually looks like a swastika. Yuk. I hate to think of that, but that is what it looks like.
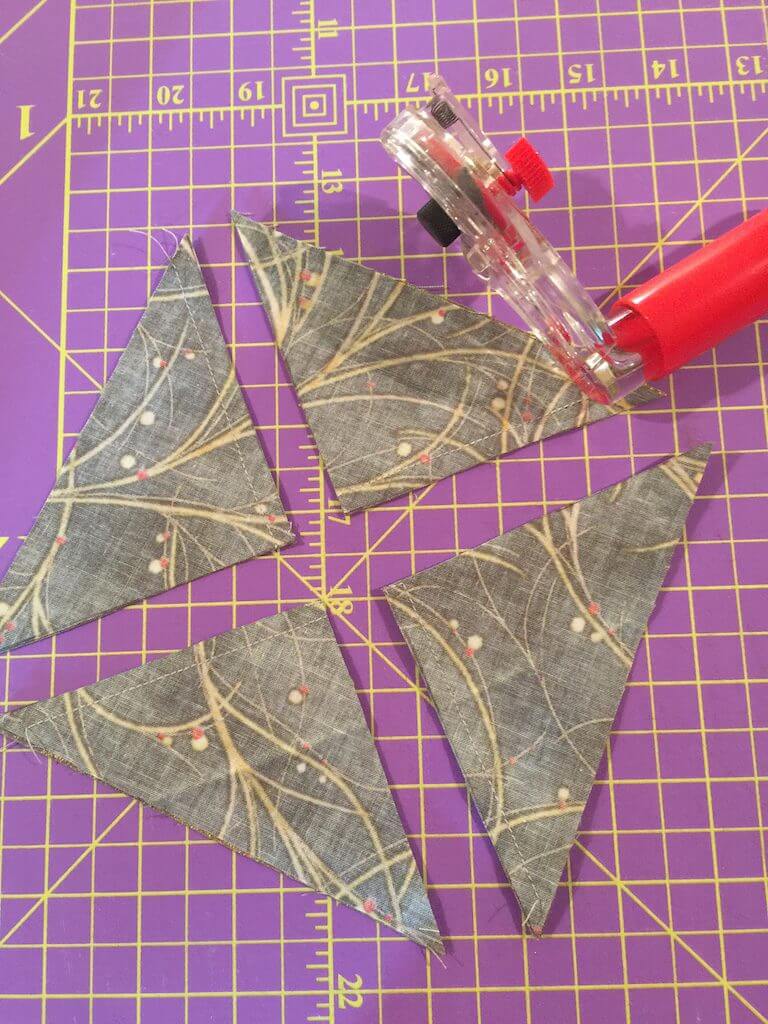
Now you are going to cut on the lines that you drew. Yup. Cut right on those lines.
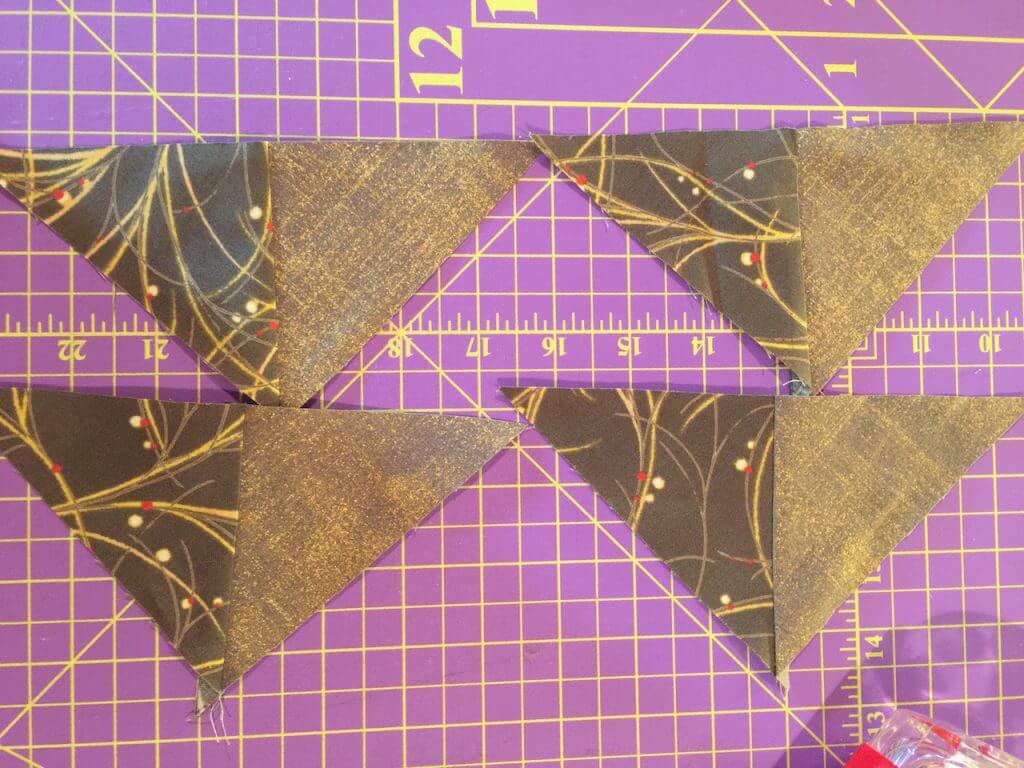
It leaves you with 4 little triangles. You are going to open these out and press them.
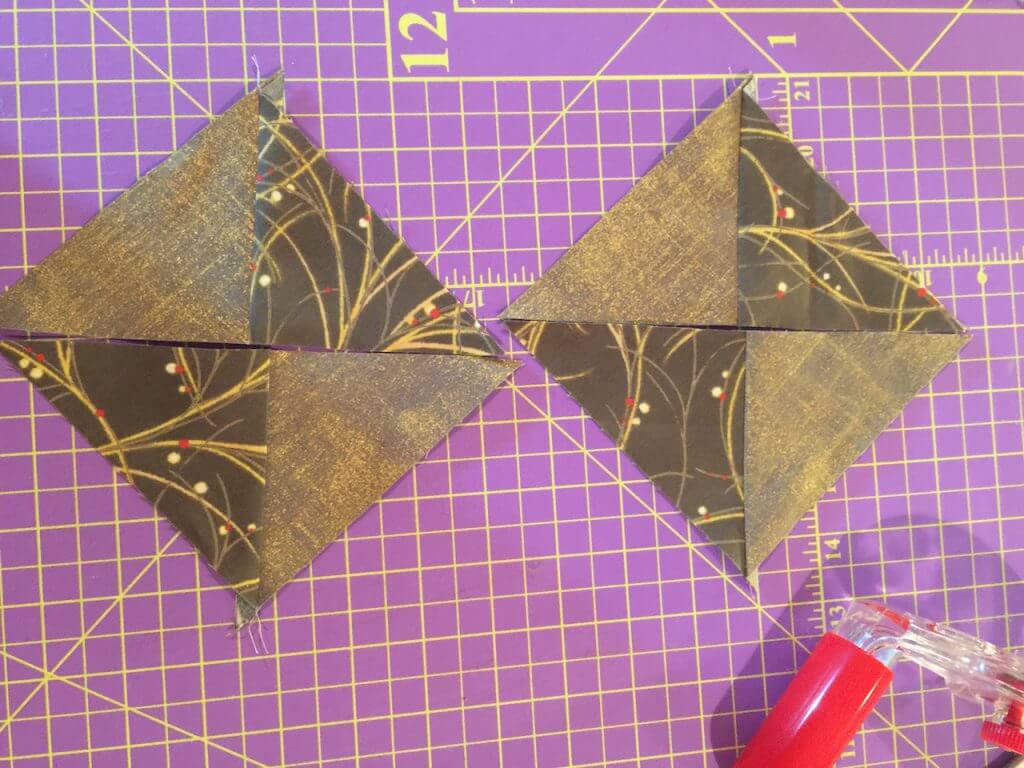
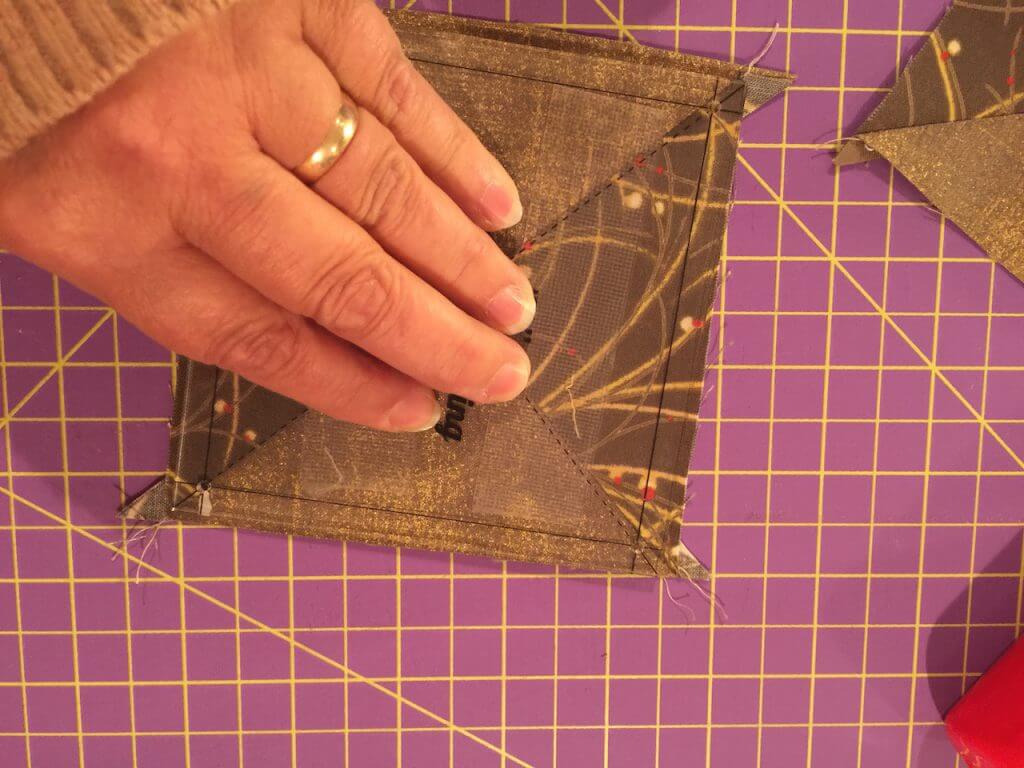
Now you are going to join them. This will yield 2 blocks. The blocks will need to be pressed and squared down to 4 1/2 inches. That’s where the 4 1/2 inch template comes in.
When you sew these together, sew them right sides together using a 1/4″ seam. Press, then, square them up.
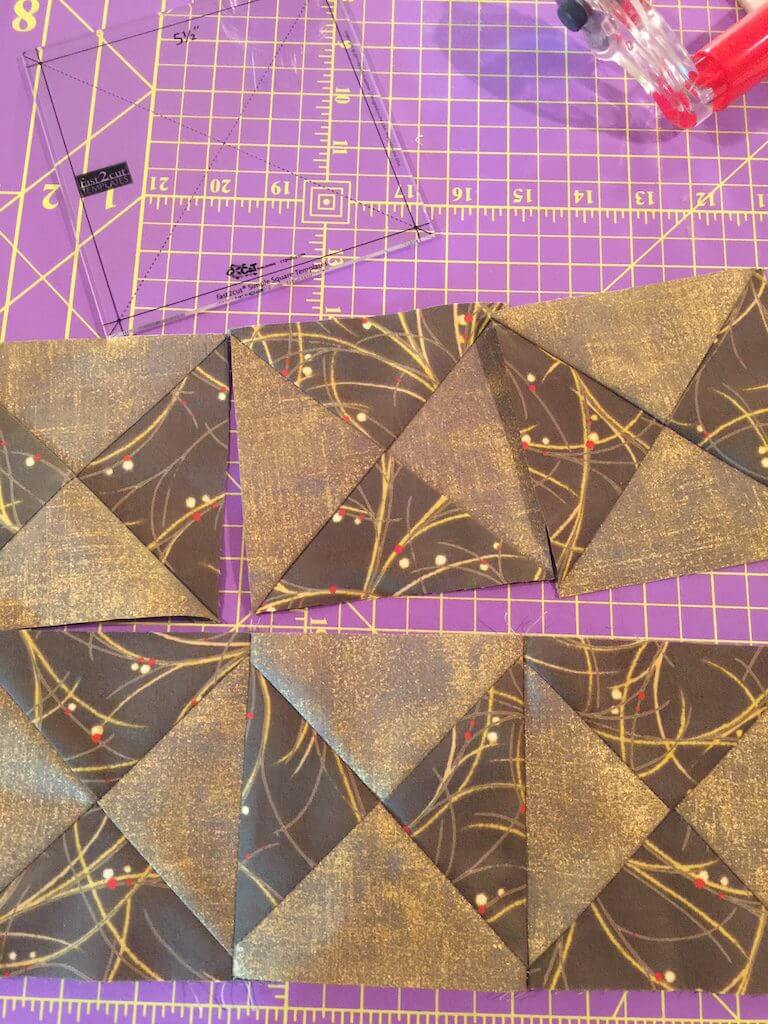
After they’re all squared up, you are going to sew them together so that you have 3 sewn together for each end of the runner.
I rotated them so that the dark triangle was next to the light triangle. Of course you can position them however you want.
What fabric did I use? I used the Luxe Brushstrokes by Moda, and fabric by Alex Anderson. I love metallic fabric any time, but especially at the holidays.
Now you can sew each of these to the ends of the Cuddle strip. It is now time to employ your walking foot. I hope you have a walking foot. If you don’t there are a few tips that I have for you. First, whether you have a walking foot or not, make sure you pin securely. The cuddle fabrics with the longer naps can shift. They don’t shift as much as velvet, but you need to be careful. Don’t worry, they are very forgiving and so wonderful to work with.
Without a walking foot:
- Pin securely
- Place the pins away from the edge, far enough in so that you don’t need to remove them when sewing.
- Use a toothpick or wooden skewer to slightly move the fabric toward the presser foot.
- place the cuddle fabric at the bottom, next to the feed dogs.
With a walking foot:
- Pin securely
- Place the pins away from the edge, far enough in so that you don’t need to remove them when sewing.
Use a 1/4″ seam to sew the blocks to the edge of the cuddle fabric. It will be tricky trying to press the seam. Cuddle fabric should not be ironed with a hot iron. Wait until you have the backing fabric on before pressing. I will get into this later on in the post.
Sew the blocks to both ends of the cuddle strip.
Backing:
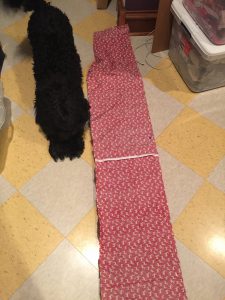
You will cut the backing 12 1/2″ wide but you will need to cut it 1 1/2″ longer than the cuddle strip. Cut the strip in half, and then sew it back together along the cut edges, using a 3/4 inch seam allowance. Leave an opening in the center of the seam for turning right sides out. In the photo below you can see that I needed to cut 2 strips (2 widths of fabric) from my backing fabric because my Cuddle strip was 60 inches long. When I sewed them together along the short edges, I left the center of the seam open.
If your cuddle strip is 60″ long, cut 2 widths of fabric (44 inch wide fabric) 12 1/2″ wide.
It’s okay to leave the selvedge edges in place. These work nicely because they don’t fray.
Sew the backing to the table runner, right sides together. Again, if you have a walking foot, it works great. Make sure to pin very securely. Sew all the way around, without needing to leave an opening in this seam. Your opening is in the backing fabric.
Turn right sides out. Once it’s right sides out, take the iron to the back and iron things as flat as possible, through the backing fabric. This will keep the iron from coming into contact with the Cuddle fabric. Sew the opening closed.
I think it’s so beautiful! It only takes a few minutes to put this all together. It gives an elegant outdoorsy feel to the table setting.
You’ll get invited back next year for sure if you bring this as a gift!!!
