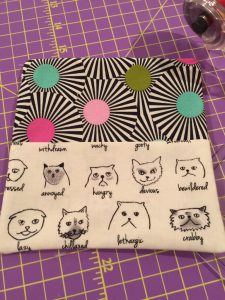
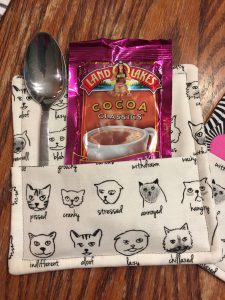
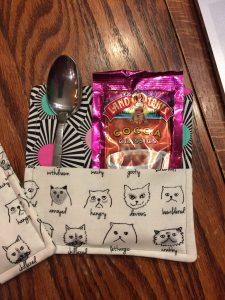
Here’s one of the many things that we’re going to be showing at Blitzen. Being who I am, I made this a lot larger than your typical mug rug. I hate mug rugs. I think they’re stupid. Who is going to run around and say “I need my mug rug so that I can drink my coffee”? Have you ever thought of that? But this one makes perfect sense.
The reason that it makes sense is that it has a pocket. No, you don’t need a pocket in the mug rug that you already don’t need. But this one is more of a gift holder. If the person receiving the gift doesn’t want to use it as a mug rug, there are other things that they can do with it, such as pass it on to another person, changing up what is presented in the pocket. Just watch….
So I thought these would be great teacher gifts. Or piano teacher gifts…or dance teacher gifts…or mailcarrier gifts…you get my drift?
At Christmas we always want to give something to someone who has put forth an extra effort on our behalf or on the behalf of our kids or spouses. Or, maybe you just have a friend or neighbor that you want to give a gift to, that you don’t know really well and you don’t want to spend a fortune. I made this in less than 15 minutes. No lie.
Do you have leftover pieces from layer cakes that you don’t know what to do with? Or scraps? Here’s what you will need.
3-6 1/2 inch squares of fabric cut from coordinating scraps
1-6 1/2 inch square of batting from scrap batting
Needle and thread to match
Sewing machine
15 minutes worth of time to make it
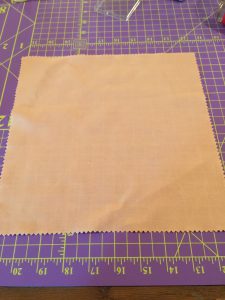
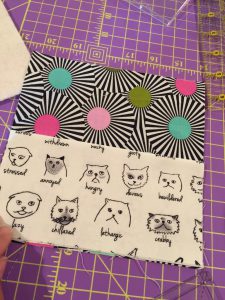
Start by cutting your 6 1/2 inch square from a scrap or leftover layer cake piece. Here’s mine.
It’s a pale piece of peachy colored fabric that was leftover from a layer cake that I didn’t use. It’s perfect for this type of project.
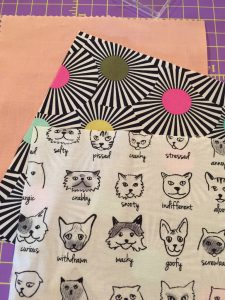
I cut this and 2 other pieces of fabric into 6 1/2 inch squares.
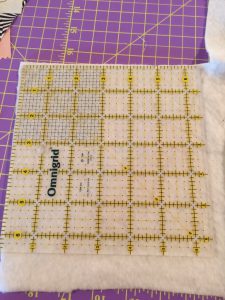
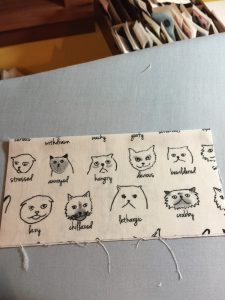
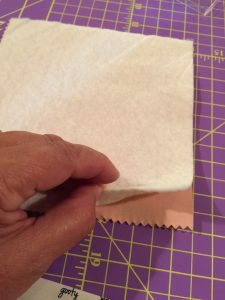
Then I cut my batting. One of the squares gets folded in half, wrong sides together and pressed.
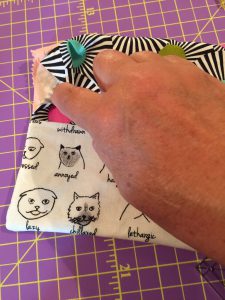
This is for the pocket. The pocket then gets laid on top of one of the 6 1/2 inch squares that you have decided is your main piece. it gets laid on there so that the raw edges are all together and the folded edge of the pocket is in the center of the square.
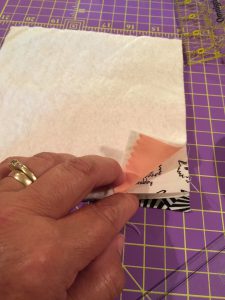
You can choose to baste this together if you want, but once you pin it all together it should be easy to keep from shifting. Then, lay the piece that will go in the back right sides together with this unit pictured above. On top of that you will stack your 6 1/2 inch square of batting.
So, the order is this: Main fabric right sides up with pocket stacked on top of that. On top of this you place your backing piece right sides together matching the edges. Then, put your batting piece on top of there. Pin through all layers.
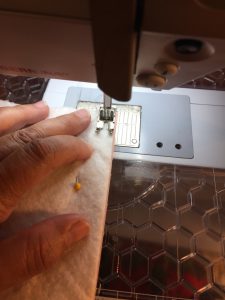
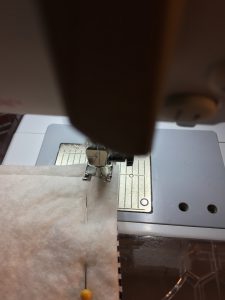
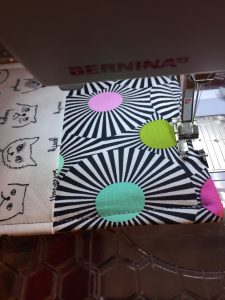
Sew them around the edge 1/4″ to 3/8″.
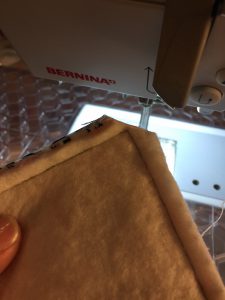
When you get to the corners, pivot.
Then sew all the way around but leave an opening to turn right sides out.
Clip your corners to eliminate bulk when turning right sides out.
Now turn right sides out and stitch up the open edge by hand using an invisible hem or binding stitch.
Top stitch around the outer edge 3/8″ from the edge.
I am going to add a packet of hot chocolate and a spoon.
Here are some other ideas: Hot chocolate, a spoon, and a gift certificate to an ice skating rink. You could put in a little bottle of peppermint schnapps, some hot chocolate and a spoon. You could put a tea bag in there with a spoon. Or, go to a thrift store and put a real silver spoon in there all polished up and shiny. You can find those at estate sales and rummage sales and flea markets.
You could also add a gourmet cookie that is packaged nicely. Or, some flavored oatmeal and a spoon! There are so many great ideas. This could be really fun!
