As promised, I am going to do a tutorial on one of my favorite blocks from my book “Quilts for Scraplovers: 16 Projects Start with Simple Squares”, published by C&T Publishing.
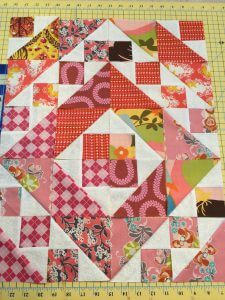
It’s a great block, and partly why I love it is because it’s so versatile in terms of layout. It can be laid out in so many different ways. Here are some of the various ways that it can be done.
This first one is actually the layout that is in my book. I have continued to add in a concentric fashion with this one. In my book, I have done individual blocks with this layout, and included blanks in the corners.
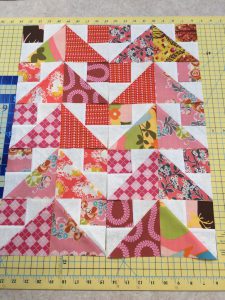
Then, there’s this layout:
I like this one, as it looks like flying geese. If you like that triangular look or the chevron look, then you might like this one:
This one is like a chevron across the quilt. But, you can’t do any of these unless you know how to make the block. So here is the tutorial.
You will need my template set available from C & T Publishing, or from my website, or, from your local quilt shop. I do believe that Amazon has it as well.
Each template set includes a 3 1/2, a 4 1/2, and a 5 1/2 inch block template. Every single quilt in the book uses just three sizes of squares, and that is what these squares are for.
And, every single quilt in the book uses only scraps. There are no pre-cut commercial fabrics, only scraps. That’s not to say that you couldn’t use up some of your fat quarters or throw new fabrics in, but it makes it so easy to use those scraps. Just pull them out of the scrap bucket and iron them. Then start cutting.
All seam allowances for this block are 1/4″.
For this block you will cut a 5 1/2 inch square from a dark or a medium scrap.
Flip it to the wrong side and draw a diagonal line from corner to corner. Then you will cut it diagonally from the opposite corners, not along the line.
Do you see the line? You will be cutting on the diagonal that is not on the line. You will see why this is important.
This is how it will look. Set aside one of the half squares. Pick up the 3 1/2 inch template and lay the diagonal line of the 3 1/2 inch template over the line that you drew.
Cut along the edges of the template.
You will be left with a little square and two little triangles. Set these triangles aside for the snippets quilt that is in the book.
Now it is time to cut the light triangles. The light triangles come from the 4 1/2 inch template. Take the 4 1/2 inch template and cut out a square from a light scrap. This should be some type of background fabric.
Divide that square into 4 triangles by cutting along the diagonal once, and then once again in the opposite direction.
Here is how your block will eventually be laid out.
Stitch the triangles onto the little square just as they are laid out. Stitch one on, and then press it open. Then stitch the next one on.
This is how it will look.
Now you are ready to stitch this unit, that quite frankly, looks like a fish, to the large triangle that you had set aside. This is the remaining triangle from the 5 1/2 inch square.
Put these two right sides together and stitch a 1/4 inch seam.
Open out and press. Then, trim the entire block down to 4 1/2″.
Use the intersection of the diagonal lines as cross hairs. Just like the crosshairs on a rifle, for all of you women and men that hunt, the center crosshairs should be right in the center of the block, where the point of the square meets the triangle. Trim to 4 1/2″.
Now you are ready to make a bunch more of these and put them into many different layouts. Here are some more. I have also included the black and white pictures so that you can see how important it is to use mediums and darks in this block.
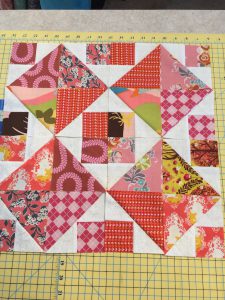
The one above is a pinwheel configuration that I though would look nice with sashing in between or solid blocks in between.
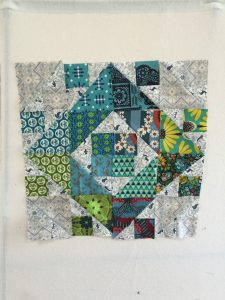
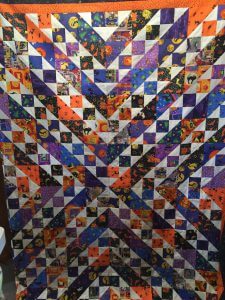
Have fun and go nuts with it! Here is a Halloween quilt made by one of my employees that used this block.
